4-inch recessed LED lighting has become the go-to choice for homeowners wanting clean, modern illumination without clutter. Unlike bulky track lights or pendant fixtures that dominate a ceiling, 4-inch recessed lights sit flush and blend seamlessly into any room. They’re energy-efficient, long-lasting, and come in enough color temperatures and brightness levels to suit everything from a cozy bedroom to a bright kitchen work zone. Whether you’re a first-timer tackling a single fixture or planning a whole-house retrofit, this guide walks you through what 4-inch recessed LED lights are, why they matter, how to pick the right ones, and how to install and style them like a pro.
Table of Contents
ToggleKey Takeaways
- 4-inch recessed LED lighting fixtures use 80–90% less power than incandescent bulbs and last 25,000–50,000 hours, delivering significant energy savings and reducing maintenance needs.
- The trim type, color temperature (2700K–4000K recommended for homes), and lumen output matter more than wattage when selecting 4-inch recessed LED lights for different rooms.
- Proper placement and spacing of 4-inch recessed fixtures every 4–6 feet, combined with layered lighting (ambient, task, accent), transforms room aesthetics without visual clutter.
- Installation requires careful joist mapping, a voltage tester for safety, and correct electrical connections; hiring a licensed electrician is recommended if you’re unsure about electrical work.
- Upfront costs of $30–$75 per installed fixture are recouped within a few years through electricity savings, making 4-inch recessed LED lighting a cost-effective long-term upgrade.
What Are 4-Inch Recessed LED Lights?
A 4-inch recessed LED light is a fixture designed to sit inside your ceiling cavity with only the trim ring and lens visible from below. The “4-inch” measurement refers to the diameter of the rough-in housing, the metal can that sits above the drywall. These fixtures are also called “downlights” or “can lights” when they have a reflector that directs light downward.
4-inch recessed fixtures are smaller and less intrusive than the common 6-inch size, making them ideal for ceilings with limited joist space or rooms where you want denser, more subtle lighting. The LED bulbs inside use a fraction of the energy of older incandescent cans, generate less heat, and last 25,000 to 50,000 hours, meaning you won’t be climbing a ladder to swap bulbs every few years. Because they’re so compact, 4-inch fixtures work well in kitchens, hallways, bathrooms, and living areas where you want ambient or task lighting without visual bulk.
Key Benefits of 4-Inch Recessed LED Fixtures
Energy savings top the list. LED recessed lights draw 80–90% less power than incandescent equivalents and last roughly 10–20 times longer. A typical household swapping eight 60-watt incandescent bulbs to 9-watt LED equivalents saves $20–$30 per month on lighting alone. Over a year, that’s real money.
Heat output is minimal, which matters in kitchens, small bathrooms, and insulated attics where traditional cans generate uncomfortable warmth. LEDs stay cool even when running all day, reducing air-conditioning load in summer.
Aesthetic control is another win. Because 4-inch fixtures are smaller, you can install them at tighter intervals for even, shadow-free light without the ceiling looking like a perforated sheet. Trim rings come in finishes, white, black, brushed nickel, and chrome, so they can disappear or make a statement.
Directional light is easy to achieve. Many 4-inch LED fixtures include adjustable tilt mechanisms or swappable trim rings so you can aim light where you need it, down a hallway, onto a kitchen island, or across a bathroom mirror.
Dimmers work seamlessly with quality LED recessed lights, letting you shift mood from task-focused to ambient in seconds. LED Lighting: Transform Your solutions have made this far simpler than it was five years ago, and compatibility has become standard rather than an afterthought.
Choosing the Right 4-Inch Recessed LED Lights for Your Home
Before you order, nail down a few specifications or you’ll end up with fixtures that don’t fit, are too bright, or cast the wrong color of light.
Voltage and power supply. Most residential 4-inch recessed fixtures run on standard 120V household current. Some older installations or commercial spaces use 277V, so double-check your breaker panel. New construction or renovations should use standard 120V unless there’s a specific reason not to.
Trim type. The trim ring is the visible part. Baffle trims (with a dark reflective interior) reduce glare and work well in living areas. Smooth trims are sleek and modern. Adjustable or gimbal trims let you angle the light, perfect for accent or task zones. Wall-wash trims spread light across a wall rather than throwing a tight cone downward.
Brightness and wattage equivalency. A 9-watt LED is roughly equal to a 60-watt incandescent in brightness (measured in lumens). Kitchen work areas and bathrooms often need 12–15 lumens per square foot: living rooms do fine at 5–10. If you’re retrofitting an old 75-watt incandescent setup, a 12-watt LED will feel about the same without the heat.
Color Temperature and Brightness Considerations
Color temperature is measured in Kelvins (K). A warm 2700K light resembles old incandescent bulbs, cozy and flattering. 3000K is slightly cooler, still warm, and common in kitchens. 4000K is neutral and work-friendly, great for task lighting. 5000K and above is cool and clinical, avoid it for living spaces unless you specifically want that vibe.
For most homes, 2700K or 3000K is the safe bet. If you’re designing around dimmers, confirm the fixture can dim smoothly all the way down without flickering or losing color fidelity. Not all cheap LED fixtures do this well.
Lumens (total light output) matter more than watts now. A 9-watt LED might deliver 800 lumens: another 9-watt model might deliver 600. Check the spec sheet, not just the wattage. One way to verify you’re getting quality is to confirm the fixture carries the ENERGY STAR label, which ensures it meets efficiency and longevity standards.
Installation Basics for DIY Enthusiasts
Before you start, How Much Does It cost factors can help you budget correctly. Installation isn’t overly complex, but it’s not a one-handed job either.
Permits. Some jurisdictions require a permit for any new electrical work. Check with your local building department. Structural changes (cutting joists) always need approval. If you’re not confident in electrical work, call a licensed electrician, no shame, and it protects your warranty and home value.
Materials and tools you’ll need:
- 4-inch recessed housing (also called a “can”) for each fixture
- LED bulbs or integrated LED fixtures (pre-loaded with LEDs)
- Electrical wire (typically 14/2 or 12/2 Romex for 15- or 20-amp circuits)
- Wire nuts and electrical tape
- A voltage tester (non-negotiable for safety)
- A drywall saw or hole saw (6-inch diameter to fit a 4-inch housing)
- A stud finder and level
- Recessed light trim rings
- Insulation-rated housing if your attic or ceiling cavity has insulation
Step-by-step outline:
- Turn off power at the breaker and verify it’s off with a voltage tester on the existing circuit.
- Plan fixture spacing. For even light, space 4-inch fixtures 4–6 feet apart depending on brightness and ceiling height. Sketch the layout on the ceiling before cutting.
- Cut drywall holes using a drywall saw, centering each hole where marked.
- Run electrical wire from the breaker (if new circuit) or from an existing fixture to the new can locations, securing it every 16 inches with staples.
- Install the housing can in each hole, securing it to the joists with the supplied brackets or nails.
- Connect the LED bulb or wiring to the fixture. If hard-wired LEDs, strip and twist wires, secure with wire nuts, and tape.
- Fold any insulation around the can if it’s rated for it: if not, move insulation away (creates an air gap for cooling).
- Install the trim ring, lens, or baffle from below.
- Test each fixture before closing the wall or finishing the project.
Common gotchas: Cutting a joist by accident is a structural disaster, use a stud finder to map joists first. Failing to use a voltage tester before touching wires has sent plenty of DIYers to the ER. If the ceiling is already finished drywall and you’re unsure about joist locations, rent an endoscope camera ($20–$40) to peek inside before cutting. Recessed Lighting Placement: 7 expert tips will help you avoid poor placement that’s hard to fix later.
Design Tips for Lighting Your Spaces
Placement transforms a room just as much as brightness and color temp. Recessed lights work best in layers: ambient (general fill light), task (focused on work zones), and accent (highlighting art, architectural features).
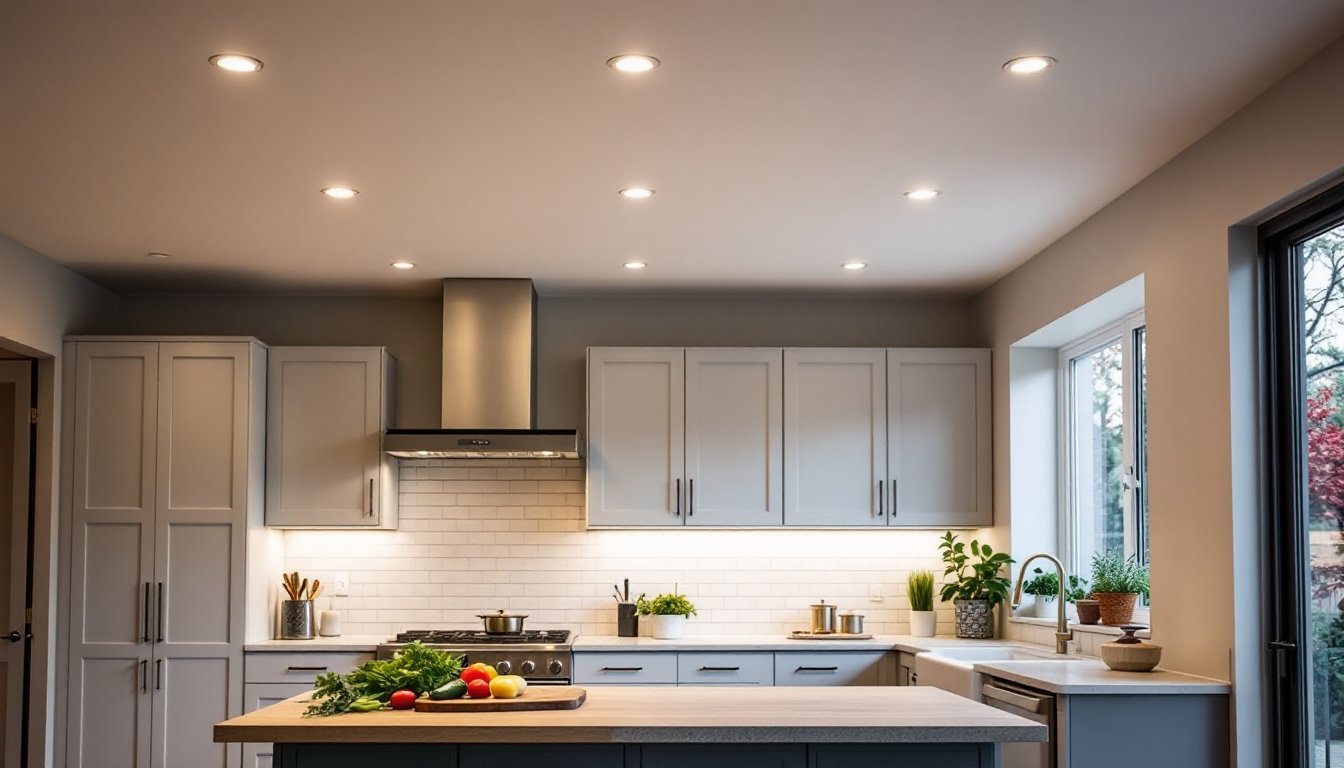
Kitchens: Pair recessed lights in a grid overhead with under-cabinet task lighting and a pendant or chandelier over an island. This combo ensures you don’t cast shadows on the counter while chopping vegetables. Use 3000K for warmth without looking dingy.
Bathrooms: Center a fixture over the mirror with one on either side for shadow-free grooming light. A single central fixture creates harsh shadows on the face, not forgiving. Stick with 3000K or 4000K for clarity.
Bedrooms and living rooms: Fewer, more widely spaced fixtures work here, often paired with a dimmable switch so you can set mood. 2700K feels luxurious and relaxing. If you’re planning a reading nook, add a nearby recessed fixture angled toward the seating.
Hallways and transitions: Tight spacing (3–4 feet) gives even light and prevents dark patches. A fixture every 4 feet in a 10-foot hallway beats two large ceiling fixtures.
Recessed Lighting Housing: Elevate choices like wall-wash trims or adjustable gimbal rings let you get creative. A 4-inch recessed fixture with a wall-wash trim can graze a textured wall and add drama without looking overdone.
For design inspiration and real-world installations, the best recessed lighting of 2024 showcases top fixtures and setups. How to Install Recessed Lights is another solid walkthrough if you want video reference. A quick browse of 4 Inch Recessed Lights Discussions on Houzz will show you what other homeowners have done and what pitfalls they hit.
Conclusion
4-inch recessed LED lighting is a mature, accessible upgrade that pays dividends in energy bills, aesthetics, and mood control. The upfront cost, roughly $30–$75 per fixture installed, is recouped in electricity savings within a few years, and you won’t need to replace bulbs for decades. Start with quality fixtures, plan your layout carefully, and don’t rush the electrical work. Your ceiling will thank you.


