A makeup mirror isn’t just a reflective surface, it’s the foundation of a functional beauty routine and bathroom design. Whether you’re upgrading a cramped apartment bathroom or creating a dedicated vanity space in a newly renovated home, the right makeup mirror can transform how you apply cosmetics and how your space feels. This guide walks you through the different types available, the features that matter, installation options, and styling approaches so you can pick the perfect piece for your needs.
Table of Contents
ToggleKey Takeaways
- A makeup mirror with built-in LED lighting and adjustable color temperature ($40–$150) eliminates guesswork and is especially valuable for bathrooms with poor natural light or early-morning makeup application.
- 10x magnification is the practical standard for makeup application because it reveals enough detail for precise work without creating excessive distortion or alarming blemish appearance.
- Proper wall mounting requires securing to studs or using heavy-duty anchors rated for your mirror’s weight—drywall screws alone won’t safely support a 20-pound makeup mirror.
- Hardwiring a lighted mirror to your electrical system should be handled by a licensed electrician ($150–$400) to comply with National Electrical Code and avoid fire hazards.
- Mount your makeup mirror at eye level (60–66 inches from floor to center) and center it above your vanity for an intentional, polished appearance.
- Regular maintenance with a microfiber cloth and vinegar solution prevents water spots and mineral deposits, while LED bulbs typically last 10–15 years with minimal replacement needs.
Types of Makeup Mirrors and Their Best Uses
Lighted vs. Non-Lighted Mirrors
The lighting question is often the first decision homeowners face. Non-lighted mirrors rely entirely on ambient bathroom light, which is rarely flattering or consistent. If your bathroom has soft, diffused overhead lighting or large windows with natural light, a non-lighted option works fine and costs less upfront.
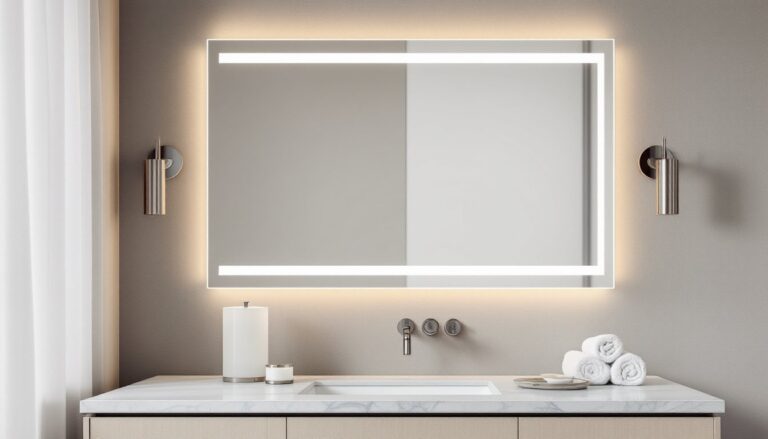
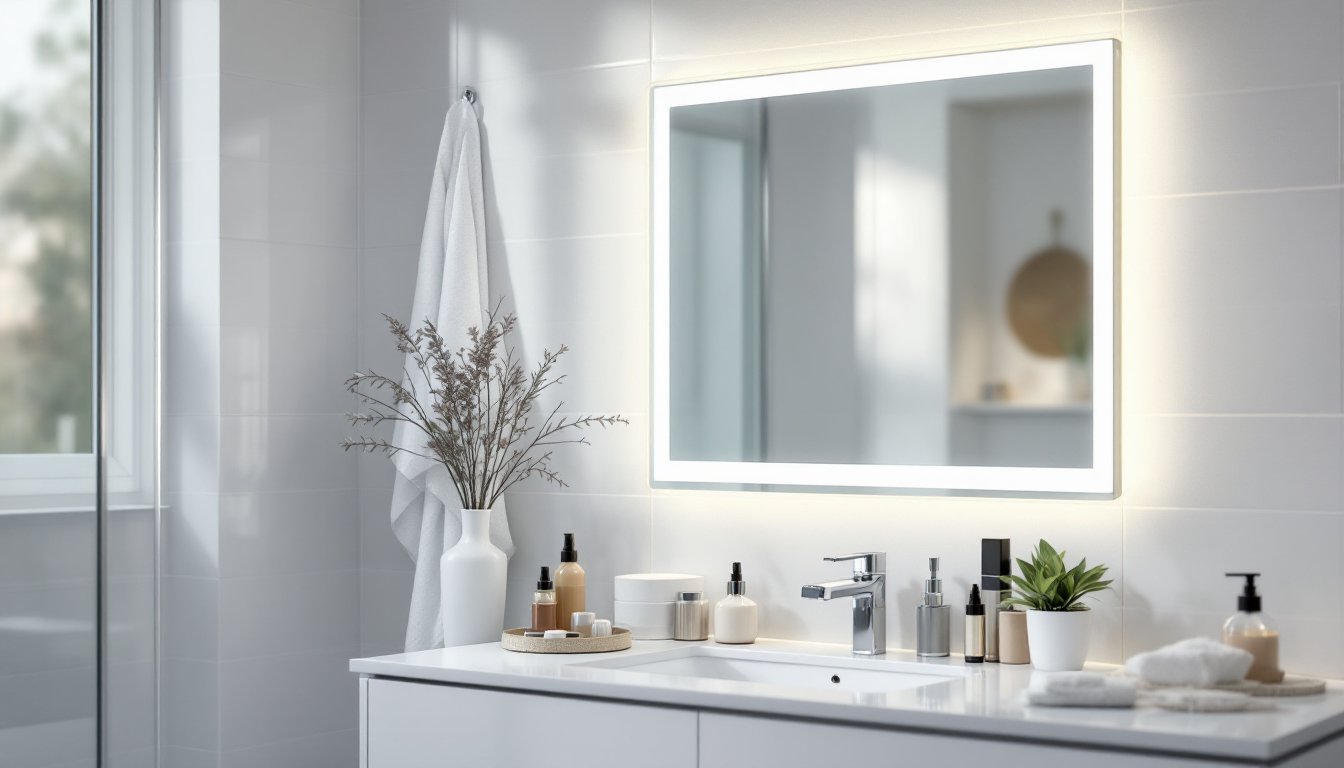
LED vanity mirrors and other lighted options eliminate guesswork. Built-in LED lights run cool and use minimal electricity, typically 8-15 watts for a standard vanity-size mirror. They’re especially valuable for bathrooms with poor natural light or for early-morning makeup application when sunlight isn’t reliable. Many now include dimmable settings and adjustable color temperature (warm to cool white), which mimics different lighting conditions you’ll face during the day.
Budget roughly $40–$150 for a basic lighted vanity mirror with LEDs, depending on size and features. Non-lighted mirrors run $20–$80.
Magnification Levels Explained
Magnification affects how close and detailed your view becomes. Standard mirrors (1x magnification) show a true-to-life reflection, what you see is what others see. 10x magnification is common for makeup application because it reveals detail without excessive distortion, letting you apply eyeliner or foundation smoothly.
Double-sided mirrors, with 1x on one side and 10x on the other, offer flexibility. Use the standard side for overall appearance and the magnified side for detailed work. Some people prefer 7x as a middle ground, it magnifies enough to catch detail but doesn’t make blemishes look alarming.
Choosing magnification depends on eyesight and comfort. If you wear reading glasses, higher magnification may feel less necessary. Most DIYers and homeowners find 10x practical without being overwhelming.
Key Features to Look for When Buying
Beyond the basics, several features separate a useful mirror from a frustrating one.
Color temperature and brightness: A bathroom mirror with LED lights should ideally include adjustable color settings (warm white 2700K–3000K and cool white 4000K–5000K). Warm light is flattering for evening, while cool light mimics daylight and helps with makeup matching. Brightness should be dimmable so you’re not blinded by reflection at night.
Fog-free technology: If your bathroom tends to steam up, look for mirrors with built-in fog resistance or a small heating pad behind the glass. These prevent condensation from obscuring your reflection right after a shower.
Power source: Wall-mounted lighted mirrors plug into a nearby outlet or hardwire into your electrical system. Battery-operated options exist but are less reliable for daily use. Hardwiring requires running a new circuit or tapping into existing wiring, call a licensed electrician if you’re not confident with your home’s electrical system.
Frame and mounting: Heavy-duty aluminum or stainless steel frames withstand humidity better than plastic. Check the weight rating for your wall type, drywall alone can’t hold a large heavy mirror without anchors rated for the load.
Mounting style matters too. Wall-mount mirrors save counter space, while tabletop or pedestal options work if you can’t modify walls (renters, temporary setups).
Installation Options for Every Space
Installation difficulty ranges from zero to moderate depending on your choice.
Wall-mount installation is most permanent and looks polished. For drywall, locate a stud (typically 16 inches on center) using a stud finder and mount the bracket there. If that doesn’t align with where you want the mirror, use heavy-duty toggle bolts or expansion anchors rated for your mirror’s weight, don’t skimp here. A 20-pound mirror needs proper anchors, not drywall screws alone.
If your bathroom has tile or stone, use a tile bit (diamond core if possible) to drill pilot holes, then install anchors designed for tile. This is tedious but doable as a DIY project.
Hardwiring a lighted mirror is trickier. You’ll need to run new electrical wire through your walls to a switch or a GFCI outlet (required within 6 feet of a sink per the National Electrical Code). Unless you’ve wired a bathroom before, hire a licensed electrician, the cost ($150–$400) is worth avoiding a fire hazard or code violation.
Tabletop or pedestal mirrors require zero installation. Just set them on your vanity. They take up counter space but are ideal for renters or if you move frequently.
Practical tip: Measure your wall space first and mark where the mirror’s edges and center will be. Use painter’s tape to outline the footprint so you can visualize it before drilling holes.
Design and Styling Tips for Your Bathroom or Vanity
A makeup mirror shouldn’t clash with your bathroom’s look. Consider your existing fixtures, faucet finish, cabinet hardware, lighting, and pick a frame color that echoes those materials. Chrome or brushed nickel frames match most modern setups, while oil-rubbed bronze or brass work with transitional or traditional baths.
Size is a styling decision too. A large mirror (30–40 inches wide) becomes a focal point and makes small bathrooms feel bigger. Smaller mirrors (18–24 inches) work for tight spaces or powder rooms. Round, oval, and rectangular shapes each carry different visual weight: rectangular mirrors feel streamlined, while round ones soften angular bathrooms.
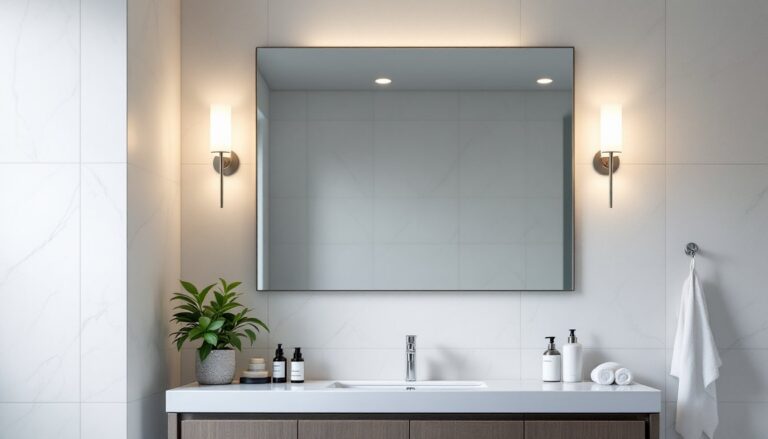
Placement matters. Centered above a vanity looks intentional. Off-center mounting can work if your vanity layout calls for it, but it often looks accidental. Mount the mirror at eye level, roughly 60–66 inches from the floor to the center of the glass for most adults.
If you’re styling a dedicated vanity area, layer a bathroom mirror LED setup with task lighting above (a vanity bar or sconces) for even illumination. This prevents shadows under the eyes and nose. Many homeowners find that pairing a lighted mirror with a small decorative tray for cosmetics, a plant, or candles creates a complete, intentional look without clutter.
Maintenance and Care Best Practices
Bathroom mirrors collect dust, water spots, and fingerprints faster than mirrors elsewhere because of humidity and daily activity.
Cleaning: Use a microfiber cloth and a 50/50 mix of distilled water and white vinegar, or a commercial glass cleaner. Vinegar cuts through mineral deposits from hard water and doesn’t leave streaks. Spray the cleaner on the cloth first, not directly on the mirror (liquid pooling around the edges can seep into the frame and damage the backing).
For mirrors with LED lights or electronics, avoid excessive moisture. Spray around the edges, never directly over power connections. If your bathroom is extremely humid, run a bathroom exhaust fan during and for 30 minutes after showers to reduce condensation.
Addressing wear: Over years, mirror coatings can deteriorate along the edges, causing a “black edge” effect. This is cosmetic and signals the mirror’s reflective backing is oxidizing. It doesn’t affect function but eventually spreads. Replacing the mirror is the only real fix.
LED maintenance: LED bulbs last 20,000–50,000 hours (roughly 10–15 years of daily use), so you rarely need to replace them. If your LED vanity mirror dims unusually or flickers, check the power connection first, a loose plug or tripped GFCI outlet is the most common culprit. If the problem persists, the LED driver or bulbs may be failing: contact the manufacturer.
Regular upkeep takes minutes and keeps your mirror looking sharp and functioning well.