Good kitchen lighting isn’t a luxury, it’s essential. Whether you’re chopping vegetables at midnight or hosting a dinner party, the best lighting for kitchen ceiling sets the entire mood and function of the space. Poor lighting strains your eyes, makes food prep harder, and can make even a well-designed kitchen feel dingy. The right ceiling fixtures combine brightness with style, ensuring you’ve got enough light where you need it and the flexibility to adjust for different times of day. This guide walks you through the options, from recessed lights to pendant fixtures, so you can choose the setup that fits your kitchen layout, budget, and daily workflow.
Table of Contents
ToggleKey Takeaways
- The best lighting for kitchen ceiling combines task and ambient lighting to improve visibility, safety, and mood while enhancing the overall functionality of your space.
- Recessed lights work best for general task lighting with the 1.5-foot rule (multiply square footage by 1.5 for total watts needed), while flush mounts suit lower ceilings and pendant lights add style to islands and counters.
- Aim for 3,000–4,000 lumens per 100 square feet and choose a color temperature between 3,000K–4,100K to balance task visibility with a welcoming atmosphere.
- LED fixtures significantly reduce energy costs compared to incandescent options while delivering superior color rendition and requiring less power.
- Installation complexity ranges from straightforward (flush mounts and pendants with existing electrical boxes) to involved (recessed lights requiring drywall cutting and professional wiring), with costs averaging $100–$300 per fixture installed.
- Always pull permits and hire a licensed electrician for hardwired work to comply with building codes and protect your home’s safety and resale value.
Why Proper Kitchen Ceiling Lighting Matters
Kitchen lighting does two jobs at once: task lighting and ambient lighting. Task lighting helps you see clearly while prepping food, cooking, and cleaning. Ambient lighting sets the tone and fills the space with an even glow. Without proper ceiling fixtures, you end up squinting at the cutting board or eating dinner under harsh, unflattering light.
Beyond visibility, good kitchen lighting affects safety and mood. Shadows around the cooktop or sink are accident waiting to happen. Dark corners make the space feel cramped. Conversely, a well-lit kitchen feels larger, safer, and more inviting, whether you’re alone making breakfast or entertaining friends.
The other factor is energy efficiency. Modern fixtures use far less power than older ones, and switching to LED bulbs cuts electricity costs significantly while providing better color rendition. A thoughtful lighting plan pays for itself over time and makes your kitchen function better every single day.
Types of Kitchen Ceiling Lighting Options
Your ceiling has several viable options depending on your kitchen layout, ceiling height, and style. Let’s break down the three most popular choices homeowners install.
Recessed Lights and Downlights
Recessed lights sit flush with your ceiling and direct light downward. They’re clean, unobtrusive, and excellent for general task lighting throughout the kitchen. A standard 4-inch or 6-inch recessed fixture (measured by trim diameter) works well for most kitchens: 6-inch versions deliver more light and work better in 8-foot or higher ceilings.
To calculate how many recesses you need, use the 1.5-foot rule: multiply your kitchen’s square footage by 1.5. For a 120-square-foot kitchen, you’d want around 180 watts of lighting, roughly 6 to 8 recessed fixtures depending on bulb wattage. Space them evenly, usually 4 to 6 feet apart. Recessed lighting placement requires careful planning before installation: marking positions on your ceiling and checking for joists and utilities prevents costly mistakes.
Recessed lights also come in different trim finishes (white, chrome, trim-less), and you can choose between standard, angled, or adjustable fixtures. They’re relatively affordable ($20–$50 per fixture, not including installation) and work with any kitchen style.
Flush Mount and Semi-Flush Fixtures
Flush mounts attach directly to the ceiling, with zero clearance. Semi-flush fixtures hang down slightly, usually 4–8 inches. Both options suit lower ceilings (under 8 feet) and smaller kitchens where recessed lighting might not provide enough visual interest.
These fixtures come in countless styles, from brushed nickel and matte black to brass and glass. A flush-mount fixture rated for 60 to 100 watts (equivalent) typically illuminates a standard kitchen adequately. One fixture per 75–100 square feet is a good baseline: many kitchens use one central fixture supplemented by under-cabinet task lighting.
Flush and semi-flush options are straightforward to install if you’re comfortable wiring a ceiling fixture, no drywall cutting needed. They cost $30–$200 depending on design and materials. Look for fixtures with LED lighting already integrated to skip the bulb upgrade later.
Pendant Lights and Island Fixtures
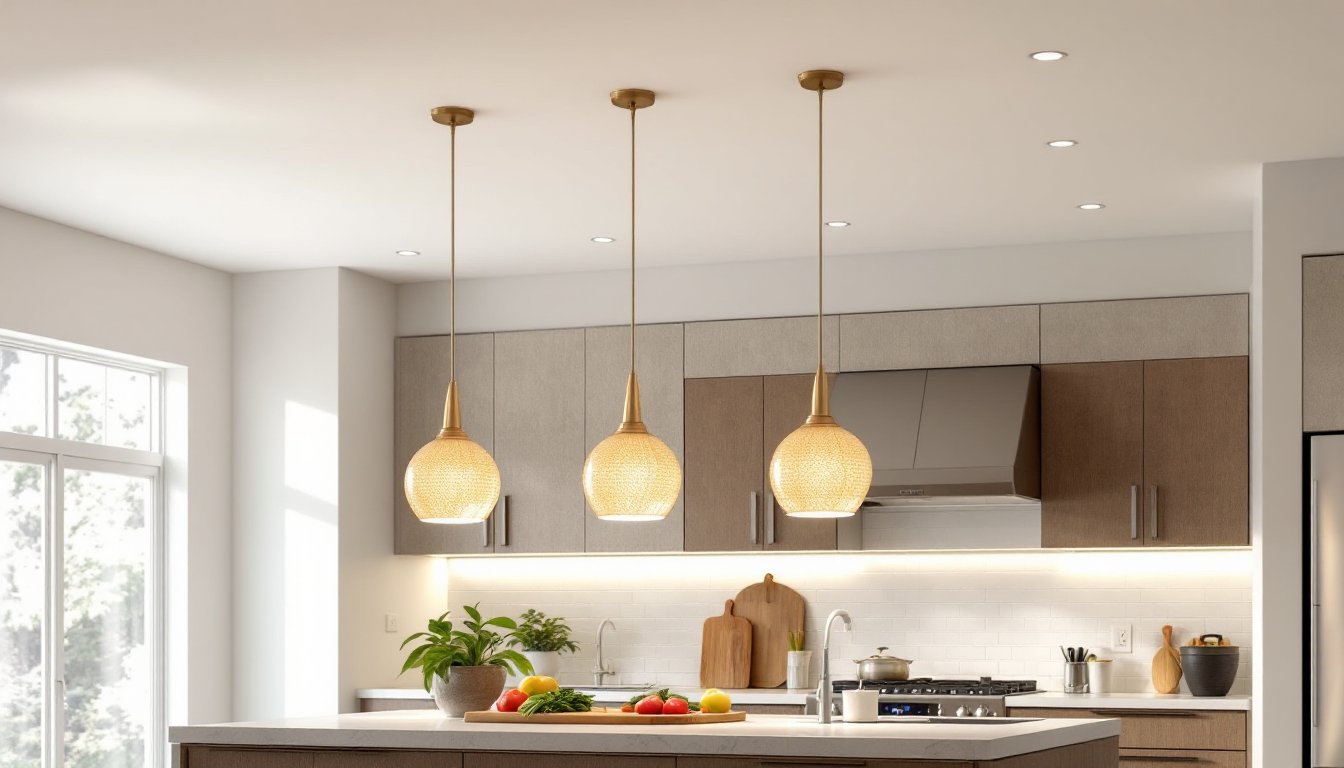
Pendant lights hang from a cord, chain, or rod and add both function and personality. They’re ideal for kitchen islands or bar counters where you want task light plus a design statement. Most pendant fixtures come in pairs or groups of three, spaced 24–30 inches apart above an island.
Choose pendants rated for 40 to 60 watts each (or equivalent LED output) so they deliver adequate task light without being so bright they’re uncomfortable to work under. Hanging height matters: position them 12–20 inches above the counter surface for the best balance of visibility and conversation comfort.
Pendants work beautifully alongside recessed lights or a central ceiling fixture, layering your lighting for flexibility. Over kitchen sink lighting can also use a single pendant or small chandelier if your sink sits beneath or near the ceiling.
Costs range from $40 to $300+ per pendant depending on materials and brand. Installation is straightforward if an electrical box is already in place: if not, running new wiring may require a licensed electrician depending on your local code.
Choosing the Right Brightness Level and Color Temperature
Brightness is measured in lumens, and color temperature is measured in Kelvin (K). Get these right, and your kitchen looks and functions perfectly.
Aim for 3,000–4,000 lumens per 100 square feet in your kitchen. A 120-square-foot kitchen needs roughly 3,600–4,800 lumens total. If you’re using a mix of sources, recessed lights, pendants, and under-cabinet strips, add them up. LED lighting achieves high lumens with low wattage: a 10-watt LED bulb produces roughly 800–1,000 lumens, whereas an old incandescent would need 75 watts for the same output.
Color temperature ranges from warm (2,700K, yellowish) to cool (5,000K+, bluish). For kitchens, most designers recommend 3,000K to 4,100K. Warm light (2,700K) feels cozy for dining areas but can make food-prep work feel gloomy. Cool-white (4,000K) is excellent for task lighting and reduces eye strain. Neutral white (3,500K) splits the difference and works well in most kitchens.
Test before you commit. Many lighting showrooms let you view samples under different color temperatures. What looks right in the store should feel natural in your home’s existing cabinet and wall colors.
Also consider dimmers. Installing dimmer switches on your ceiling fixtures gives you flexibility: bright light for cooking, softer light for evening cleanup or when entertaining. Modern smart home lighting systems let you adjust brightness and even color temperature from your phone, though they cost more upfront.
Installation and DIY Considerations
Installation difficulty depends on your fixture type and existing electrical infrastructure.
Flush mounts and pendants are the easiest if a ceiling electrical box already exists. You turn off power at the breaker, disconnect the old fixture, and follow the manufacturer’s wiring diagram. You’ll need a voltage tester (non-negotiable for safety, $15–$30), a screwdriver, wire strippers, and wire nuts. Most installations take 30–60 minutes per fixture. If your kitchen has no central ceiling box, running new wire requires opening walls or ceilings and likely a licensed electrician.
Recessed lights are more involved. You need to cut holes in the drywall (a drywall saw or hole saw on a drill works, ~$10–$30), run electrical boxes, and wire them in parallel. You’ll also need to check for joists, ducts, and pipes in your attic or ceiling cavity before cutting. If your ceiling is insulated, buy recessed fixtures rated for insulation contact (IC), around $10–$15 extra, to prevent fire hazard. Many DIYers tackle one or two recessed lights, but a full grid (6–8 fixtures) is tedious and error-prone. Hiring an electrician for this job costs $300–$800 total, depending on complexity and your region.
Building codes vary, but most jurisdictions require any hardwired electrical work to comply with the National Electrical Code (NEC). In many areas, new circuits or panel work needs a licensed electrician. Always pull a permit before starting and have the work inspected. It’s tempting to skip this step, but unpermitted work can bite you at resale or when filing an insurance claim.
Safety rules: Wear safety glasses when cutting drywall (dust can fly), use a voltage tester before touching any wires, and work on a sturdy ladder or platform. Never work inside a live electrical box or run new circuits without proper breaker protection. If you’re unsure about any wiring step, hire a professional. A $150 electrician visit beats a house fire or shock hazard.
How much does it cost to install recessed lighting? varies widely based on fixture count, existing wiring, and your location. Budget $100–$200 per recessed fixture installed, or $150–$300 for a flush mount or pendant, including labor.
One final note: most building codes require kitchen ceiling fixtures to be on a dedicated 20-amp circuit separate from countertop outlets. This protects your lighting from tripping if you plug in a microwave or other high-draw appliance. Your electrician will ensure this during installation.


