Brass outdoor lighting has made a quiet but unmistakable comeback in home design. Whether it’s a heritage-inspired wall sconce or a modern pendant fixture, brass brings warmth, sophistication, and longevity to your exterior spaces. Unlike trendy finishes that fade in a few seasons, brass develops a natural patina over time, or you can keep it polished and gleaming. For DIYers and homeowners looking to upgrade their porch, patio, or entryway, brass fixtures offer a sweet spot between durability, aesthetic appeal, and relative ease of installation. This guide walks you through why brass works, which fixtures suit your space, how to install them safely, and what it takes to keep them looking good for decades.
Table of Contents
ToggleKey Takeaways
- Brass outdoor lighting doesn’t rust due to its copper-zinc composition, developing a protective patina or maintaining a polished finish that lasts 20–30 years with minimal upkeep.
- Choose brass fixtures based on your space—wall sconces for entryways, post lights for pathways, and pendant lights for covered patios—all offering durability and warm, sophisticated aesthetics.
- Always turn off power at the breaker, use weatherproof electrical boxes rated for outdoor locations, and verify local building codes before installing brass outdoor lighting, as many jurisdictions require permits.
- Polished brass finishes require cleaning every 6–12 months and occasional lacquer application, while patina finishes can be left natural and only need gentle rinsing to remove debris.
- Inspect mounting hardware, caulk seals, and electrical connections annually to prevent oxidation-related loosening and water intrusion that could damage internal components.
- Plan your entire outdoor lighting system on one circuit when possible to avoid running individual circuits to every fixture, and consider affordable dusk-to-dawn sensors or motion timers for convenience.
Why Brass Is the Gold Standard for Outdoor Lighting
Brass isn’t just another metal, it’s an alloy of copper and zinc that’s been trusted in outdoor applications for centuries. The reason is simple: brass doesn’t rust. While steel requires paint or powder coating to resist corrosion, brass oxidizes into a protective layer that shields it from further damage. That layer, often called patina, develops a rich, aged appearance that many homeowners deliberately preserve. Others prefer to maintain a polished finish with regular cleaning and lacquer touch-ups. Either way, you get a fixture that weathers gracefully rather than deteriorating.
Brass fixtures also conduct heat efficiently, making them ideal for areas near living spaces where you want comfortable lighting transitions. The color temperature of brass, that warm, honeyed tone, naturally complements most architectural styles, from farmhouse to contemporary. And unlike aluminum or plastic alternatives that can feel cheap under harsh outdoor sunlight, solid brass exudes quality.
Durability and Weather Resistance
When a brass fixture is exposed to rain, salt spray, UV rays, and temperature swings, it doesn’t weaken or break down. The copper-zinc composition creates a naturally corrosion-resistant surface. In coastal environments or regions with harsh winters, brass consistently outlasts painted steel fixtures by decades. Building codes recognize this reliability, brass fittings are standard in commercial and maritime applications where failure isn’t an option.
That said, brass does require care. A polished brass fixture left untouched will develop a dark, crusty patina that some call verdigris. If you dislike that look, you’ll need to clean and, ideally, apply a clear lacquer or wax coating annually. Alternatively, accept the patina as part of the fixture’s character, it actually deepens the sense of permanence and heritage in your landscape. Outdoor exposure is less intense than marine environments, so brass fixtures typically hold up for 20–30 years with minimal intervention.
Types of Brass Outdoor Lighting Fixtures
Not all brass outdoor lighting serves the same purpose. Choosing the right type depends on your space, the ambiance you want, and where the fixture will live on your property.
Wall Sconces and Post Lights
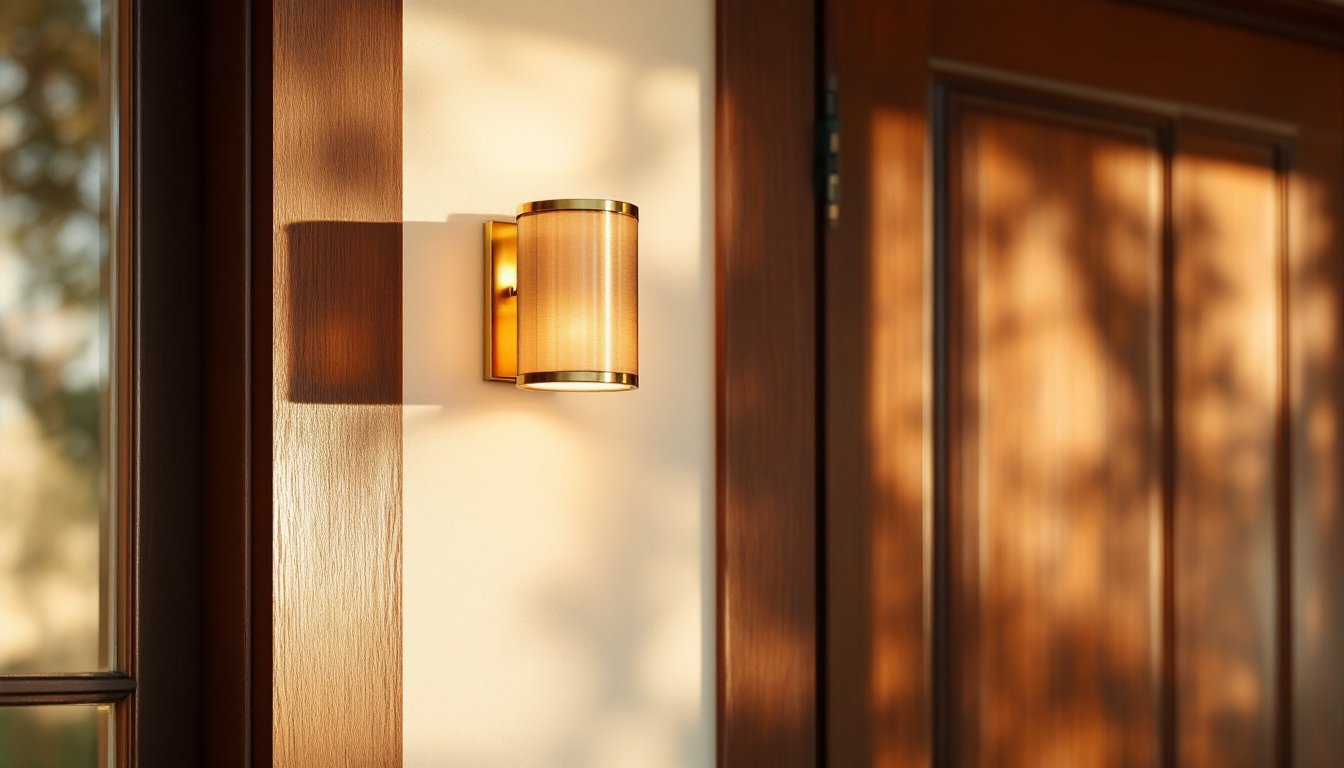
Wall sconces mount directly onto exterior walls and are ideal for flanking entryways, accent lighting along a walkway, or creating pockets of warm light on a porch. Brass sconces work especially well beside doors because they combine functional task lighting with visual appeal. A pair of matching sconces on either side of an entry creates symmetry and makes your home’s face more welcoming, and more secure, since intruders dislike well-lit entry points.
Post lights (also called bollards or post-top fixtures) sit atop 4×4 or 6×6 wooden posts, or metal sleeves, and provide ambient or pathway lighting. These work wonderfully along a driveway, bordering a patio, or marking steps. Brass post lights are often available in 18–36-inch heights, and they distribute light in a full 360-degree pattern or directional spreads depending on the design. One crucial note: if you’re installing a new post or sleeve, ensure it’s rated for outdoor use, pressure-treated lumber or galvanized steel are standard. Mounting height matters too: code typically wants post lights between 12–14 feet from the end of a driveway for visibility without glare.
Both sconces and post lights usually house standard E26 or E27 sockets, accepting A19 or PAR bulbs. LED and CFL options are now reliable for outdoor work, reducing energy draw and heat compared to incandescent. When selecting a bulb, aim for 2700K color temperature, that warm white that brass fixtures naturally showcase.
Pendant Lights and Chandeliers
Pendant lights hang from above, typically under a porch soffit or pergola, and cast light downward onto seating areas. Brass pendants create intimate zones under covered patios or gazebos. The key advantage is that they’re fully protected from direct rain, so you can use a wider range of finishes without worrying about abbreviated lifespan. Hanging height matters: pendants should be 12–15 inches below the soffit (or clear of head traffic) to avoid creating a bump hazard.
Outdoor chandeliers are rarer but increasingly popular. A small brass chandelier under a covered entry or pavilion adds elegance and character. These fixtures require more planning: you need solid ceiling framing, proper electrical boxes rated for outdoor/damp locations (wet or damp, depending on exposure), and a reliable waterproof seal at the junction. If you’re not confident in electrical work, this is the moment to call a licensed electrician, it’s worth the cost to avoid code violations or fire risk.
Installation Tips for DIY Enthusiasts
Before you buy, check local electrical codes. Some jurisdictions require a permit for outdoor lighting: others don’t. As a rule, if you’re running new circuits or upgrading from low-voltage to standard voltage, a permit is almost certainly needed. Don’t skip this step, it protects your home’s resale value and your insurance claim if something goes wrong.
Materials and tools you’ll need:
- Brass fixture (wall sconce, post light, pendant, etc.)
- Weatherproof electrical box (rated for wet or damp locations: marked on the label)
- NM cable or conduit (depending on your local code: exterior work often requires conduit)
- Wire connectors (UL-listed, moisture-resistant)
- Caulk (exterior-grade silicone: paintable if you want)
- Phillips and flathead screwdrivers
- Wire strippers
- Voltage tester (non-negotiable for safety)
- Drill and bits (for mounting holes)
- PPE: Work gloves, safety glasses, and a headlamp if working at dusk
Step-by-step installation (wall sconce example):
-
Turn off power at the breaker and verify the circuit is dead using a voltage tester. Seriously, don’t skip this step. A shock from 120V is painful and potentially fatal.
-
Mark mounting holes. Hold the fixture backplate against the wall where you want it. Use a pencil to mark screw holes. A level helps ensure it’s straight.
-
Drill pilot holes and install the electrical box. If you’re installing a new circuit, the box connects to the wire run coming from your breaker panel or a nearby existing box. If you’re tapping into an existing line, the new box splices in and must be accessible (not buried inside a wall).
-
Run wire. Code typically requires conduit for outdoor exposed wire, or NM cable if the wire is buried inside the wall. Check your local IRC or NEC requirements, they vary.
-
Make connections. Inside the electrical box, twist the incoming hot (black) wire, the fixture’s hot wire, and a pigtail together, then secure with a moisture-resistant wire connector. Repeat for neutral (white) and ground (bare copper). The ground is critical outdoors.
-
Seal and attach. Apply exterior-grade caulk around the box opening to prevent water intrusion. Then screw the fixture’s backplate to the box and attach the shade or trim ring.
-
Install the bulb and test. Use an appropriate LED or CFL bulb (check the fixture’s wattage rating). Turn the breaker back on and verify the light works.
For post lights, the process is similar, but you’re routing wire through or alongside the post itself and connecting to an outdoor-rated box at the post’s base or within the fixture. If you don’t have an existing outdoor circuit, running one from your panel is a more involved project, seriously consider hiring an electrician if you haven’t done it before.
One more thing: outdoor home lighting projects benefit from planning the entire system first. String multiple fixtures on one circuit if code allows (usually 15 or 20 amp circuits support 6–10 typical fixtures), and use junction boxes to branch connections. This avoids running individual circuits to every light. Check dusk to dawn outdoor lighting options if you want automation, motion sensors and timers are increasingly affordable and integrate well with brass fixtures.
Maintenance and Care for Long-Lasting Brass Fixtures
A brass fixture can last 30 years or more, but only if you treat it right. Most failures come from neglect, not material weakness.
For polished brass finishes:
Clean every 6–12 months (or more often in coastal areas). Use a soft cloth and warm soapy water, or a brass cleaner product designed for outdoor use. Dry thoroughly and apply a thin coat of clear lacquer or furniture wax if you want to slow patina. Store-bought brass polish works, but rinse thoroughly afterward, residue attracts salt and moisture.
For patina finishes:
You can leave them alone and let nature do its thing, but occasional gentle rinses (no harsh scrubbing) help remove bird droppings and mineral deposits. Avoid vinegar or acidic cleaners: they accelerate patina in ways you might not want.
For all brass fixtures:
- Check mounting hardware and electrical connections annually. Tighten any loose bolts: oxidation sometimes causes fasteners to creep loose.
- Inspect caulk seals around the electrical box. If cracks appear, re-caulk to prevent water intrusion.
- Replace any corroded wiring or connectors immediately. Don’t assume a loose connection will fix itself, it won’t.
- Keep the fixture’s ventilation holes (if it has any) clear of debris and spider webs, which can trap moisture.
Resource pages like The Spruce and Southern Living offer cleaning guides that translate well to brass. If your fixture includes a damp-location rated socket, be extra diligent about moisture, it’s the enemy. A brass fixture can tolerate weather, but standing water or condensation buildup inside the light assembly will eventually corrode internal components. Good ventilation is your best friend here. Home Depot Outdoor carries replacement bulbs, gaskets, and fixture components if parts wear out.


