Most homeowners overlook closet lighting until they’re squinting to match their socks at 6 a.m. The truth is, good closet lighting matters, it saves time, reduces frustration, and actually extends the life of your clothes by helping you see stains and fading before they become problems. Whether you’re working with a small reach-in closet or a sprawling walk-in closet, proper illumination transforms it from a dark cave into a functional, organized space. In 2026, affordable lighting options abound, and many can be installed in an afternoon without wiring headaches or hiring an electrician. Let’s walk through what you need to know to brighten up your closet for good.
Table of Contents
ToggleKey Takeaways
- Good closet lighting improves visibility, prevents clothes from fading unevenly, and helps you spot stains and damage before they become permanent problems.
- LED strip lights are the most affordable and DIY-friendly closet lighting solution, offering quick installation without rewiring at a cost of $15–$50 per strip.
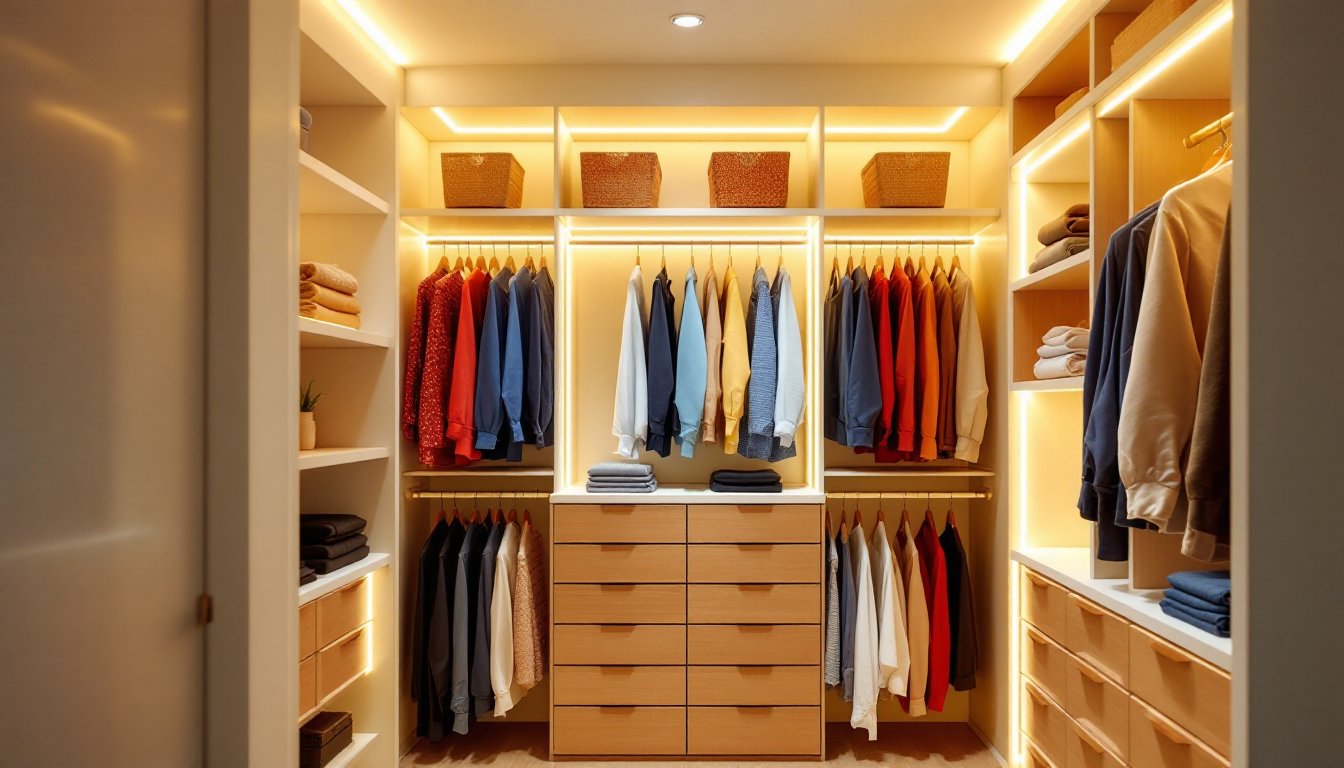
- For walk-in or small walk-in closet lighting, space fixtures 4–6 feet apart along back walls and above rods to ensure clothes are visible from both sides.
- Always use warm white LED bulbs (2700K–3000K) with a diffuser to avoid harsh spots and ensure colors look accurate in your closet.
- Battery-powered and plug-in lighting options let homeowners install closet lighting in under an hour without hiring an electrician or dealing with complex wiring.
- Before purchasing fixtures, measure your closet and identify dark corners and deep shelves, then prioritize lighting those high-visibility areas first.
Why Closet Lighting Matters More Than You Think
Good closet lighting isn’t a luxury, it’s practical. Poor visibility means you reach for the same outfits and miss pieces hiding in the shadows. You might grab what looks navy in dim light, only to step outside and realize it’s black. Over time, clothes stored in poorly lit closets fade unevenly, and you won’t notice stains or damage until they’re set in.
Beyond aesthetics, proper illumination improves safety. A well-lit walk-in closet or small walk-in closet lighting setup reduces tripping hazards and makes it easier to spot items on high shelves. If you’re dealing with a small walk-in closet, strategic lighting also makes the space feel larger and less claustrophobic.
Modern closet lighting ideas don’t require expensive rewiring either. LED technology has made retrofit options affordable and energy-efficient. A homeowner can add closet lighting to a reach-in or walk-in setup in under an hour using battery-powered or plug-in solutions. That’s a win for both your wallet and your morning routine.
Types Of Closet Lighting Solutions
LED Strip Lights and Under-Shelf Options
LED strip lights are the go-to for DIYers because they’re foolproof and affordable. These thin, flexible strips stick directly to the inside of your closet door’s upper edge or to shelves, casting light downward where you need it. Look for warm white (2700K–3000K) color temperature, it’s kinder on the eyes and more flattering to clothing colors than cool white or daylight tones.
Many modern LED strips come with either adhesive backing or small clips. If you’re installing strips on wood shelving, wipe down the surface with a degreasing cleaner first so the adhesive grabs properly. For plug-in models, run the cord along the inside of the closet frame and out through the door hinge area or down the back: it’ll stay hidden. Battery-powered LED strips avoid wiring entirely, a solid choice for small walk-in closet lighting ideas or rental situations.
When choosing LED strips, aim for at least 1000–1500 lumens per linear foot for adequate brightness. Check that the strips include a diffuser or frosted lens to avoid harsh hotspots and visible LEDs. Expect to pay $15–$50 per strip depending on length and features.
Recessed and Flush-Mount Fixtures
If you’re planning a deeper renovation or building a new closet, recessed lights offer a polished, professional look. These fixtures sit flush with the ceiling and don’t steal headroom, crucial in smaller spaces. Standard 4-inch recessed cans work well in most closets: they’re easy to source and install into standard drywall or ceiling material.
Recessed lighting placement requires a bit more planning than strips. Space fixtures roughly 4–6 feet apart for even coverage. You’ll need to cut holes in the drywall, run electrical wire in the wall cavity (following local building codes), and possibly install a switch or add the circuit to an existing switch. This is doable for a confident DIYer, but if your home lacks accessible wiring runs or you’re unsure about the electrical work, calling an electrician is the smart move.
Flush-mount fixtures, essentially small round or square light fixtures that sit directly on the ceiling, are another option. They’re easier to retrofit than recessed lights because they mount on top of the drywall without cutting into it. Recessed lighting housing solutions exist if you want a hybrid approach: surface-mount fixtures that look nearly recessed.
For either fixture type, use LED bulbs rated for enclosed spaces if your closet has a door that closes. This prevents heat buildup and ensures the bulbs last as long as rated. Expect 9–15 watts per LED bulb for good brightness, comparable to a traditional 60–75-watt incandescent.
How to Plan and Install Closet Lighting
Before you buy anything, measure your closet and identify where light is needed most. Stand inside and identify dark corners, deep shelves, or back walls that lack visibility. For a reach-in closet, a single LED strip or small flush-mount above the door might suffice. For a walk-in or small walk-in closet, you’ll likely need fixtures along the back wall and possibly over the rod so hanging clothes are illuminated from front and back.
Step-by-step installation for LED strip lights:
- Clean the mounting surface with a degreasing cleaner and let it dry fully.
- Peel back the adhesive backing and press the strip firmly into place, starting at one end and working across.
- Run the power cord along the wall seam or down the frame edge to keep it out of sight.
- Plug the strip into an outlet or battery pack as directed by the manufacturer.
- Test for even brightness and adjust placement if hotspots appear.
Step-by-step for a basic surface-mounted or flush-mount fixture:
- Turn off power to the circuit at the breaker panel.
- Remove the old fixture (if replacing), or prepare the ceiling by marking the center point of where the new fixture will go.
- Install a brace or mounting bracket according to the fixture’s instructions, this is critical for safety.
- Run wire through the fixture’s junction box, ensuring the ground wire (bare copper) is attached securely.
- Connect the fixture’s wires to the circuit wire using wire nuts, matching hot to hot, neutral to neutral, and ground to ground.
- Secure the fixture to the bracket, add the trim ring, and install your bulb.
- Restore power and test.
If you’re uncomfortable with electrical work, don’t skip it, have a licensed electrician handle the wiring. Building codes require permits for any new electrical circuits or significant modifications, and code inspectors will verify the work. It’s worth the cost and peace of mind.
Safety tips:
- Always wear safety glasses when drilling or cutting drywall, dust and debris can irritate eyes.
- Use a stud finder to locate framing before drilling into ceilings: never drill blind into walls or ceilings without confirming what’s behind them.
- If running new wire, pull it through conduit or use the correct wire gauge (typically 12-2 or 14-2 Romex) as required by code for the circuit.
- For battery-powered LED strips, check the batteries every 6–12 months and replace as needed to maintain brightness.
Lighting placement in a walk-in closet should follow the principle of “light the path and the goods.” Install fixtures along the back wall and over the rod area so clothes are visible from both sides. In a small walk-in closet, this might mean one strip on an upper shelf and one near the rod, minimal but effective. Consider motion-activated battery-powered strips for convenience if you’re tired of fumbling for a switch in the dark.
While planning, explore modern lighting solutions to see how other homeowners have tackled similar spaces. Also, home lighting fundamentals can help you understand color temperature and brightness levels so you make an informed choice. Researching closet lighting ideas and design inspiration from trusted sources ensures you avoid common mistakes, like installing lights too far apart or choosing a color temperature that makes clothing look washed out.
Conclusion
Closet lighting doesn’t have to be complicated or expensive. Start with LED strips if you want a quick, reversible solution, or invest in recessed fixtures if you’re remodeling. Either way, proper lighting transforms your closet from a frustration into an asset. Measure twice, choose warm white LEDs, and don’t skip the safety steps. A well-lit closet makes getting dressed faster, keeps your clothes looking better, and frankly, makes morning routines a lot less grumpy.


