Outdoor lighting shapes how we experience our homes after dark. A well-lit patio becomes an extension of living space: poorly lit pathways become safety hazards. Contemporary outdoor lighting ditches the ornate Victorian fixtures and clunky floodlights in favor of clean lines, functional design, and smart integration. Whether you’re planning to add uplighting to a planting bed, install recessed soffit lights, or set up motion-sensing security fixtures, understanding contemporary styles and installation basics puts the control in your hands. This guide walks you through fixture selection, layout planning, and DIY installation, so your outdoor space works as hard as your living room after the sun sets.
Table of Contents
ToggleKey Takeaways
- Contemporary outdoor lighting prioritizes minimalism, clean lines, and material honesty—think brushed aluminum and matte black finishes—while avoiding ornate Victorian styles and clunky floodlights.
- Contemporary outdoor lighting design requires fixtures rated IP65 or higher for dust and water resistance, with lumens (not watts) clearly specified to prevent overlighting and energy waste.
- Layer your lighting with functional (pathways and stairs), accent (uplighting trees and features), and ambient (wall sconces and soft lights) to create depth and visual interest after dark.
- LED fixtures are essential for outdoor spaces, delivering 75% energy savings compared to halogen equivalents and lasting 25,000+ hours, making them a practical long-term investment.
- Smart outdoor lighting with motion sensors and WiFi controls cuts energy consumption by activating lights only when needed and integrating them into whole-home automation schedules.
- Always prioritize safety during installation: locate studs for wall-mounted fixtures, use stainless steel fasteners, test all wiring before closing boxes, and hire a licensed electrician for line-voltage circuits requiring GFCI protection.
Understanding Contemporary Outdoor Lighting Design
Key Characteristics Of Modern Outdoor Fixtures
Contemporary outdoor lighting prioritizes minimalism, functionality, and material honesty. Think brushed aluminum, matte black powder coating, and stainless steel rather than ornate brass or painted finishes that weather unevenly. Modern fixtures emphasize geometric forms, cylinders, cubes, clean rectangular shapes, over fussy details.
Lumen output (brightness measured in lumens, not watts) is specified upfront. A decent landscape uplighter runs 400–800 lumens: pathway lights, 100–200 lumens: and deck post caps, 50–150 lumens. This clarity helps you avoid overlighting, which wastes energy and looks harsh.
Material durability is non-negotiable outdoors. Look for fixtures rated IP65 or higher, that IP (ingress protection) number tells you the enclosure resists dust and water spray. For ground-level or submerged fixtures, IP67 or IP68 is necessary. Cast aluminum bodies outlast plastic: stainless steel hardware resists corrosion better than galvanized fasteners.
Contemporary fixtures also embrace modular design. Modular systems let you mix and match components, swap heads on the same base, nest track rails in different configurations, or resize linear fixtures without replacing the whole assembly. This flexibility suits renovation timelines and budget constraints.
Essential Fixture Types For Your Outdoor Space
Wall-mounted sconces remain workhorse fixtures for entry doors, garages, and porches. Choose models with asymmetrical optics, these direct light down and out, not straight up (which creates glare and light pollution). Expect to spend $40–$150 per fixture for quality LED sconces that mount to studs with standard outlet-box hardware.
Recessed soffit lights tuck into horizontal surfaces (soffits, fascia, deck framing). They’re cleaner visually than surface-mounted lights but require drilling holes and running wiring before installation. Trimless trims (some models feature integral trim rings) suit contemporary style better than flanged trims. Plan on $25–$80 per unit.
Bollard pathway lights and post-top fixtures define edges without overwhelming space. A 2–3 foot tall bollard with warm white LEDs (2700K color temperature) creates inviting ambiance along a walkway. These typically stand alone or mount to decks and are the DIYest fixture type, many plug into outdoor outlets and require no wiring skills.
Linear under-rail lighting or deck rail lights mount flush to horizontal surfaces and cast light downward. Contemporary designs use thin aluminum extrusions (often 1–2 inches wide) that disappear visually. These suit composite or low-rail systems better than traditional balusters.
Uplighting and spotlighting highlight architectural features, plantings, or focal points. Ground-mounted uplighters sit flush or on short stakes and aim light upward: their narrow beams (typically 15–40 degrees) concentrate output precisely. These cost $30–$100 each depending on wattage and optics.
When selecting fixtures, note that LED Lighting: Transform Your dominates outdoor applications now. LED fixtures eliminate the bulb-replacement hassle and cut energy use by 75% compared to incandescent halogen equivalents.
Planning Your Contemporary Lighting Layout
Start by mapping the zones you actually use after dark: entries, seating areas, pathways, and features you want to highlight. Sketch your space roughly (graph paper works fine) and mark hardscape edges, stairs, and obstacles. Then assign fixture types to zones.
Functional lighting covers safety: illuminating stairs, thresholds, and pathways to 0.5–1 foot-candle (about 5–10 lumens per square foot). Don’t overthink this, a strategically placed pathway light every 6–8 feet and a sconce at entry doors covers most sites. Under-deck lighting or soffit lights prevent tripping if your deck sits more than 12 inches above grade.
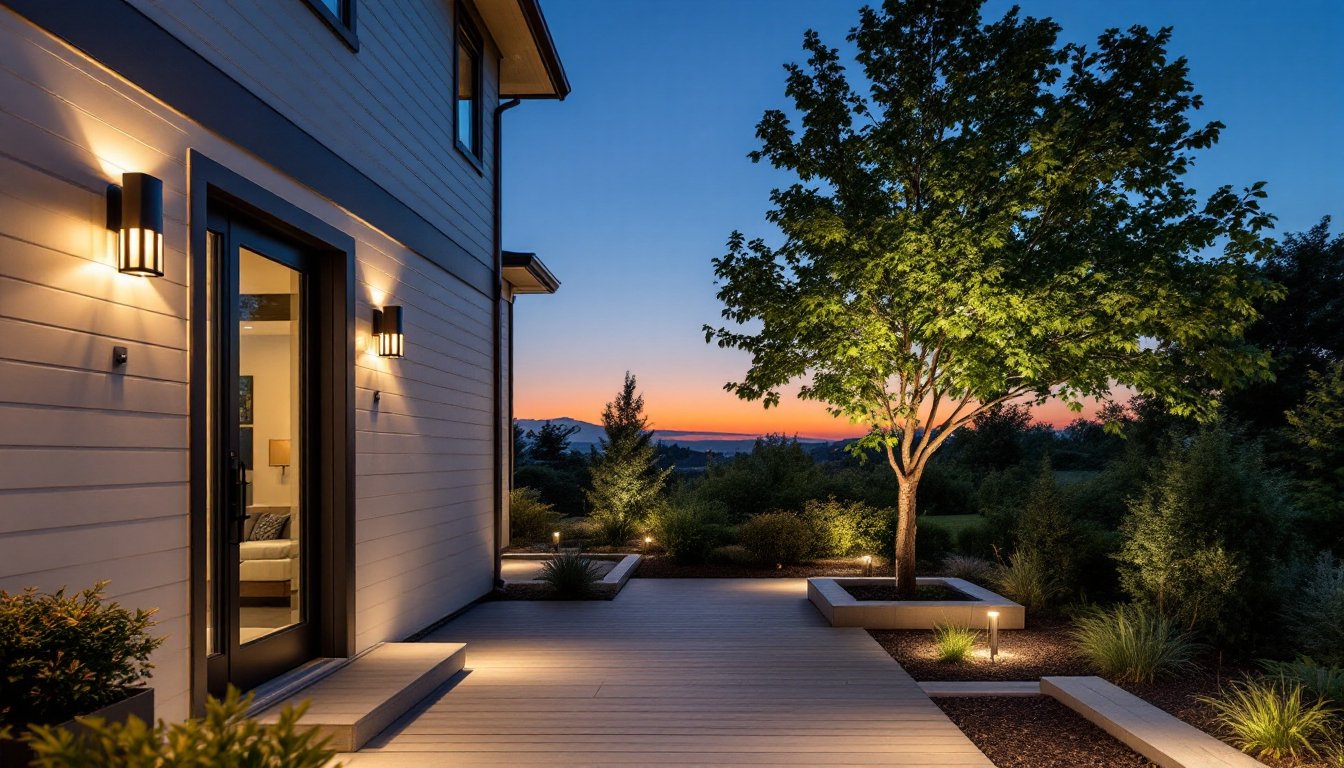
Accent lighting highlights architecture, plantings, or water features using uplighting or spotlighting. Uplighting a tree or planting bed from ground level creates drama and depth. Aim for a 3:1 ratio of accent light intensity to surrounding ambient light: if your deck is lit at 20 lumens per square foot, aim accent lights at 60 lumens on their target.
Ambient lighting ties zones together. Wall-mounted sconces on the house and soft path lights create cohesion without spotting or shadowing. Warm white (2700K) LEDs feel residential and inviting: 3000K works for contemporary spaces: anything above 4000K (cool white) reads commercial.
One key rule: layer your lighting. A patio lit only by overhead sconces feels flat and uninviting. Add uplighting on planting beds, soffit lights on the deck edge, and a pathway light or two to create depth and visual interest. Space uplighters about 8–12 feet apart: keep pathway lights 6–8 feet apart.
Measure twice, mark stake locations with chalk or flags, and stand outside at dusk to confirm the layout makes sense. Shadows, sightlines, and glare reveal themselves at this stage, moving a stake 2 feet costs nothing now but hours of rework later.
Installation Tips For DIY Success
Surface prep is half the job. Clean mounting surfaces (siding, fascia, deck boards) with a wire brush or pressure washer set to 1500 PSI max, higher pressures erode wood and soften paint. Let surfaces dry completely before drilling. Use stainless steel or galvanized fasteners only: plain steel rusts and stains. Drill pilot holes to prevent splitting wood.
For wall-mounted sconces and soffit lights, locate studs using a stud finder and mount to solid framing when possible. If mounting between studs, use toggle anchors or heavy-duty plastic anchors rated for the fixture weight. Most contemporary sconces weigh 3–5 pounds: anchors rated for 25+ pounds provide safety margin.
For hardwired fixtures (anything not plug-in), you’ll need to run low-voltage wire (usually 12V DC) from a transformer or line-voltage (120V) conduit from a weatherproof outlet box. Line-voltage work requires a basic understanding of circuit breakers and wire gauges. If you’re unfamiliar with electrical code, hire a licensed electrician, outdoor circuits must include GFCI protection (ground-fault circuit interrupter), which detects shock hazards and trips instantly. This is non-negotiable.
When burying cable for ground-level uplighters or pathway lights, dig 6–12 inches deep and lay cable in a trench, or use low-voltage direct-burial wire (UF or USE cable rated for outdoor burial). Mark the trench with flags during the installation so you don’t accidentally strike it with a shovel next spring. Some codes require conduit over the entire run: check locally before digging.
For deck-mounted lights, predrill all holes and use stainless steel fasteners. Pre-drilling prevents splintering and makes fasteners drive smoothly. If attaching to composite decking, consult the manufacturer’s specs, some composites require pilot holes only: others allow screws without them.
Test everything before you close up any boxes or cover any wiring. Flip breakers on, toggle switches, and confirm all fixtures illuminate. Dimness, flickering, or a fixture that doesn’t light hints at wiring errors or incompatible dimmer switches, troubleshoot now, not after finishing.
Wear safety glasses and work gloves when drilling into siding or fascia. If running 120V circuit work, shut off the main breaker, use a voltage tester to confirm power is off, and follow all NEC (National Electrical Code) rules for your jurisdiction. Exterior Home Lighting: Transform Your Space into a Magical Haven covers installation depth if you need a deeper resource.
Smart Technology And Energy Efficiency
Smart outdoor lighting, fixtures controlled via smartphone app, voice command, or motion sensors, transforms convenience and safety. Modern systems use either WiFi-enabled smart bulbs (for plug-in or retrofit scenarios) or dedicated smart hubs wired into your system. WiFi systems suit homeowners upgrading existing fixtures: hub-based systems offer more granular control and faster response for security lighting.
Motion sensors (passive infrared or microwave-based) cut energy waste by turning lights on only when needed. These suit security lights, entry sconces, and pathway lights. Look for adjustable sensitivity (to avoid false triggers from blowing leaves), adjustable duration (typically 5 minutes to 30 minutes), and dusk-to-dawn capability, the light activates only after sunset. A motion sensor costs $15–$50 and installs in minutes on many fixtures.
LED technology is non-negotiable for energy efficiency. A 10W LED outdoor sconce delivers light equivalent to a 50W halogen fixture and lasts 25,000+ hours (roughly 25 years of typical seasonal use). Your annual electricity cost per fixture drops from ~$30 (halogen) to ~$5 (LED). Over five years, that’s $125 saved per fixture, money that pays for smart controls.
Home Automation Lighting: Transform Your Space with Smart Technology Now systems integrate outdoor fixtures into whole-home schedules. Lights fade on at sunset, brighten when motion is detected, and dim after a set hour to respect neighbors and save energy. Some systems also detect sunrise and adjust accordingly, no timers to reprogram seasonally.
Color-tuning fixtures (2700K–4000K adjustable) aren’t yet common in mainstream outdoor lighting, but emerging models let you shift warmth for different moods or times of year. These cost 2–3× more than fixed-color LEDs, but they’re worth considering if you entertain frequently or desire flexibility.
Consider your home’s electrical capacity before adding many hardwired smart lights. Most outdoor circuits (15 amp breaker, 14-gauge wire) safely support 6–8 LED fixtures. More than that, and you’ll need a dedicated circuit, another reason to confirm code requirements and consider professional setup if your home is older or your panel is already maxed out.
Conclusion
Contemporary outdoor lighting isn’t a luxury, it’s a practical investment in safety, usability, and curb appeal. Start with a clear plan, choose fixtures that match your style and durability needs, and install with care to avoid rework. Prioritize LED and smart controls to keep running costs low. The sites Design Milk and Gardenista’s hardscaping guide offer visual inspiration and deeper technical detail if you want to explore further. Your outdoor space now works, and looks, like it belongs.


