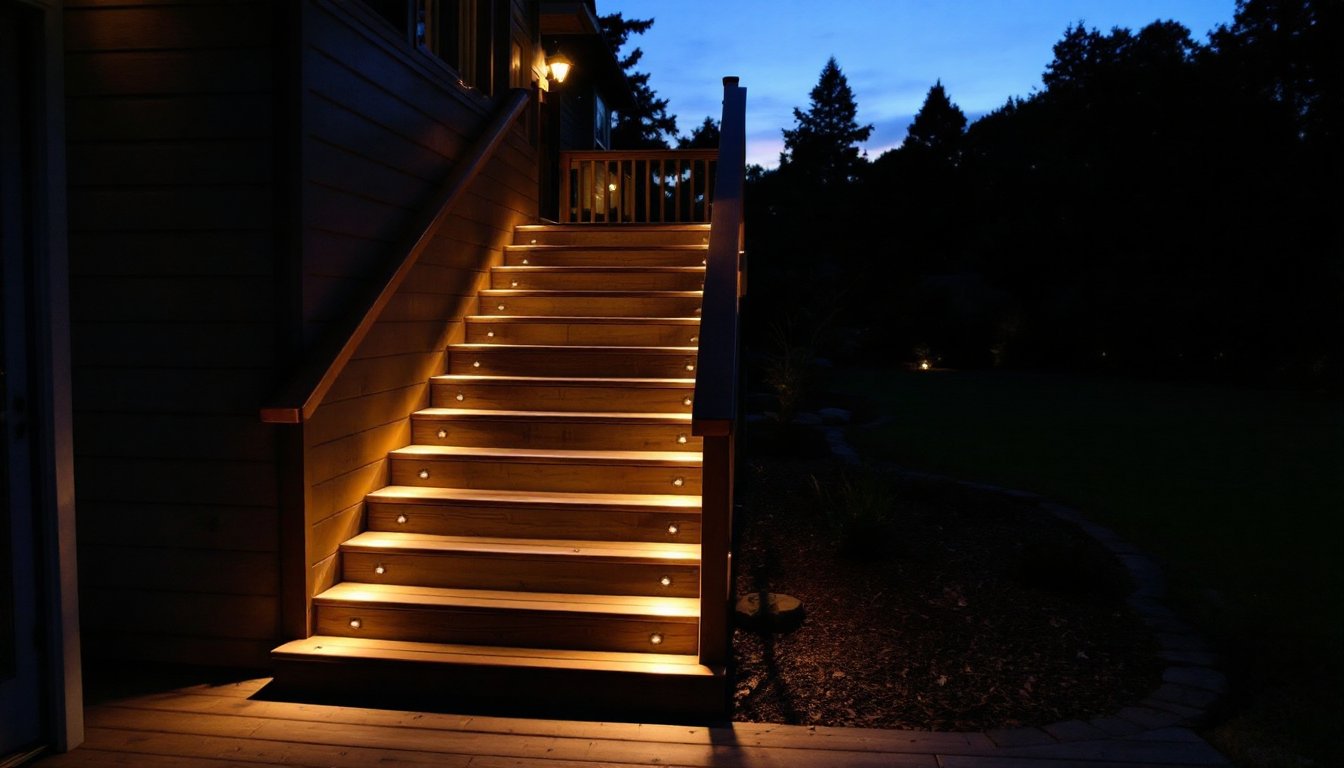
Deck stairs are often an afterthought in outdoor lighting plans, yet they’re one of the most critical safety zones in any backyard. A misstep on unlit stairs can mean a nasty fall, and that’s before the sun even fully sets. Beyond safety, proper deck stair lighting transforms how you use your outdoor space. Whether it’s a casual evening gathering or a late-night trip to the fire pit, well-placed lighting makes stairs visible, prevents accidents, and adds a polished touch to your home’s nighttime curb appeal. This guide walks through the practical choices homeowners face when planning deck stair lighting, from fixture types and installation methods to maintenance schedules that keep everything running smoothly through the seasons.
Table of Contents
ToggleKey Takeaways
- Deck stair lighting is critical for preventing falls and injuries while transforming your outdoor space into a functional, inviting area that extends evening entertaining.
- LED strip lights and recessed fixtures are the most practical deck stair lighting options, with LED strips offering easy installation and recessed fixtures providing a polished, seamless appearance.
- Solar-powered lights offer no-wire convenience with 6-8 hour run times, while low-voltage systems deliver superior brightness and dimming options for decks with regular evening traffic.
- Proper placement—whether tread-mounted, riser-mounted, or side-mounted—depends on your stair design, shade coverage, and aesthetic goals; most decks need 8-12 lights per staircase.
- DIY deck stair lighting installation requires careful prep work, weatherproof sealing to prevent rot, and GFCI-protected electrical work when hardwiring, with many jurisdictions requiring permits.
- Monthly testing and seasonal maintenance—clearing debris, inspecting seals, and replacing solar batteries every 2-3 years—keeps deck stair lighting safe and functional year-round.
Why Deck Stair Lighting Matters for Safety and Aesthetics
The National Electrical Code (NEC) and International Residential Code (IRC) don’t mandate stair lighting for decks, but most building departments encourage it as a best practice for residential safety. Poor visibility on stairs causes thousands of injuries annually, twisted ankles, skinned shins, and worse. Proper lighting eliminates shadows, reveals edge lines, and gives users time to adjust foot placement.
Beyond the safety argument, deck stair lighting is a game-changer for evening entertaining. Low-voltage accent lights create depth and make the deck feel like an intentional outdoor room rather than something that disappears after sunset. A well-lit stair becomes a focal point, a visual anchor that ties your deck to the rest of your landscape design. Most homeowners discover that once they install stair lighting, they use their decks more often and for longer hours into the evening.
The investment is modest compared to deck repairs from accident-related damage or the cost of updating a deck that feels unsafe after dark. Quality stair lighting also protects your investment by illuminating potential hazards like frost heave, warped boards, or storm damage before someone’s foot finds them in the dark.
Types of Deck Stair Lighting Options
LED Strip Lights and Recessed Fixtures
LED strip lights are the workhorse of deck stair lighting. Thin, flexible adhesive-backed strips mount flush along the bottom or side of each stair riser or tread, casting a subtle downward glow. They’re low-profile, widely available, and consume minimal power, a 16-foot run uses about 2.4 watts per foot. Most strips are rated for outdoor use (IP65-rated or better) and survive freezing cycles, though you’ll want to verify the warranty for your climate.
Recessed lighting housing options designed for stairs offer a more finished look. Small recessed cans (2 to 3 inches in diameter) mount into the stair tread or riser, creating a seamless appearance. These require drilling and a power source, making installation slightly more involved than adhesive strips, but the result is more polished. Both options pair well with dimmer switches, letting you dial brightness from barely visible (great for late-night trips) to full visibility for gatherings.
Solar-Powered and Low-Voltage Systems
Solar deck stair lights are the easy-install option: no wiring, no power source, just post them in sunlight during the day and they glow at night. Expect run times of 6 to 8 hours on a full charge, though real-world performance dips in winter and cloudy regions. Quality matters here, budget solar lights often fade in brightness after one season. Mid-range solar options (around $30–$60 per light) deliver 2 to 3 seasons of reliable performance.
Low-voltage systems (12V or 24V) run off a transformer plugged into a standard outlet. They’re brighter and more reliable than solar, especially in northern climates, and offer dimming and color options that solar can’t match. Installation involves running a buried or surface-mounted cable from your deck to an outlet, which requires a weatherproof box and, in some jurisdictions, a permit. Modern Lighting: Transform Your Space with the right fixture selection can mean choosing between these systems based on your deck’s location, shade coverage, and how often you actually use the stairs after dark. Low-voltage is worth the extra setup if your stairs get regular evening traffic.
Planning Your Deck Stair Lighting Layout
Start by measuring your stair run and rise, the horizontal tread depth and vertical riser height. Standard residential stairs have a 10-inch tread and 7.75-inch riser, though decks often vary. Count your steps and note whether your stairs are open (stringers visible underneath) or closed (solid risers).
For lighting placement, you have three main options: tread-mounted (lights on top of each step), riser-mounted (lights on the vertical face), or side-mounted (lights on the outer stringer). Tread mounting is brightest and most visible but can cast shadows on the next step down. Riser mounting keeps light subtle and creates a linear guide: this works beautifully on stairs with closed risers. Side mounting on the stringer edge is discreet and works for open stairs. Many DIYers combine two methods, riser lights for safety and stringer lights for ambiance.
Consider shade and obstruction too. If your deck is under tree cover, solar lights may not charge enough. If stairs are exposed to afternoon sun but you only use them at dusk, solar works fine. Outdoor Home Lighting: Transform Your Space into an Inviting Evening Oasis requires thinking about how light spreads: upward light can annoy neighbors: downward-only lighting keeps the focus on the stairs themselves.
Sketch a layout on paper. Most residential decks need 8 to 12 lights per staircase depending on width. Write down your power source, outlet location, underground obstacles, or full reliance on solar, because this drives your fixture choice.
Installation Tips for DIY Success
Prep your stairs first. Clean the stair treads and risers with a stiff brush and let them dry completely. Any dirt, algae, or moisture compromises adhesive-backed light strips. If installing recessed fixtures, lay out the hole locations with a pencil and use a drill bit slightly smaller than your fixture diameter, nominal sizing matters here: a 2.5-inch recessed light needs roughly a 2.75-inch hole to seat properly.
For adhesive-backed LED strips: Peel and stick along the bottom lip of each riser or the inner edge of the tread. Press firmly for 10 seconds per section. Let adhesive cure for 24 hours before exposing strips to weather. Run cables along the stair edge or (for low-voltage systems) hide them under a riser or beneath the deck itself, securing with outdoor-rated staples every 12 inches. Avoid running power cables across walking surfaces.
For recessed fixtures: Drill your holes, then carefully fish the power cable through. Insert the fixture can and secure with the provided spring clips or adhesive ring, depending on the model. Seal gaps with exterior-rated silicone, this is crucial to prevent water pooling and wood rot around the fixture rim.
Safety first: Wear safety glasses when drilling and cutting: wear gloves if handling sharp stair edges. If your installation requires a power source running to a deck outlet, consult the IRC section on outdoor receptacles (they need GFCI protection and weatherproof covers). This often requires an electrician, and many jurisdictions mandate a permit for any hardwired outdoor electrical work. Don’t skip this, it’s not bureaucracy: it’s fire and shock prevention.
Fine Homebuilding offers excellent guidance on framing and securing outdoor fixtures if you’re mounting lights into composite or pressure-treated lumber. Test your lights before you finish, especially if you’re installing a dimmer switch, to confirm brightness levels and wiring polarity.
Maintenance and Seasonal Considerations
Once installed, deck stair lighting needs minimal upkeep, but seasonality matters. In late fall, clear debris from around light fixtures: leaves and dirt trap moisture and degrade adhesive seals. Before winter, inspect all seals and reapply silicone around recessed fixture rims if you notice cracks.
For solar lights, clean the panels with a damp cloth twice a year and replace batteries every 2 to 3 years (or when run time drops noticeably below 6 hours). Battery contacts corrode faster in humid climates: a light coat of petroleum jelly on contacts extends life.
LED strips rarely fail, but check cable connections yearly for corrosion, especially where buried cables meet fixtures. Tighten any loose fasteners and test dimmer switches to confirm smooth operation. Home Depot Outdoor Lighting: Transform Your Backyard into a Nighttime Oasis can be a starting point for replacement fixtures if any light fails. Most LED strips are modular, you can replace a single failed section without rewiring the entire run.
In climates with hard freezes, low-voltage cables can become brittle if not rated for outdoor use (check the jacket rating on the cable itself: 600V outdoor-rated cable handles freeze-thaw cycles better than standard wire). If you’re in a region with heavy snow, consider mounting lights slightly higher on the riser to avoid burial under plowed snow.
Make a note on your calendar to test all lights once a month during active season (spring through fall). A quick walk at dusk confirms everything’s working before a guest event, and early detection of dimming or dead LEDs means a fast swap instead of a dark staircase mid-summer.


