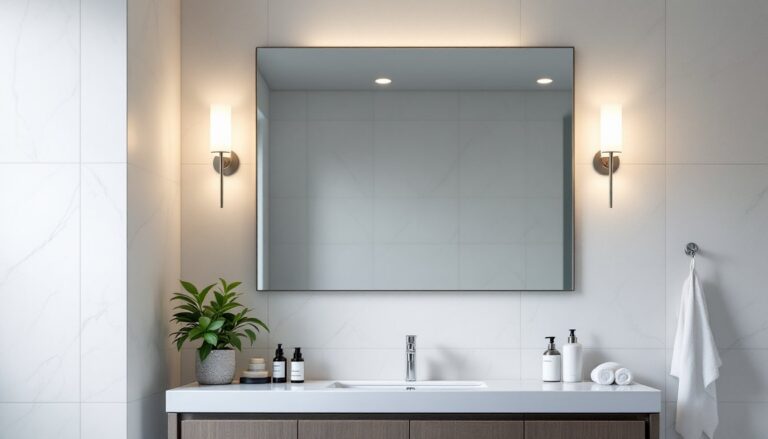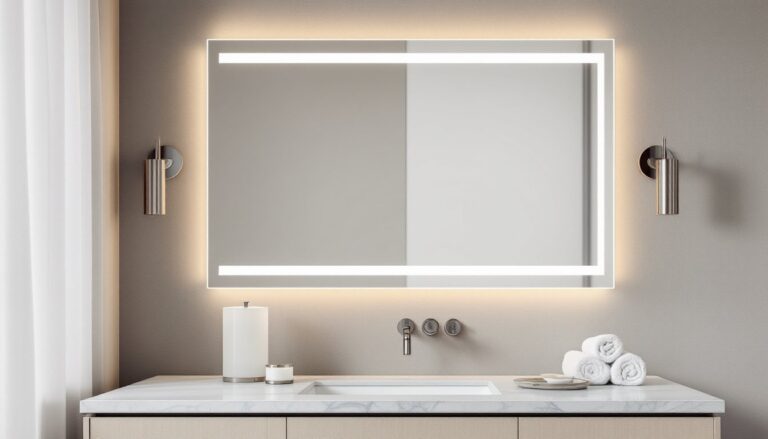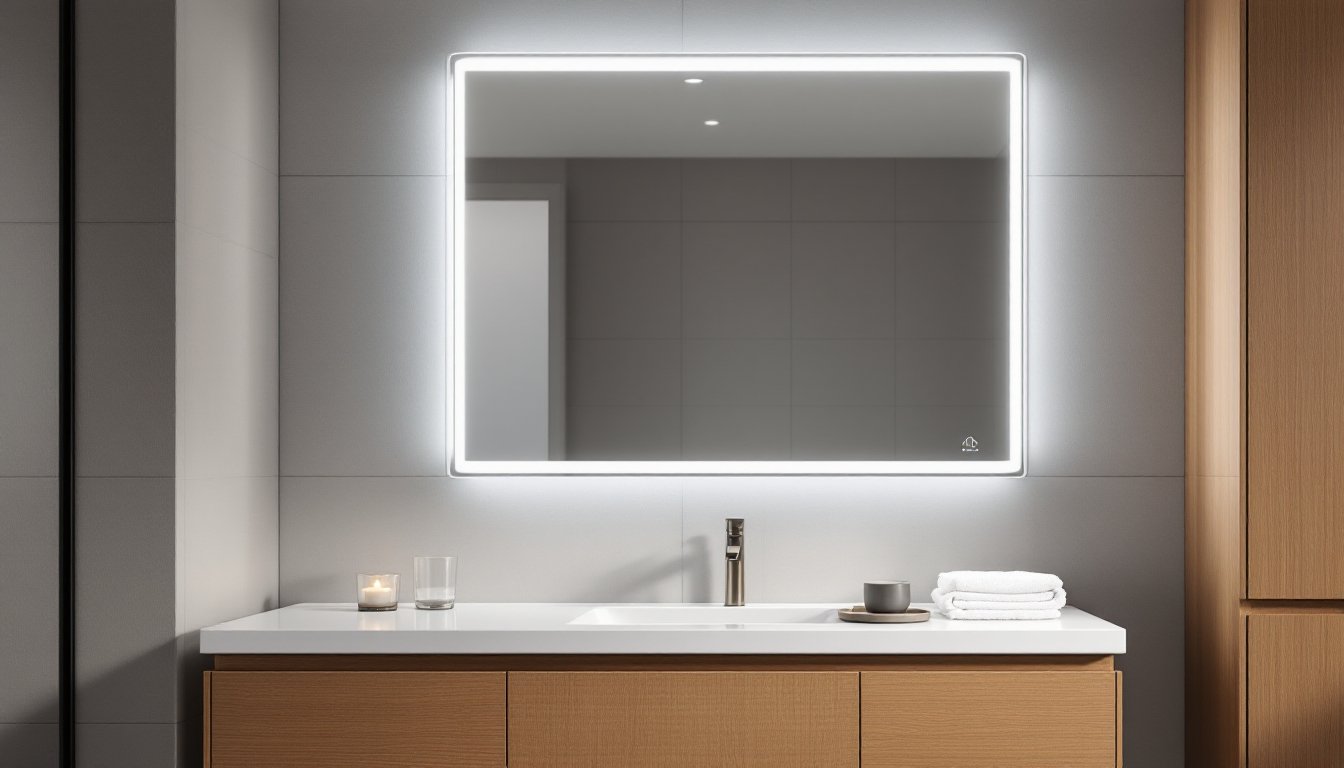
A good vanity mirror does more than reflect, it sets the lighting stage for everything from a clean shave to a flawless winged eyeliner. That’s why LED light vanity mirrors have quietly become one of the most requested upgrades in bathroom remodels and bedroom dressing areas. They’re bright, energy-efficient, and surprisingly affordable compared to swapping out an entire fixture array. This 2026 guide walks through what makes a quality LED light mirror vanity setup worth the money, what features actually matter, and how to install one without calling an electrician for every step.
Table of Contents
ToggleKey Takeaways
- LED light mirror vanity setups save 75% more energy than incandescent bulbs while lasting 25,000+ hours, making them a practical upgrade for bathrooms and dressing areas.
- Choose a mirror with color temperature between 3000K–5000K, at least 800–1200 lumens, and a CRI of 90+ to ensure accurate makeup application and grooming.
- Mount the mirror 60–65 inches from the floor for optimal eye-level positioning, and pair it with overhead recessed lighting for layered illumination that professional designers recommend.
- LED mirrors require LED-rated dimmers to avoid flickering, and most units are sealed to last 20,000–50,000 hours without needing bulb replacement during their lifetime.
- Hardwired LED light vanity mirror installation is DIY-friendly if a junction box exists; otherwise, hire a licensed electrician for new wiring and GFCI circuit work required by code.
Why LED Light Vanity Mirrors Are Worth the Upgrade
Traditional sconces and overhead cans cast harsh shadows under the eyes and chin, which is the opposite of what anyone wants when they’re putting on makeup or trimming a beard. LED light vanity mirrors solve that by placing diffused light directly around the face, mimicking the soft, even glow professional makeup artists use.
The practical benefits stack up fast:
- Energy use: LEDs draw roughly 75% less power than incandescent bulbs and last 25,000+ hours.
- Heat output: Cool to the touch, which matters in a small bathroom.
- Color accuracy: Modern LEDs hit a CRI (Color Rendering Index) of 90+, so makeup looks the same indoors as it will outside.
For anyone planning a broader refresh, pairing a lit mirror with smart over vanity lighting creates layered illumination that flat-out beats a single overhead fixture.
Key Features to Look for Before You Buy
Not every light up makeup vanity is built the same. Some look great on a product page and disappoint the moment they’re hung. Here’s what separates the keepers from the returns.
Color Temperature, Brightness, and Dimming Controls
Color temperature is measured in Kelvin (K). For grooming and makeup, the sweet spot is 3000K to 5000K, with adjustable models being the most versatile. Warmer tones (2700K–3000K) flatter skin but distort makeup colors. Cooler tones (5000K+) show every detail but can feel clinical.
Look for these specs:
- Lumens: At least 800–1200 lumens for a standard vanity mirror.
- Tri-color or tunable white: Lets users switch between warm, neutral, and daylight.
- Memory dimming: Remembers the last setting after power-off.
- CRI 90+: Non-negotiable if accurate color matters.
A review of one Alexa-enabled smart mirror in Tom’s Guide’s hands-on test noted that while voice control sounds gimmicky, the dimming and color presets were the features actually used daily.
Size, Shape, and Mounting Style Options
Mirror size should match the vanity below it. A general rule: the mirror should be 2–4 inches narrower than the vanity or sink base on each side. Common shapes include:
- Rectangular: Classic, works in nearly any layout.
- Round or oval: Softens a bathroom dominated by hard lines.
- Arched: Trending hard in 2026, especially in transitional designs featured across Remodelista’s bath sourcebooks.
Mounting comes down to three main styles: hardwired flush-mount, plug-in wall-mount, and freestanding tabletop. Hardwired looks cleaner but requires an existing junction box or new wiring.
How to Install an LED Vanity Mirror Step by Step
Hardwired installation is a moderate DIY job. Anyone comfortable replacing a light fixture can handle it. If the wall has no existing junction box and new circuit work is needed, that’s a licensed electrician’s territory (and likely a permit per local code, since the NEC requires bathroom circuits to be GFCI-protected on a dedicated 20-amp line).
Tools and materials:
- Stud finder, level, drill, screwdriver
- Wire nuts, voltage tester, wire stripper
- Safety glasses and insulated gloves
- Mounting hardware (usually included)
Steps:
- Shut off power at the breaker and verify with a voltage tester. Never trust the switch alone.
- Remove the old mirror or fixture. Patch and prime any drywall damage before mounting.
- Locate studs behind the mounting points. Drywall anchors work for lighter mirrors (<30 lbs): heavier units need to hit a stud or use toggle bolts rated for the weight.
- Mount the bracket level. A mirror hung 1/4 inch off looks crooked from across the room.
- Connect wiring: black to black (hot), white to white (neutral), green or bare copper to ground. Cap each with a wire nut and wrap with electrical tape.
- Tuck wires into the junction box and secure the mirror to the bracket.
- Restore power and test all functions: brightness, color modes, defogger if equipped.
For plug-in models, the process is just steps 3–4 plus plugging into a nearby GFCI outlet. Much friendlier for renters. A broader breakdown of fixture wiring lives in this bathroom lighting guide for anyone tackling more than just the mirror.
Styling and Placement Tips for a Designer Look
Hanging height matters more than most people realize. The center of the mirror should sit roughly 60–65 inches from the finished floor, which puts the lit zone at eye level for the average adult. In shared bathrooms, splitting the difference between household heights usually works.
A few placement notes:
- Leave 6–8 inches between the top of the faucet and the bottom of the mirror.
- Avoid mounting directly against a window, the backlight will fight the LEDs.
- Pair a backlit mirror with dimmable 4-inch recessed LEDs overhead for a true layered look.
For styling, vanity LED lights for mirror frames work best when they’re the brightest layer in the room during grooming, then dimmed below ambient lighting for evening routines. Smart-home integration is increasingly common, and Digital Trends tracks the connected-mirror category closely if comparing app-controlled models.
In a farmhouse or rustic space, a thin-frame LED mirror can feel out of place, those rooms often pair better with the warm finishes covered in this farmhouse bathroom lighting breakdown.
Care, Maintenance, and Common Troubleshooting
LED mirrors are low-maintenance, but they aren’t zero-maintenance. The LED strips are typically sealed inside the frame and rated for 20,000–50,000 hours, meaning most owners won’t replace a bulb in the unit’s lifetime. When something does go wrong, it’s usually one of three things.
Common issues:
- Flickering: Almost always a dimmer compatibility problem. LED mirrors need an LED-rated dimmer, not a legacy incandescent one.
- Touch sensor unresponsive: Wipe the sensor clean, then check the GFCI outlet hasn’t tripped.
- Partial LED outage: A bad solder joint or driver failure. Most manufacturers offer 2–5 year warranties, file the claim before opening the unit.
For cleaning, a microfiber cloth with a 50/50 mix of distilled water and white vinegar handles smudges without streaking. Avoid ammonia-based glass cleaners on the LED edges, they can degrade the silicone sealing over time. Affordable replacement mirrors and parts are easy to source through retailers covered in this Home Depot bathroom lighting roundup.
Finally, if the mirror has a built-in defogger, run it for 2–3 minutes before showering rather than after. The heating pad clears condensation faster when it warms the glass preemptively.