A light up makeup vanity does more than look pretty in a corner of the bedroom. It solves a real problem: most overhead bulbs cast shadows that make foundation matching, brow shaping, and contouring guesswork. Get the lighting wrong, and the “great” makeup job at home looks chalky under office fluorescents. Get it right, and the mirror finally tells the truth. This guide walks through what to buy, how to build, and how to style a vanity that actually performs, whether someone’s starting from scratch or upgrading an old desk.
Table of Contents
ToggleKey Takeaways
- A light up makeup vanity eliminates shadows and color cast issues that make makeup look different under various lighting conditions, ensuring consistent results at home and in office environments.
- Choose bulbs with 4000K–5000K color temperature and CRI 90 or higher to accurately match foundation and blend makeup, as cheaper LEDs often sacrifice color accuracy.
- Hollywood-style bulb mirrors provide the most even, shadow-free coverage for makeup application, while LED strips offer an affordable, renter-friendly alternative and backlit mirrors prioritize design over detailed work.
- A functional vanity requires 36–48 inches of width, 18–22 inches of depth, and proper mirror height (42–48 inches from floor), positioned perpendicular to windows and near grounded outlets for optimal performance.
- DIY conversion of an existing desk into a light up makeup vanity takes 3–5 hours and requires proper mirror mounting, stud finding for safety, and either plug-in lighting kits or professional electrician installation for hardwired options.
- Layered lighting, clear organizers, proper chair height (17–19 inches), and complementary wall fixtures enhance both functionality and aesthetics, making the vanity a practical workspace rather than just bedroom décor.
What Makes a Light Up Makeup Vanity Worth the Investment
A dedicated vanity gives makeup application a consistent, controlled environment, which ceiling cans and bathroom sconces simply can’t match. The difference comes down to three things: light direction, color accuracy, and ergonomics.
- Even, front-facing light eliminates the under-eye and jawline shadows that make blending difficult.
- High-CRI bulbs (more on that below) show true skin tone instead of a yellow or blue cast.
- Seated working height keeps the user at a fixed distance from the mirror, so makeup looks the same every time.
There’s also the practical side. A vanity frees up bathroom counter space, keeps brushes and palettes organized, and doubles as a writing or jewelry station. For renters, a freestanding setup travels. For homeowners building one in, it adds a small but real resale touch in the primary bedroom.
Choosing the Right Lighting for Flawless Makeup Application
Vanity lighting isn’t a single product, it’s a system of bulb specs and fixture placement. Skip either piece and the mirror lies.
Bulb Color Temperature and CRI Explained
Two numbers matter on the bulb box:
- Color temperature (Kelvin): Aim for 4000K–5000K, often labeled “daylight” or “natural white.” Below 3000K skews warm and yellow: above 6000K turns clinical and blue. Daylight-range bulbs mimic midday sun, which is the lighting most people walk into.
- Color Rendering Index (CRI): Look for CRI 90 or higher. CRI measures how accurately a bulb shows colors compared to natural light. Cheap LEDs often sit at CRI 80, which is fine for hallways but terrible for blending blush.
For a deeper jump into color accuracy at the mirror, this breakdown of lighting for makeup application covers the spec sheet in detail.
LED Strips, Hollywood Bulbs, or Backlit Mirrors
Three main styles dominate the market:
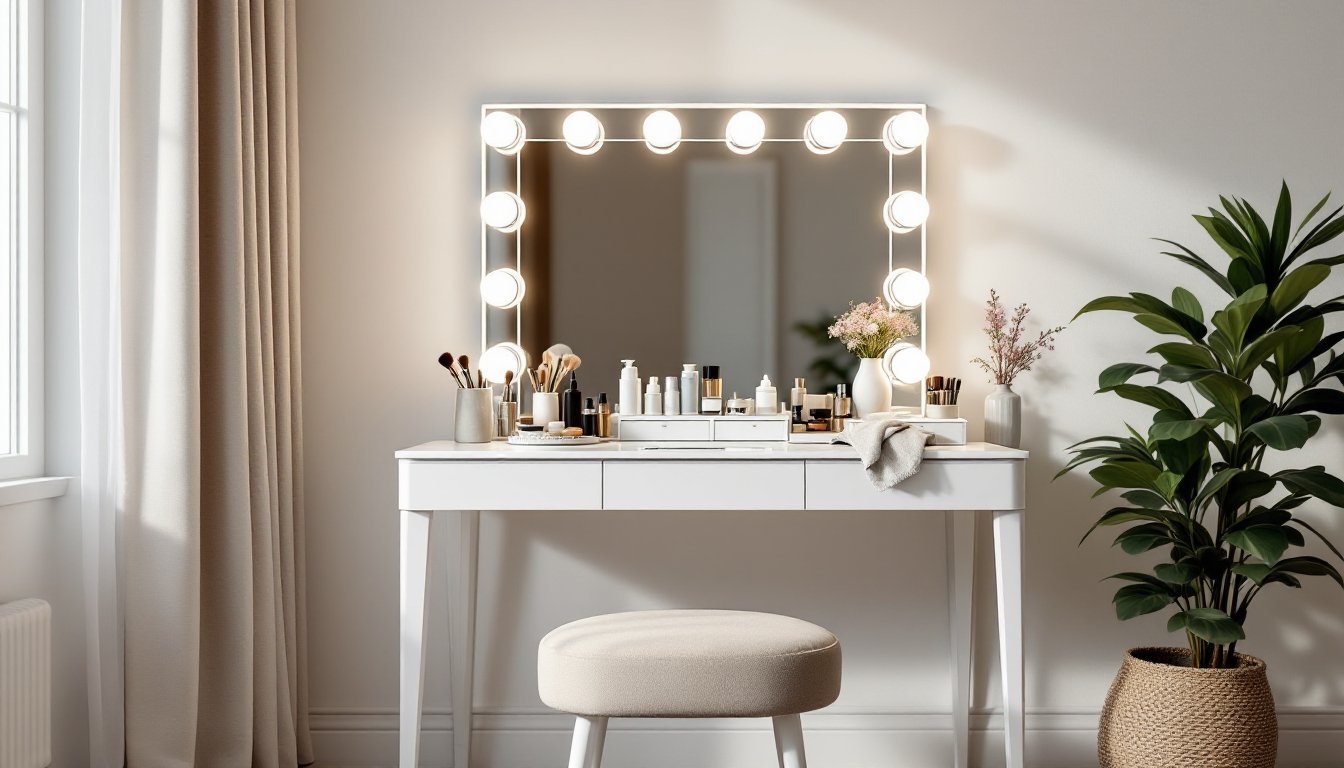
- Hollywood-style bulb mirrors, exposed globe bulbs framing the mirror. Best for even, shadow-free coverage. Pick frosted G25 LEDs to avoid glare.
- Vanity LED lights for mirror edges, adhesive strips or thin bars stuck to the mirror perimeter. Affordable, renter-friendly, and dimmable with the right driver.
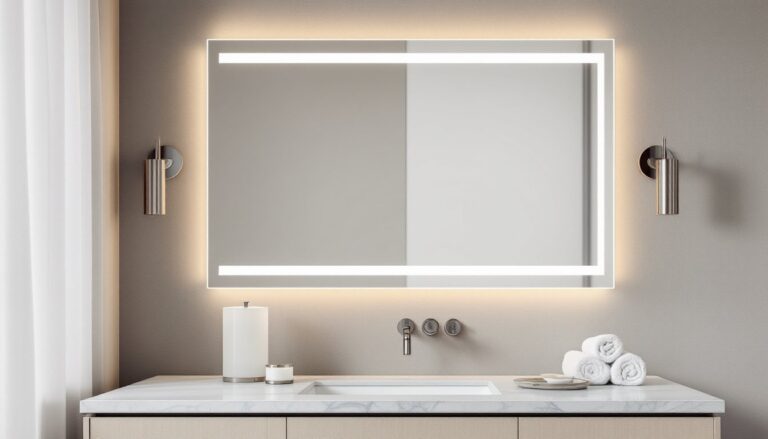
- Backlit LED mirrors, diffused light glows from behind the mirror. Sleek and modern, but the indirect light is better for ambiance than detailed work. Best paired with a secondary front light.
Hollywood bulbs win for serious makeup users. Backlit mirrors win for design-forward bedrooms. Strips split the difference on budget.
Planning Your Vanity Setup: Space, Layout, and Style
Before buying anything, measure. A functional vanity needs roughly 36–48 inches of width and 18–22 inches of depth, with at least 30 inches of seated knee clearance underneath. The mirror should sit so its center lands at eye level when seated, typically 42–48 inches off the floor.
A few planning notes:
- Outlets: Position the vanity within reach of a grounded outlet. If running new wiring, NEC code requires GFCI protection in damp locations and proper box support, that’s licensed-electrician territory in most jurisdictions.
- Natural light: Place the vanity perpendicular to a window if possible, not directly facing or backing it. Side daylight balances artificial light nicely.
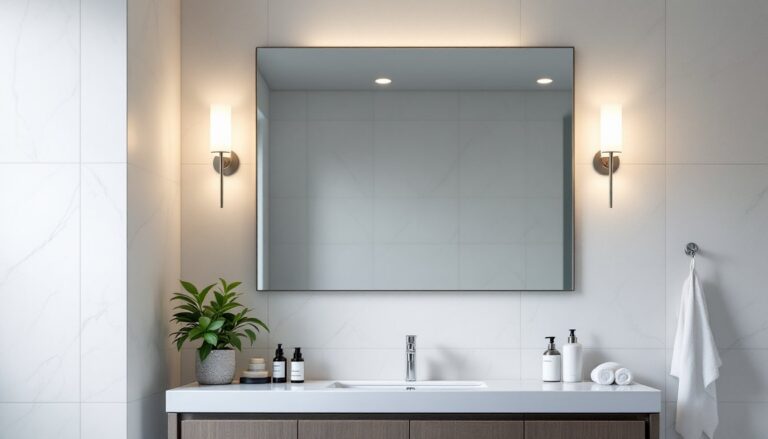
- Style match: A farmhouse bedroom calls for warm-finish hardware and a wood top. The same lighting principles from farmhouse bathroom fixtures translate directly to vanity design, matte black globes, distressed wood, exposed sockets.
For inspiration on small-space layouts and budget makeovers, the project archives at Addicted 2 Decorating include several vanity conversions worth studying before drawing up plans.
DIY Steps to Build or Upgrade a Light Up Makeup Vanity
This is the budget path: convert an existing desk or console into a lit vanity. Total project time runs 3–5 hours for a basic build.
Materials and tools:
- Desk or console (minimum 36″ wide)
- Frameless or framed mirror sized to the desktop
- Hollywood bulb light kit or LED vanity strip with dimmer
- Wall anchors, picture-hanging hardware, or French cleat
- Drill, level, stud finder, tape measure, pencil
- PPE: safety glasses and work gloves
Steps:
- Acclimate and prep. If the desk is new or refinished, let it sit in the room 24–48 hours. Wipe the wall and mirror back clean, adhesive strips fail on dust.
- Find studs. Mark stud centers behind where the mirror will hang. A mirror over 15 lbs needs anchors rated for the weight or, better, direct stud attachment.
- Mount the mirror. Use a level. Center it on the desk, not the wall, so the user sits centered.
- Install the lighting. For Hollywood bulbs, attach the fixture strip to the mirror frame per manufacturer instructions. For LED strips, peel and stick along the mirror perimeter, tucking the driver behind the mirror.
- Wire to power. Plug-in kits are DIY-safe. Hardwiring into the wall requires shutting off the breaker and, in most areas, a permit. When in doubt, hire an electrician.
- Test and dim. Run the lights through the dimmer range. Daylight bulbs at 70% often hit the sweet spot.
For a furniture-makeover angle, sanding, priming, and repainting a thrifted desk before mounting, the tutorials at Making Manzanita walk through prep techniques that apply directly here. Skipping primer on laminate is the most common rookie mistake.
Styling and Decor Tips to Elevate Your Vanity Space
Once the build’s done, the styling makes it feel intentional rather than improvised.
- Layer the lighting. The vanity itself handles task light, but a small lamp or a pair of bar-style vanity fixtures on a side wall adds depth and softens shadows for photography.
- Use clear organizers. Acrylic trays let the surface stay visually calm while keeping brushes, palettes, and skincare visible.
- Add a rug. A small runner or 3×5 under the chair defines the zone and dampens chair-scrape on hard floors.
- Mind the chair height. Seat height should put elbows roughly level with the desktop, usually a 17–19 inch seat.
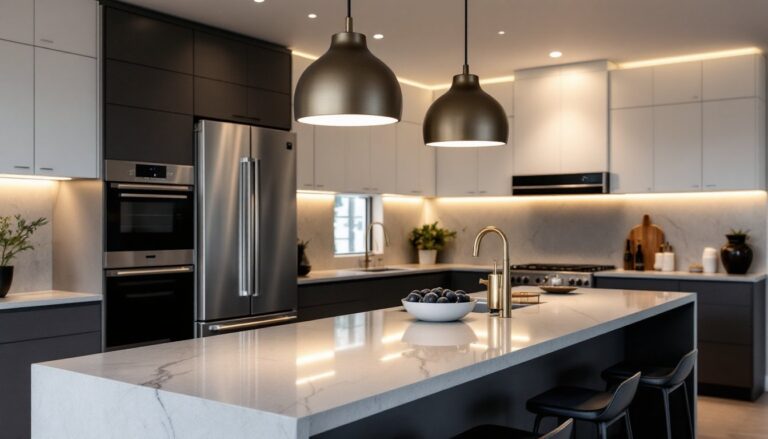
- Echo lighting elsewhere. If the home leans modern, the same daylight LEDs work beautifully as kitchen pendant light fixtures over an island, creating visual consistency between rooms. The principles behind under-cabinet kitchen lighting (high CRI, dimmable, hidden driver) apply to vanity strips too.
For seasonal refreshes, swapping out trays, florals, and mirror garlands, the styling guides at Martha Stewart offer reliable templates that don’t tip into clutter. And for anyone whose vanity lives in the bathroom rather than the bedroom, the complete bathroom lighting walkthrough covers how to integrate a makeup station into a larger fixture plan without overlighting the room.
The goal isn’t a magazine shoot. It’s a workspace that flatters skin, holds the essentials, and gets used every morning without frustration. Get the bulbs right, mount the mirror straight, and the rest is just decoration.