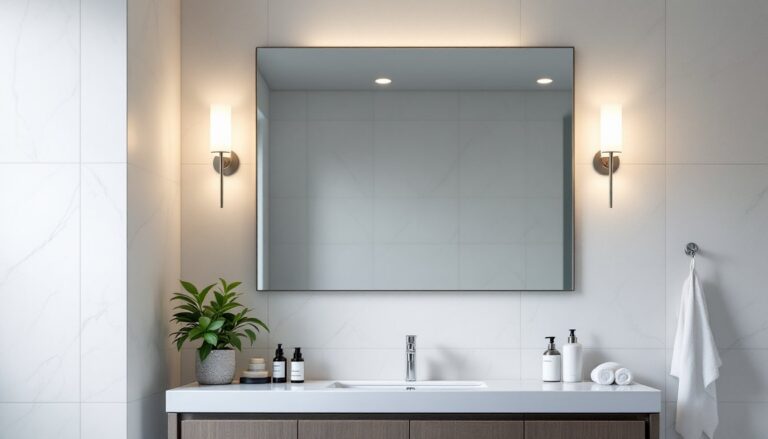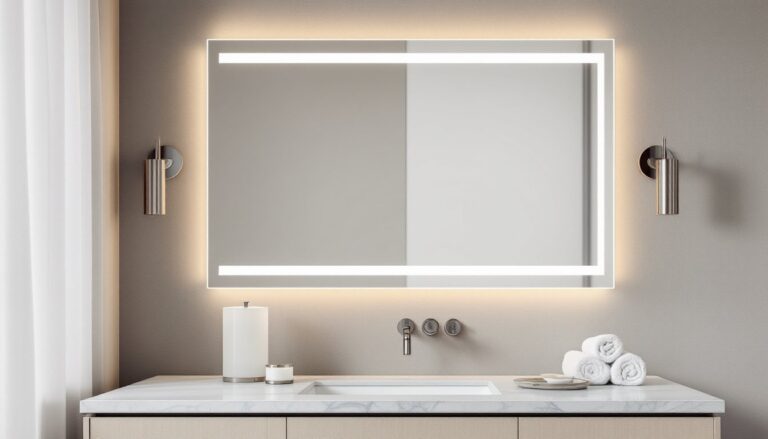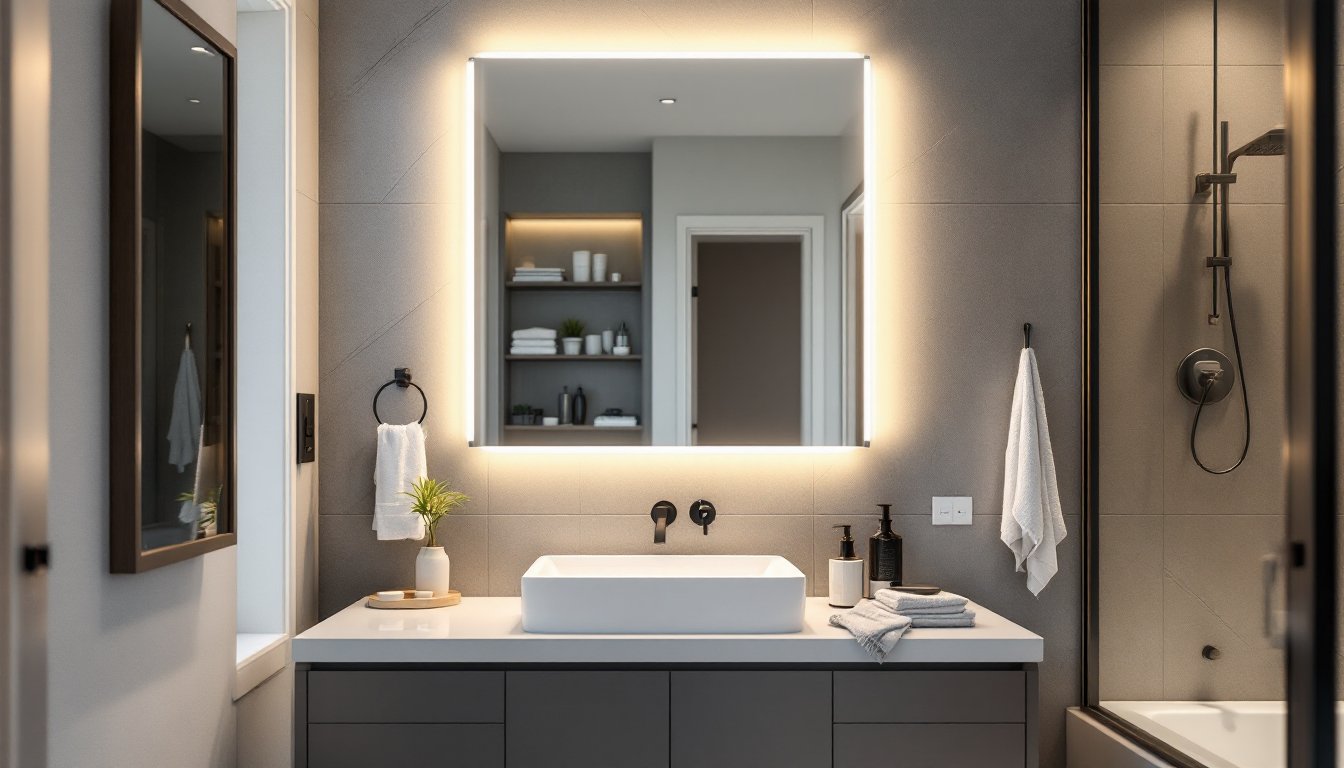
An LED vanity mirror isn’t just a pretty face in your bathroom, it’s a functional upgrade that transforms how you start your day. Whether you’re shaving, applying makeup, or getting ready for work, poor lighting turns a simple task into a frustrating squint-fest. LED vanity mirrors solve that problem by delivering bright, shadow-free illumination right where you need it. They’re energy-efficient, long-lasting, and available in styles that suit any bathroom aesthetic. This guide walks you through why they matter, what to look for when shopping, and how to install one yourself without calling a contractor.
Table of Contents
ToggleKey Takeaways
- An LED vanity mirror eliminates shadows and delivers bright, shadow-free illumination by mounting lights directly around the frame, making grooming tasks easier and more accurate.
- LED vanity mirrors consume 75% less energy than incandescent bulbs and last 25,000–50,000 hours, potentially eliminating the need for bulb replacements over your home’s lifetime.
- When selecting an LED vanity mirror, prioritize color temperature between 4000K–5000K for accurate skin tone visibility, brightness of 800–1200 lumens, and size matching your vanity width with a 1-2 inch margin on each side.
- Wall-mounted LED vanity mirrors are DIY-installable with proper stud location, a level, and appropriate fasteners, though electrical work should be handled by a licensed professional for bathroom safety.
- Modern LED vanity mirrors offer dimmable controls, anti-fog features, and frameless contemporary designs that elevate both bathroom function and aesthetic appeal.
Why LED Vanity Mirrors Are a Game-Changer for Your Bathroom
Bathroom mirrors aren’t neutral. The lighting around them dictates whether you look awake or exhausted, and whether you’ll actually notice that you missed a spot shaving. Standard overhead fixtures cast shadows across your face, forcing you to lean closer or angle your head at weird angles. A vanity mirror with LED lights eliminates this problem by mounting light directly around the mirror frame or integrated into the glass itself.
LED technology outperforms older incandescent and fluorescent options in nearly every way. They run cooler (no heat buildup in a small bathroom), consume about 75% less energy, and last 25,000–50,000 hours before needing replacement. That means you might install one and never replace the bulbs in the lifetime of your home. They’re also dimmable on most modern units, letting you dial in the brightness for morning routines or evening wind-downs.
Beyond function, an LED light mirror vanity is a visual upgrade. Frameless designs feel contemporary, while backlit models add ambient glow that makes your bathroom feel spa-like. The vanity lighting landscape has evolved dramatically, and LED mirrors sit at the center of that shift. They’re particularly valuable in bathrooms where wall space is tight or where you can’t easily run additional electrical circuits for traditional vanity lighting.
Key Features to Look for When Selecting an LED Vanity Mirror
Not all LED vanity mirrors perform equally. Before you buy, understand the features that separate a solid investment from a frustrating impulse purchase.
Lighting Quality and Color Temperature Options
Color temperature, measured in Kelvin (K), defines whether light feels warm or cool. Most bathroom tasks demand brightness and clarity, which means you’ll want mirrors offering daylight-range temperatures between 4000K and 5000K. This mimics natural window light and shows your skin tone accurately. Some models include adjustable color temperature, letting you shift between warm (2700K) for evening and cool for morning. This flexibility is worth the extra cost if you use your bathroom at different times of day.
Brightness matters too. Look for lumens (lm) ratings rather than wattage, lumens indicate actual light output. A good LED vanity mirror delivers 800–1200 lumens, enough to eliminate shadows without bleaching your face. Models with dimmable controls let you reduce output when you don’t need full brightness, saving energy and preventing that deer-in-headlights morning look.
Anti-fog features are a bonus if you have humid bathrooms. Some mirrors include built-in defogging strips around the perimeter, a small heating element that keeps condensation away so you’re not wiping down your mirror mid-routine.
Size, Shape, and Mounting Styles
Mirror size should match your vanity. A rule of thumb: the mirror should be 1-2 inches narrower than your sink on each side, leaving balanced space on the wall. A 24-36 inch width works for most standard bathrooms. Taller mirrors (36-48 inches) suit double vanities or tall homeowners who want to see more of their upper body.
Shape influences both function and style. Rectangular mirrors are the workhorse, practical and timeless. Round or oval mirrors soften the space and add visual interest, though they cover less wall area. Frameless designs feel modern and sleek, while framed options anchor traditional or farmhouse bathrooms.
Mounting comes in three styles: wall-mounted (the most common, requiring wall studs for secure installation), recessed (installed into the wall cavity, trickier for existing bathrooms), and freestanding (for renters or those hesitant about permanent installation). Wall-mounted units are DIY-friendly if you locate studs correctly. A vanity mirror with LED lights should feel rock-solid when you pull on it, any wobble signals improper installation or weight distribution problems.
Installation Tips for DIY Success
Installing an LED vanity mirror is achievable for most DIYers, but it requires accuracy and the right tools. Skip the guesswork, and you’ll end up with a crooked, wobbly mirror that looks unfinished.
What You’ll Need:
- Stud finder (a must, not optional)
- Level (24-inch is ideal)
- Drill-driver combo
- Tape measure and pencil
- Appropriate fasteners (usually lag bolts or heavy-duty wall anchors: check your mirror’s instructions)
- Safety glasses and work gloves
Step-by-Step Installation:
-
Locate studs. Use an electronic stud finder to mark studs on the wall where the mirror will mount. Most residential walls have studs 16 inches on center. Mark at least two studs that align with the mirror’s mounting bracket location. If studs don’t align, use heavy-duty toggle bolts rated for the mirror’s weight (typically 20-40 pounds for a full-size unit).
-
Mark mounting holes. Hold the mirror bracket against the wall and level it carefully. Mark hole locations with a pencil. Double-check with your level, a tilted mirror is maddening every time you look at it. Remove the bracket and set it aside.
-
Drill pilot holes. Use a bit slightly smaller than your fasteners. Pilot holes prevent cracking and make fastener insertion easier. Wear safety glasses, drywall dust gets everywhere.
-
Install fasteners. For stud mounting, use lag bolts (⅜-inch or ½-inch depending on bracket requirements). For drywall-only areas, follow the toggle bolt manufacturer’s instructions, these are stronger than plastic anchors and handle mirror weight reliably. Hand-tighten, then snug with your drill on low speed. Don’t over-tighten: you’re not proving strength, just securing the mirror.
-
Mount the mirror. Lift the mirror carefully (get a second person if it’s heavy) and hang the bracket mounting points. Check level again before tightening set screws or fasteners that lock the mirror in place.
-
Connect electrical. Most LED mirrors plug into a standard outlet behind or beside the vanity. If there’s no outlet nearby, you’ll need to run new electrical, a job for a licensed electrician. Some models include motion sensors or touch controls: wire these according to the manufacturer’s diagram.
-
Test and adjust. Turn on the lights, check brightness, test dimming if available, and verify anti-fog features work. Walk through your morning routine, this is when you’ll notice if the lighting actually works for your specific needs.
Safety Reminders: Bathrooms are damp environments. Ensure your outlet is GFCI-protected (ground fault circuit interrupter), and never touch the mirror or outlet with wet hands. If you’re unsure about electrical work, pause and call a licensed professional. Bathroom electrics aren’t the place to learn on the job. A proper LED light mirror vanity installation takes 1-2 hours for experienced DIYers, longer if you’re running new circuits.
For inspiration on how mirrors work with broader bathroom lighting schemes, resources like Remodelista and MyDomaine showcase finished bathrooms where vanity mirrors anchor the space. Studying real installations helps you visualize how brightness, placement, and style interact. High-end designs on Elle Decor show what luxury bathroom lighting looks like, though price tags reflect custom millwork and premium materials.
Conclusion
An LED vanity mirror transforms your bathroom from a chore zone into a functional, well-lit space where morning routines feel less rushed. By choosing one with appropriate color temperature, size, and mounting method, and installing it carefully, you’ll enjoy accurate lighting and energy savings for decades. The upfront investment pays dividends every single day.