Kitchen islands have evolved from optional extras to functional hubs in modern homes, serving as prep stations, dining spots, and gathering spaces. The right lighting transforms an island from a dark work area into an inviting focal point that anchors the entire kitchen. Good island lighting does triple duty: it illuminates the work surface safely, sets the mood for the room, and ties together the overall design aesthetic. Whether you’re designing a new kitchen or upgrading an existing island, understanding modern lighting approaches, from pendant clusters to track systems, helps you make choices that balance style, function, and your budget. This guide walks through everything DIYers and homeowners need to know about selecting and installing modern kitchen island lighting.
Table of Contents
ToggleKey Takeaways
- Modern kitchen island lighting serves triple duty by illuminating work surfaces safely, setting the room’s mood, and anchoring the overall kitchen design aesthetic.
- Pendant lights and cluster designs are the most popular choice for kitchen islands, with spacing of 12 to 18 inches from the island edge and positioning 30 to 36 inches above the countertop for optimal results.
- Task lighting over a food prep island requires 30 to 50 foot-candles (roughly 300 to 500 lumens per square meter), which modern LED bulbs can easily deliver at 800 to 1100 lumens per bulb.
- Linear track lighting offers flexibility for islands 36 inches or wider, allowing you to position light heads exactly where needed and even control brightness via smartphone with smart home systems.
- Before installing kitchen island lighting, measure your island dimensions, assess ceiling structure and electrical layout, and visit a showroom to see fixtures in person before ordering.
- Always turn off power and use a voltage tester before replacing fixtures, and hire a licensed electrician for rough-in wiring, new circuits, or heavy pendant clusters to ensure safety and compliance.
Why Kitchen Island Lighting Matters
Island lighting isn’t just decoration: it’s a practical tool that affects how you cook, eat, and live in your kitchen. A well-lit island surface prevents accidents during food prep, you need clean, shadow-free light directly overhead or at an angle that doesn’t cast your own shadow across the work zone. Underlit islands force you to lean in to see cutting boards or recipes, straining your neck and eyes after an hour of cooking.
Beyond safety, island lighting shapes the entire room’s visual weight and ambiance. A dark corner with no island light feels disconnected from the rest of the kitchen. Layered lighting, combining island fixtures with ambient ceiling lights and undercabinet task lighting, lets you dial the mood up or down. Bright for dinner prep, softer for entertaining, and everything in between.
Modern kitchens increasingly treat the island as a design anchor, not an afterthought. The right fixtures reinforce your chosen style, whether that’s industrial, minimalist, farmhouse, or contemporary. Since most islands sit in the sightline from the living or dining areas, the lighting you choose makes a statement every time someone walks into your home.
Popular Modern Lighting Styles for Kitchen Islands
Pendant Lights and Cluster Designs
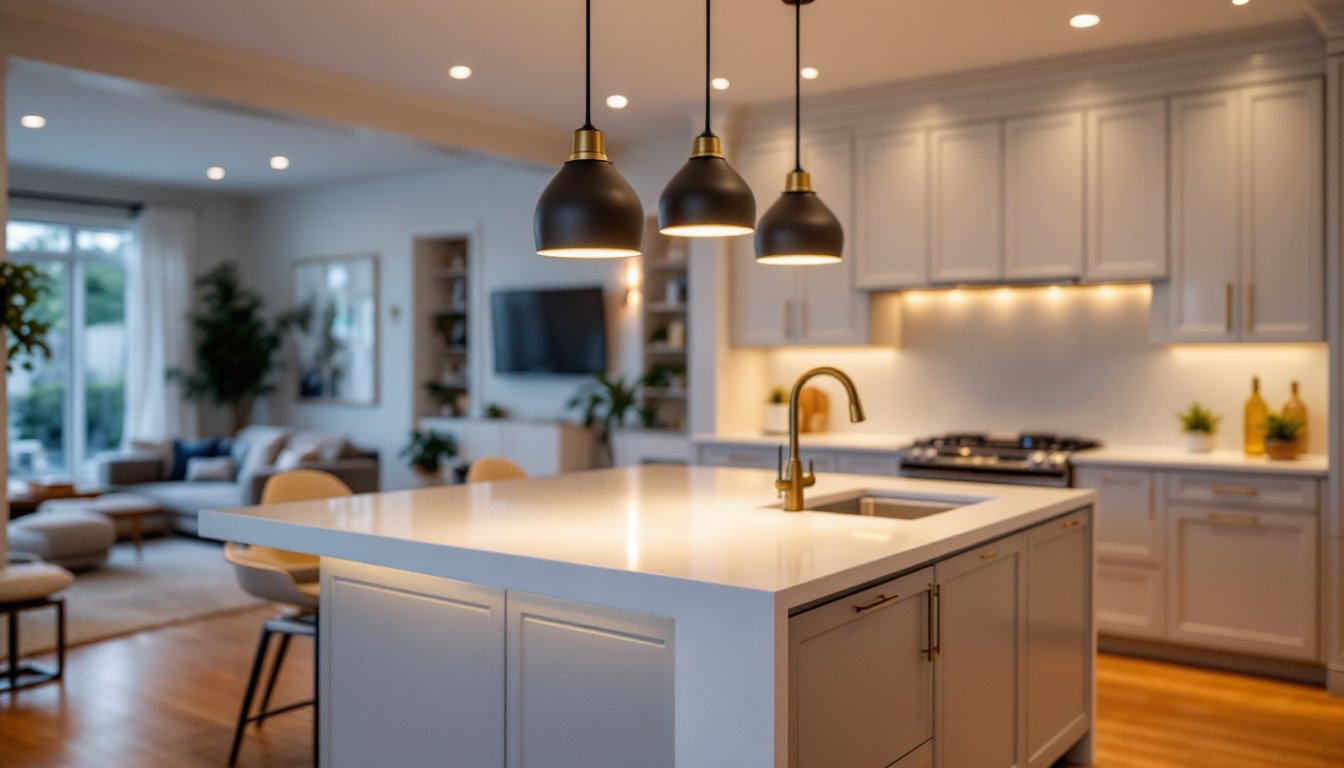
Pendant lights remain the most popular choice for kitchen islands because they’re versatile, stylish, and come in hundreds of designs. A single large pendant works for smaller islands (36 to 48 inches long), while larger islands typically get two or three pendants spaced evenly overhead. Spacing matters: aim for 12 to 18 inches from the edge of the island on each side, and position pendants 30 to 36 inches above the countertop for optimal task lighting and sightlines.
Cluster designs, three to five smaller pendants hung at varying heights, create visual interest and soften the look compared to matching sets. This approach works especially well in modern lighting: transform your space with stylish and smart designs where asymmetry and personality matter. Materials range from glass and ceramic to metal cages, woven fiber, and fabric shades. Task performance differs by design: clear glass lets light bounce everywhere, while opaque shades direct light downward and reduce glare.
When choosing pendants, verify the socket type (E26 standard is most common in North America) and confirm the fixture accepts LED bulbs if energy efficiency matters to you. Pendant weight also impacts installation, heavier fixtures need extra support during rough-in phase if you’re mounting to drywall rather than a structural beam.
Linear Track Lighting and Minimalist Options
Track lighting has shed its “commercial warehouse” reputation and emerged as a sleek, modern choice for islands. A linear track system runs the length of the island, allowing you to position light heads exactly where you need them. This flexibility is invaluable if your island serves multiple functions, bright task light over the work surface, softer ambient over seating.
Minimalist approaches favor slim profiles, matte black finishes, or brushed metal. Some smart home lighting: transform your space & save energy effortlessly systems now include dimmable track heads with app control, letting you adjust brightness and color temperature from your phone. This eliminates the need for separate switches and gives you fine-tuned control as needs change throughout the day.
Linear options work best on islands 36 inches or wider, where a single track doesn’t look cramped. Installation requires running electrical in a conduit or chase, so this approach suits new construction or major renovations better than retrofit projects on existing ceilings.
How to Plan Your Kitchen Island Lighting Layout
Start by measuring your island length and shape. Rectangular islands get light sources along their length: narrower or L-shaped islands may need adjusted placement to avoid creating dark zones. Document the exact distance from the island surface to your ceiling, this affects both fixture selection and how light distributes across the work area.
Calculate the total lumens you need using a simple rule: task lighting over a food prep island requires 30 to 50 foot-candles (roughly 300 to 500 lumens per square meter for metric users). Check your fixture’s lumen output, modern LED bulbs deliver 800 to 1100 lumens per bulb at standard wattages (9 to 11 watts), so two 800-lumen pendants give you solid working light over most islands.
Consider existing ceiling structure. If you’re mounting to a standard drywall ceiling between joists, you’ll need a ceiling box retrofit kit and a brace bar rated for the fixture weight. If joists run perpendicular to your island and you can reach above drywall, direct mounting to the joist is faster and stronger. Check your home’s electrical layout, older kitchens may not have convenient ceiling boxes in the right spot, requiring a licensed electrician to run new circuits or relocate existing wiring.
Visit a showroom or home center to see fixtures in person. Colors, finishes, and proportions look different under showroom lights than in photos. Bring a phone photo of your island and kitchen to compare scale. Don’t just order online without seeing the finish quality, especially if going with pricier designer fixtures.
Installation Basics for DIY Enthusiasts
If your island lacks ceiling boxes, this becomes a rough-in electrical project, and most jurisdictions require a licensed electrician to handle wiring from the breaker panel and circuit design. You can handle later stages (mounting, fixture assembly), but don’t skip the permit and inspection.
If boxes already exist directly above your island, a straightforward swap is within DIYer reach. Here’s the process:
-
Turn off power at the breaker for that circuit and use a non-contact voltage tester to confirm the power is truly off.
-
Remove the old fixture by untwisting wire nuts, unbolting the mounting bar, and pulling the fixture down. Take a photo of how wires connected, usually black (hot) to black, white (neutral) to white, and bare copper or green (ground) to the box or fixture ground.
-
Inspect the existing box. If it’s a standard pancake or old-style box, it likely supports 50 pounds maximum. Modern pendants (especially clusters of three or more) may exceed this. A fan brace or rafter brace kit upgrades support to 75 or 100 pounds: they cost $15 to $40 and require cutting drywall to access the joist above.
-
Assemble the mounting bracket according to the fixture’s instructions. Different brands differ here, some use a strap, others a crossbar. Don’t skip this step or force a bracket designed for one box onto a different type.
-
Connect wires using the photo reference. Twist matching wire colors together, then cap with a wire nut (push-on connector). Test the connection by gently tugging each joint, it shouldn’t budge. Wrap the splice with electrical tape if the nut feels loose.
-
Tuck wires into the box carefully, then bolt the mounting bracket to the box. Hang the fixture from the bracket and secure with the provided screws.
-
Install bulbs and shades, then restore power and test. Use a dimmable LED if your switch is a dimmer, non-dimmable LEDs flicker or fail on dimmer circuits.
Safety reminders: Always wear safety glasses when working overhead, drywall debris and metal bits fall up. Keep over kitchen sink lighting in mind if you’re adding fixtures near water sources: use GFCI-protected circuits and avoid installing pendants directly above the sink, where splashes or steam can reach the fixture.
For track systems or heavy pendant clusters, hire a licensed electrician or contractor. The labor cost ($200 to $500) is cheap insurance against fire or electrical hazard. Once the rough-in and connection are done, you handle finishing touches like aiming heads or adjusting pendant heights, tasks that are genuinely DIY-friendly.
Conclusion
Modern kitchen island lighting blends function and design into one smart investment. Whether you choose pendant clusters, track systems, or a hybrid approach, the key is matching light output to your work needs while selecting fixtures that reflect your style. Start with a clear plan, measure twice, understand your electrical situation, and don’t hesitate to call a pro if wiring is involved. Your island will shine brighter, your kitchen will feel more complete, and you’ll enjoy safer, more comfortable prep work. Design sites like Remodelista showcase countless island lighting approaches to spark inspiration before you commit to a purchase.


