Good bathroom lighting isn’t a luxury, it’s essential. Poor lighting can make even a spa-quality vanity look dingy, and good lighting can turn a cramped half-bath into a sanctuary. Whether you’re starting from scratch or upgrading outdated fixtures, getting bathroom lighting right comes down to understanding how light works in a space where moisture, humidity, and task demands converge. This guide walks through the three core types of bathroom lighting, shows you how to pick the right fixtures for your layout, and explains the practical considerations that separate a quick retrofit from a job that feels professionally done.
Table of Contents
ToggleKey Takeaways
- Bathroom lights require three distinct layers—ambient, task, and accent lighting—to eliminate shadows, ensure safety, and balance design with function.
- Proper bathroom lighting placement, such as dual vanity bars at eye level and recessed fixtures spaced 4–6 feet apart, prevents unflattering shadows and dark corners.
- All fixtures within 3 feet of showers or tubs must have UL-damp or UL-wet ratings to resist moisture damage and last longer than standard builder-grade fixtures.
- Modern LED bulbs cut energy use by 75% and last 25,000+ hours, making them the most cost-effective long-term choice for bathroom lighting upgrades.
- Code compliance requires at least 50 lumens per square foot, GFCI protection within 6 feet of sinks, and proper electrical rough-in before drywall installation.
Why Bathroom Lighting Matters for Design and Function
Bathrooms are high-stakes lighting environments. Unlike a living room where overhead light fades into ambiance, a bathroom requires you to light faces for grooming, spot dirt and mold before they spread, and create enough brightness to navigate safely at odd hours. Poorly lit bathrooms age faces, hide water damage, and feel cramped. Well-lit bathrooms feel twice the size, promote relaxation, and make daily routines faster and safer.
Function and design work together here. A single overhead fixture creates harsh shadows under the eyes, the bathroom equivalent of a mugshot. Adding vanity lights beside the mirror, combined with softer ambient light from the ceiling, creates depth and balance. Code compliance also matters: bathrooms require GFCI (ground-fault circuit interrupter) protection on all outlets within 6 feet of a sink, and fixtures near tubs or showers must be wet-rated. Most jurisdictions also require at least 50 lumens of light per square foot in bathrooms, though higher is better for a 5×8 space.
The right lighting strategy also saves money long-term. Modern LED fixtures use 75% less energy than incandescent, run cooler (reducing HVAC load in humid bathrooms), and last 25,000+ hours. That’s decades before a bulb change.
Types of Bathroom Lighting Explained
Ambient Lighting
Ambient light is your baseline, the gentle overall illumination that fills the room. Recessed ceiling fixtures, flush-mount fixtures, or semi-flush options work here. In a typical 5×8 bathroom, three to four recessed 3-inch or 4-inch fixtures spaced evenly provide soft, shadow-free light without glare. Aim for fixtures rated at least 65-75 watts equivalent (900-1100 lumens) to avoid a cave-like feel.
Recessed cans require proper housing, either IC-rated (insulation contact) for spaces touching insulation, or non-IC for open ceiling cavities. Damp-rated trim rings or baffle trims reduce moisture damage. Using proper recessed lighting placement helps you avoid dark corners and hot spots.
Task Lighting
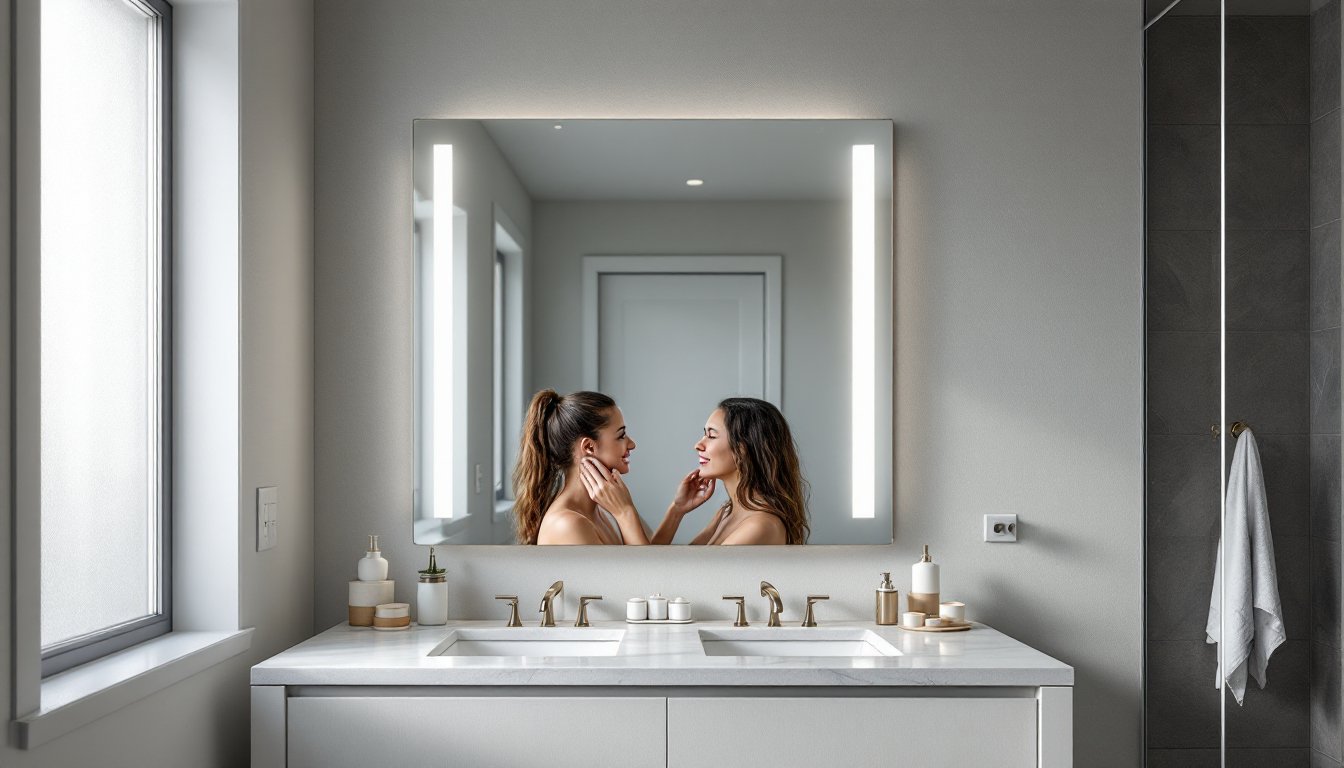
Task lighting lives at the vanity and mirror. This is where you groom, so shadows must disappear. Vanity bars mounted on both sides of the mirror, each rated 400-600 lumens, are the gold standard. A single bar above the mirror tends to create unflattering shadows: two bars (one on each side at eye level) balance light across the face.
Alternatively, a bar above and one below the mirror (or a wraparound fixture) eliminates shadows entirely. Choose 3000K to 4000K color temperature (neutral to cool white) for accuracy, it mimics daylight and prevents color shock when you leave the house. Softer 2700K (warm) light looks nice but masks blemishes and makes makeup matching difficult.
Accent Lighting
Accent lighting adds polish and guides the eye. A small recessed fixture aimed at a tile feature wall, a linear LED strip behind floating shelves, or a niche light highlighting décor keeps the space feeling intentional rather than clinical. Accent fixtures are typically lower wattage (200-400 lumens) and often on a dimmer so they don’t compete with task lighting during grooming.
Choosing the Right Fixtures for Your Space
Start by measuring your bathroom and noting existing outlets and switches. A standard 5×8 bathroom suits three recessed ambient fixtures plus a 36–48-inch vanity bar. Larger bathrooms (8×10 or bigger) may need five to six recessed fixtures plus dual vanity bars if there are two sinks.
Moisture and ventilation matter enormously. All fixtures within 3 feet of a shower or tub must be UL-rated for damp or wet locations. This includes the housing, trim, and bulbs. A standard builder-grade fixture in that zone will rust and fail in 2–3 years. Recessed cans in that zone also need a vapor barrier between the can and insulation to prevent condensation buildup.
Choosing bathroom lighting fixtures means checking the label for UL-damp or UL-wet rating, checking lumens (brightness), and confirming the trim finish matches your décor. Chrome, brushed nickel, and matte black are standard: oil-rubbed bronze and brass are trending but pricier. Avoid polished finishes, they show water spots constantly.
Bulbs need equal thought. Dimmable LED bulbs cost more upfront but avoid flicker when dimmed. Non-dimmable LEDs flicker noticeably on many dimmers, creating an amateurish feel. Confirm any vanity bar is rated for dimmable bulbs before assuming you can add a dimmer switch later.
Budget roughly $40–80 per recessed fixture (housing + trim + labor if hired), $60–150 for a mid-range vanity bar, and $100–300 per dimmable LED bulb pack, depending on wattage and quality. Regional pricing varies, and high-end designer fixtures easily exceed these ranges.
Best Practices for Bathroom Lighting Layout
Planning before installation prevents costly mistakes. Sketch your bathroom to scale, mark the sink, toilet, tub, and existing outlets. Note the location of floor joists and any ceiling obstacles (ductwork, pipes, HVAC). Recessed fixtures must sit between joists, which constrains placement. If joists run north-south and are 16 inches on center, you have limited east-west positioning.
Recessed fixtures should be 18–24 inches from the wall and spaced 4–6 feet apart for even light with minimal dark patches. Too close to walls and you create a halo effect: too far apart and you get pools of light with shadows between. A bathroom smaller than 5×8 may suit a single flush-mount or semi-flush fixture centered on the ceiling, supplemented by vanity bars.
Vanity bar height matters: 48–60 inches from the floor to the centerline of the fixture. If too low, it glares into the mirror: too high, it casts shadows again. A bar mounted directly above the mirror at 6 inches down creates harsh shadows. Instead, mount it 12–18 inches above the mirror frame for diffuse light, or flank the mirror with bars at eye level (60–66 inches from floor).
Electrical rough-in happens before drywall. All recessed can housing, junction boxes, and wire runs go in during framing, well before paint. If you’re retrofitting into existing drywall, you’ll need adjustable remodel cans that clamp from inside the cavity, doable but messier and pricier than new construction. Some modern systems include smart dimming built into the fixture, eliminating the need for separate dimmer switches and simplifying wiring.
Ventilation ductwork affects fixture placement too. If exhaust ductwork runs across the ceiling, avoid placing recessed fixtures in a line above it, they’ll thermally stress as warm, moist air flows past. Stagger your fixture layout to distribute heat load evenly.
Finally, pull permits if your jurisdiction requires them (most do for electrical work). A licensed electrician ensures proper GFCI protection, correct wire gauge for the load, and compliance with the National Electrical Code (NEC). DIYers can often handle simple fixture swaps if wiring is already in place, but new circuits and rough-in work demand a professional.


