Pendant lighting has become the go-to solution for homeowners who want to add both function and style to their kitchens, dining rooms, and entryways. Instead of fumbling with loose fixtures and mismatched parts, a pendant lighting kit bundles everything you need into one organized package. Whether you’re a first-time DIYer or someone who’s tackled a few projects, these kits simplify the process by including pre-matched components, clear instructions, and standardized hardware. In 2026, the variety of pendant lighting kits available, from modern minimalist designs to vintage Edison-style fixtures, means you can find exactly what fits your space and skill level without overshooting your budget or biting off more than you can chew.
Table of Contents
ToggleKey Takeaways
- A pendant lighting kit bundles pre-matched shade, socket, cord, mounting hardware, and canopy into one organized package, eliminating compatibility headaches and costing less than sourcing components separately.
- Choose a pendant lighting kit based on ceiling height (measure 30–36 inches above kitchen counters), room purpose (task vs. ambient lighting), and hardware finishes that match your existing fixtures.
- Always turn off power at the breaker and verify with a voltage tester before installation; common mistakes include misjudging cord length, over-tightening canopy screws, and skipping junction box compatibility checks.
- Modern LED bulbs in pendant kits save energy and last 15,000–25,000 hours, but verify dimmable compatibility if your kit includes a dimmer switch.
- Maintain your pendant fixture by dusting monthly, checking cord integrity, re-tightening the shade collar if looseness develops, and ensuring the mounting bracket remains secure.
What Is a Pendant Lighting Kit and Why You Need One
A pendant lighting kit is a pre-assembled or semi-assembled lighting fixture designed to hang from the ceiling, typically suspended by a cord, chain, or rod. Unlike buying individual components separately, shade, socket, cord, junction box hardware, and canopy, a kit arrives with everything you need to install one or multiple pendants. That cohesion matters because the shade, hardware finish, and cord diameter are engineered to work together, reducing compatibility headaches.
The main appeal is convenience. You avoid the guesswork of matching a metal finish between the canopy and the shade ring, calculating the right cord length for your ceiling height, or hunting down the correct mounting bracket. Kits also tend to cost less than sourcing components individually. For DIYers upgrading a kitchen island, breakfast nook, or entryway, pendant kits offer a polished look without hiring an electrician, assuming you’re comfortable with basic wiring, which most kits support.
Key Components Included in Most Pendant Kits
Standard pendant kits contain a few essential pieces. The shade (glass, fabric, metal, or ceramic) houses the light source and sets the aesthetic. The socket assembly holds the bulb and may include a dimmer-compatible switch or inline switch. The cord or chain (typically 48–60 inches long, adjustable by cutting) connects the shade to the ceiling. The canopy (the trim ring at the ceiling) covers the junction box hole and houses the mounting hardware. Finally, the mounting bracket and hardware package, including screws, anchors, and wire connectors, let you secure everything to your ceiling and junction box.
Some kits include a built-in LED bulb, while others are bulb-agnostic and work with any standard E26 or E27 bulb. Understanding what’s included upfront prevents mid-project frustration when you realize you need to buy a bulb separately or source an extra cord connector.
Types of Pendant Lighting Kits for Every Room and Style
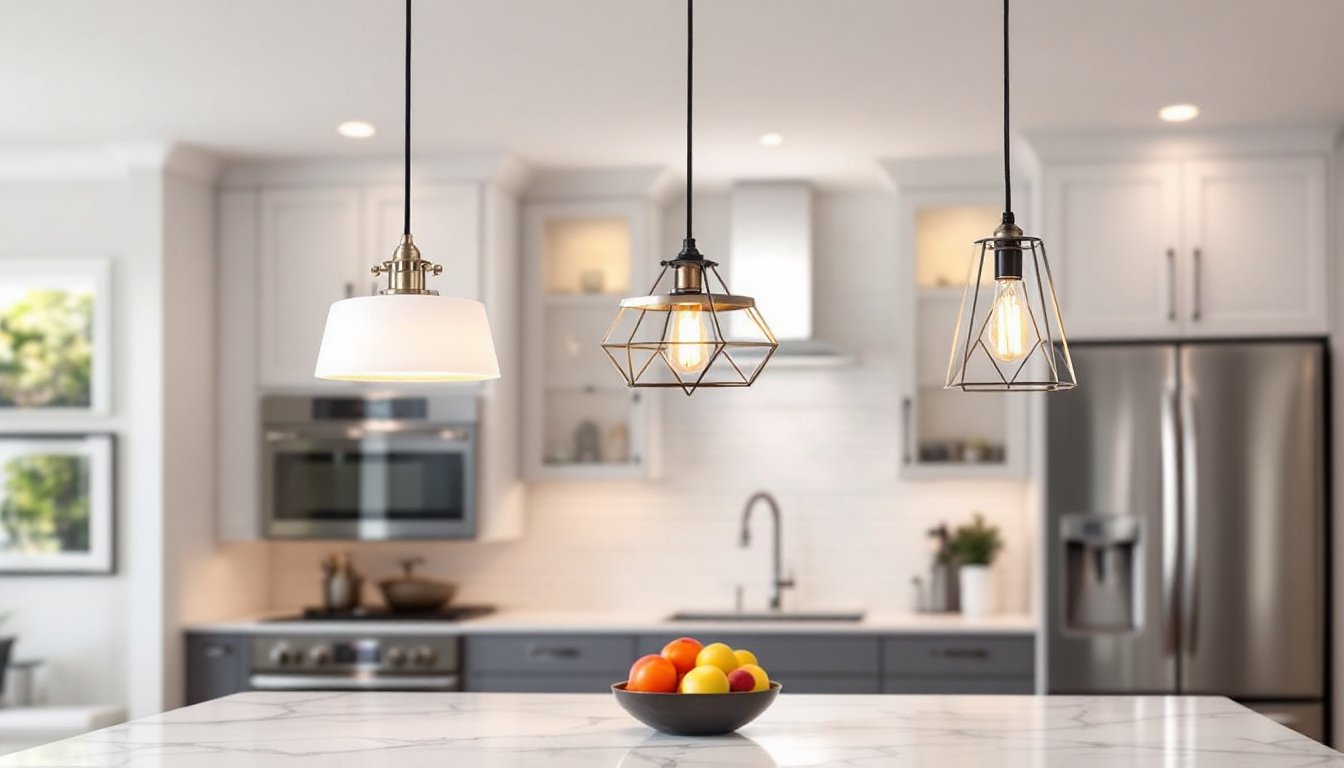
Pendant kits vary widely in design, and choosing the right style depends on your room and aesthetic. Industrial kits feature exposed metal (steel or iron), bare bulbs, and minimalist lines, ideal for kitchens and lofts. Modern kits emphasize clean geometry, often with sleek metal or frosted glass shades and brushed nickel or matte black finishes. Rustic or farmhouse kits incorporate wood accents, Edison-style vintage bulbs, and aged metal, working beautifully in dining areas and entryways.
Clear or frosted glass kits let light cast more widely, making them practical for task lighting over island counters. Opaque metal shade kits direct light downward, ideal when you want focused illumination without glare. Adjustable-height kits come with longer cords or chains that you trim to fit your ceiling height and desired hanging depth, a critical feature if your ceilings vary or you want flexibility later.
Room-specific kits also matter. Kitchen island pendant kits often come in sets of two or three to match proportions and hang at the right spacing (typically 24–30 inches apart). Entryway foyer kits often feature more statement-making designs with taller drops. The modular nature of today’s kits means you can often buy extras of the same shade and cord to create a coordinated, multi-pendant look for larger spaces.
How to Choose the Right Kit for Your Space
Start by measuring your ceiling height and the distance from the ceiling to where you want the pendant to hang. Most kitchen islands benefit from pendants hanging 30–36 inches above the countertop surface (not the floor). Standard ceiling heights are 8 feet, so a 48-inch cord often works well after trimming. If your ceiling is higher (9–10 feet), check whether the kit offers longer cord options or extension hardware.
Next, consider the room’s existing lighting and the pendant’s intended purpose. Is it decorative, task lighting for food prep, or ambient fill? If task lighting over an island, you want a shade that disperses light downward without heavy glare. If ambient lighting in an entryway, a larger, more sculptural pendant reads better. Look at your current fixture finishes, do they lean chrome, oil-rubbed bronze, or brushed brass?, and choose a kit with matching hardware to tie the room together.
Bulb compatibility matters too. Modern LED pendants save energy and run cool, but some older or decorative bulbs need to fit the socket size. Check the kit’s socket type (E26 is standard North American: E27 is metric equivalent) and whether the shade allows for exposed-bulb viewing or fully conceals it. Resources like Home Depot Lighting can help you compare available styles, and design sites offer visual inspiration for matching your home’s broader aesthetic.
Installation Tips for First-Time DIYers
Before starting, turn off power at the breaker to your existing light fixture and verify it’s off with a voltage tester. Never skip this step, electrical hazards are real. If you’re replacing an old fixture, unscrew the existing mounting hardware and lower it carefully, noting how the wires connect (usually black/hot, white/neutral, and bare copper/ground).
Most pendant kits ship with a junction box (or work with your existing box). Secure the mounting bracket to the junction box using the provided screws, ensuring it’s tight and level. Twist together wire connectors (also called wire nuts) to join the kit’s wires to your existing circuit wires: black to black, white to white, ground to ground. Wrap each connection with electrical tape for added security. Slide the canopy up the cord to cover the junction box, then tighten the screws to lock it in place.
Trim the cord to your desired length (subtract the distance from ceiling to target hanging height). Use a utility knife and cut smoothly to avoid fraying. Secure the cord to the shade’s collar ring using the provided hardware, then install your bulb. Test it before fully tightening everything.
Common Mistakes to Avoid During Setup
Skipping the voltage test is the biggest risk. Always confirm power is off before touching any wires. Not checking your junction box compatibility is also common, if your existing box is too small or shallow, the new wires and mounting bracket won’t fit. Most electrical codes require a rated junction box, and a shallow old-work box might need replacing with a deeper rated box (a quick hardware store upgrade).
Over-tightening the canopy screws can crack the trim ring, especially on plastic or thin metal. Hand-tight plus a quarter-turn with a screwdriver is usually enough. Misjudging cord length leads to pendants hanging too high or too low, measure twice, cut once, and remember you can’t reattach cord you’ve cut off. Forgetting to acclimate the bulb type matters too: if you choose a large vintage Edison bulb, verify it fits through the shade opening before mounting everything. Finally, don’t assume your existing electrical box will support the new fixture’s weight, most residential pendants weigh 2–5 pounds, but heavier statement pieces may need extra bracing. Check your kit’s weight and your junction box rating (usually stamped on the box itself).
Maintenance and Long-Term Care
Pendant fixtures need minimal ongoing care. Dust the shade and bulb monthly using a soft cloth to prevent dust buildup that dims light output. If the shade is glass, a gentle damp cloth with mild soap works well: avoid abrasive scrubbers that can scratch. For fabric shades, a dry brush or vacuum attachment removes dust without wetting the material.
Check the cord periodically for fraying or damage, especially near the socket and canopy where tension is greatest. If you notice fraying, trim the frays gently with a utility knife and re-seal the end with clear silicone sealant to prevent further unraveling. Over time, cords can loosen slightly at the shade collar due to vibration or thermal expansion, just re-tighten the set screw or collar nut if needed.
Bulb replacement is straightforward: turn off power, wait for the bulb to cool if it was recently on, unscrew, and install your replacement. LED bulbs last 15,000–25,000 hours, so you won’t need frequent changes. If your kit includes a dimmer switch, ensure your bulb is dimmable, standard LED bulbs aren’t all dimmer-compatible, so check the packaging. Finally, if your pendant ever feels loose or sways when you walk nearby, turn off power and tighten the mounting bracket and canopy screws, a secure fixture is a safe fixture. Resources like Family Handyman offer detailed maintenance walkthroughs if issues arise, and Design Milk showcases modern pendant styles that age gracefully with simple care.


