Your deck is a blank canvas after sunset, right now, it’s probably disappearing into shadows. Solar lighting changes that equation without running new electrical lines or adding a cent to your power bill. These fixtures charge during the day and emit a warm glow at night, making your deck safer and far more inviting. Whether you’re installing post cap lights, step markers, or pathway fixtures, solar options are more reliable and affordable than they were five years ago. This guide walks you through the types available, how to pick the right ones for your space, and the best installation practices to get years of trouble-free light.
Table of Contents
ToggleKey Takeaways
- Solar lighting for deck eliminates electrical installation costs ($1,500–$3,000 for traditional wiring) and monthly power bills while providing safe, inviting nighttime ambiance.
- Choose mid-range quality fixtures ($20–40 per light) over cheap options to ensure 3–5 years of reliable brightness; premium models ($50+) deliver 7+ years with better optics and corrosion resistance.
- Your deck needs at least 4–6 hours of direct daily sunlight for reliable solar performance; heavily shaded decks are better served by hardwired exterior lighting alternatives.
- Combine post caps, rail lights, and step lights strategically—prioritizing foot traffic hazards and posts first, then pathways—for a layered, finished look at a fraction of traditional installation costs.
- Proper installation prep, including surface cleaning and hardware choice (stainless bolts over adhesive pads for durability), ensures years of trouble-free operation and consistent performance.
Why Solar Lighting Is The Perfect Deck Upgrade
Solar deck lights solve three problems at once: they eliminate trenching for electrical runs, cost nothing to operate, and require zero maintenance beyond the occasional wipe-down. You’re not burning fossil fuels or running conduit through your rim joist. A typical solar light stores energy in a rechargeable battery (usually NiMH or lithium-ion) during daylight and deploys it through an LED for 6–12 hours of nighttime operation.
Quality matters here. Cheap fixtures ($8–15 each) often deliver weak, yellow light that dies after two seasons because the battery degrades or the seals fail. Mid-range options ($20–40 per light) last 3–5 years and provide decent brightness. Premium fixtures ($50+ per light) use better optics, corrosion-resistant materials, and reliable controllers, lasting 7+ years with consistent output.
Decks are ideal for solar because they’re typically unshaded for most of the day. If your deck sits under a mature oak tree or receives only 2–3 hours of direct sun, solar becomes less practical, consider exterior home lighting alternatives that draw from your home’s electrical panel instead. For most situations, though, solar is the obvious first choice.
Types Of Solar Deck Lights To Consider
Solar Post Caps And Rail Lights
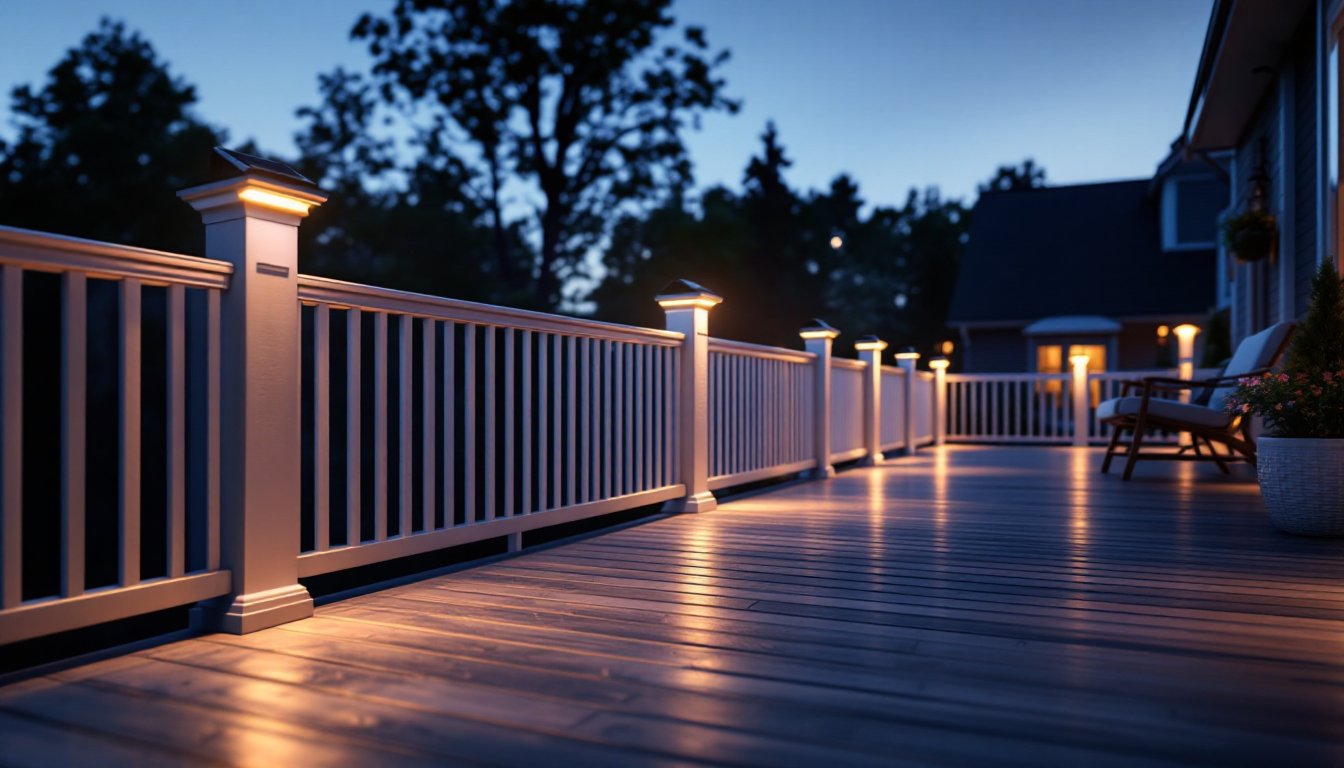
Post caps are the most visible option. They mount directly on top of 4×4 or 6×6 deck posts, so they’re impossible to miss. A single 3-inch post cap with a built-in solar cell costs $15–50, depending on material and brightness. Stainless steel models hold up better to salt air and freeze-thaw cycles than plastic, especially if your deck sees winter weather.
Rail lights mount along the sides of your deck railing with stainless steel clips or adhesive pads. These are gentler on the eye than post caps because they’re lower and at an angle, so the light bounces off railings rather than shining directly into your face. They typically run $12–30 per unit and work well in pairs or groups of four along a longer rail.
Both types come in warm white (2700K), cool white (5000K), or RGB (color-changing) versions. Warm white reads as inviting and pairs well with most deck stains and composite materials. Cool white feels modern but can look harsh on wood tones.
Solar Step Lights And Pathway Fixtures
Step lights embed flush into the face of deck steps or risers, marking the transition from one level to the next. They’re typically 2–3 inches across and run $10–25 per light. Since they sit low and aren’t directly in anyone’s sightline, a slightly dimmer output (50–100 lumens) is acceptable, the goal is marking, not illumination.
Pathway fixtures stand 4–8 inches tall on stakes or adhesive bases and light up planting beds or walkways around the deck perimeter. These are standard in most landscape lighting kits and work alongside step lights to create a layered, finished look. Expect to pay $8–18 each, with the cheapest plastic models failing after two seasons and mid-range aluminum or polycarbonate versions lasting 4–6 years.
A practical deck might combine two post caps, six rail lights, four step lights, and a few pathway fixtures for approximately $150–300 in materials, far cheaper than trenching for a 120V outdoor circuit, which runs $1,500–3,000 in most markets.
How To Choose The Right Solar Lights For Your Deck
Start by measuring your deck and mapping where light is most useful. Sketch the footprint, mark the posts, steps, and any dark zones after sunset. This 15-minute exercise prevents impulse buying and mismatched fixture counts.
Brightness matters more than wattage. Solar specs are given in lumens (lm), not watts. A decent post cap emits 80–150 lumens: a step light, 50–80 lumens. Walk around your deck at dusk to see where people naturally trip or stumble, those spots need lights first. Posts and railings come next for ambiance and safety. Pathway edges are last because they add visual interest but aren’t critical for function.
Battery capacity is listed in mAh (milliamp-hours). Higher mAh means longer runtime. A 400–600 mAh battery in a post cap gives 8–10 hours of light: lower-capacity models fade after 6 hours. If your deck gets heavy evening use, go for the larger batteries, they cost a few dollars more upfront but beat nightly disappointment.
Read real reviews from verified buyers on retail sites. Look for comments about brightness consistency, battery longevity, and whether seals hold up in rain and snow. Watch for complaints like “dims after one season” or “battery swells”, these are red flags pointing to poor quality control.
Sun exposure is critical. Your deck needs at least 4–6 hours of direct daily sunlight for reliable operation. If trees shade it after noon, south-facing post caps or rail lights work better than north-side fixtures. On a heavily shaded deck, smart home automation lighting from your electrical system becomes more practical. Some manufacturers, like Ring, offer solar-powered outdoor lighting that integrates with home systems, adding convenience if that matters to your household.
Installation Tips And Best Practices
Prep is everything. Clean the mounting surface, deck posts, rails, and steps, with a stiff brush and 120-grit sandpaper to remove dirt, mildew, and oxidation. A clean surface ensures better adhesion if you’re using mounting pads or stainless steel hardware. Wipe dry with a microfiber cloth.
For post caps, check that your posts are truly 4×4 nominal (actual 3.5 inches square) or 6×6 nominal (actual 5.5 inches square). Most caps fit one or the other: a loose cap rattles in wind and the solar cell doesn’t angle correctly, cutting charging efficiency by half. If your posts are cedar or pressure-treated lumber, apply a coat of clear polyurethane to the top before mounting, this protects the wood from water pooling under the cap.
Rail lights and step lights often use stainless steel adhesive pads that grip plastic or sealed wood. These work fine, but for long-term reliability, small stainless bolts or screws hold better, especially on composite materials that expand and contract seasonally. Adhesive eventually fails under temperature cycling.
Wear safety glasses when drilling or cutting hardware. If you’re mounting lights along a railing that’s more than 3 feet off the ground, use a ladder and have a second person spot you, not because it’s required by code, but because a dropped light or tool is annoying and dangerous.
Position post caps and rail lights so they face toward the main gathering space, not inward toward your house. This creates a welcoming perimeter glow rather than competing with interior lighting. Step lights should always point slightly downward so light marks the edge of the tread without shining into users’ eyes.
After installation, leave lights in direct sun for 2–3 days before expecting full performance. New batteries need proper charging cycles to reach rated capacity. Some fixtures include an on/off switch hidden under a panel, make sure it’s set to ON (a common oversight). If a light doesn’t turn on after 72 hours of sun exposure, the solar cell or battery is likely defective: return it under warranty.
For detailed step-by-step installation guides, many fixture manufacturers host video tutorials on their websites or YouTube. These save you from guessing about specific mounting hardware or optimal angles.
Conclusion
Solar lighting transforms your deck from a daytime asset into a safe, welcoming space after dark, without adding a single wire or monthly power cost. Post caps, rail lights, and step fixtures are the workhorses: combine them thoughtfully based on sun exposure and foot traffic patterns. Invest in mid-range or better quality (aim for $20+ per light) to avoid the frustration of dimming or failed batteries. Your deck will thank you, and your outdoor evenings just got a whole lot better.


