Bathroom lighting doesn’t get enough credit. While most homeowners obsess over tile and fixtures, they overlook the single element that affects how they actually look in the mirror every morning: over vanity lighting. The right setup eliminates harsh shadows on your face, makes the space feel bigger, and honestly transforms a utilitarian bathroom into something that feels intentional. Whether you’re updating an existing vanity or building one from scratch, understanding your over vanity lighting options, and knowing how to install them correctly, makes the difference between a bathroom you tolerate and one you actually enjoy.
Table of Contents
ToggleKey Takeaways
- Over vanity lighting mounted 24–30 inches above the countertop provides essential task lighting that eliminates shadows and improves your appearance during daily grooming routines.
- Vanity bars are ideal for wider vanities as they distribute light evenly across the mirror width, while wall-mounted sconces work well for standard-sized mirrors and offer flexible styling options.
- Proper over vanity lighting should span 75–100% of your mirror width and include 15–20 watts of LED (or 75–100 watts incandescent equivalent) to meet modern bathroom design standards.
- Before starting a DIY installation, turn off power at the breaker box, use a non-contact voltage tester, locate studs, and hire a licensed electrician if running new circuits—most jurisdictions require permits.
- LED fixtures in 3000K–4100K color temperatures mimic natural daylight without harsh blue tones and last 25,000+ hours, making them the modern standard for energy-efficient bathroom lighting.
What Is Over Vanity Lighting and Why It Matters
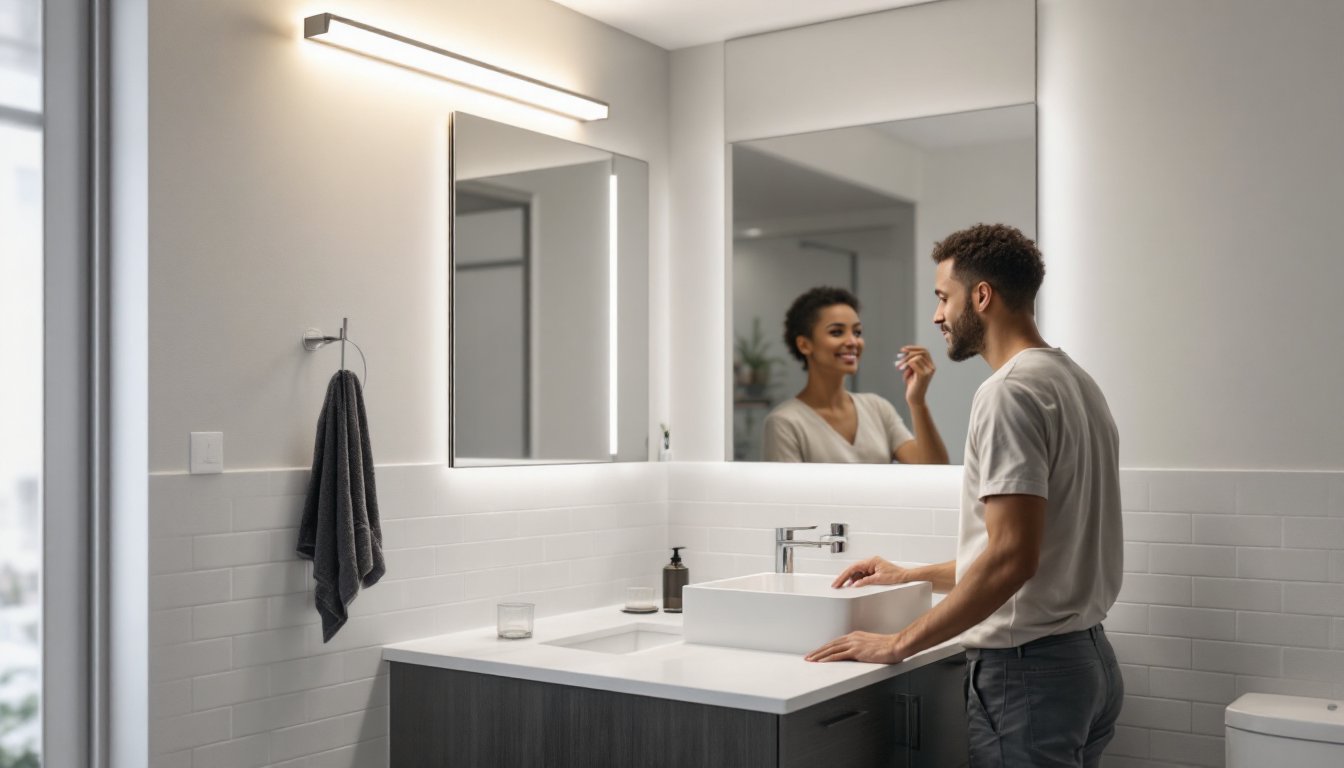
Over vanity lighting refers to fixtures mounted directly above the mirror or sink area, typically 24 to 30 inches above the vanity countertop. This isn’t ambient lighting, it’s task lighting, designed to illuminate your face evenly while you brush your teeth, apply makeup, or shave.
Why does this matter? Poor vanity lighting creates shadows under your eyes, makes blemishes harder to spot, and can make you look washed out at 7 a.m. Good vanity lighting does the opposite: it mimics natural daylight, reduces glare, and provides the illumination you actually need for grooming tasks. Most building codes and design standards recommend 75 to 100 watts of incandescent equivalent (or about 15 to 20 watts of LED) specifically at the vanity, separate from your general bathroom lighting.
The home lighting guides available today make it clear that vanity-specific fixtures aren’t a luxury, they’re standard in modern bathrooms. Anything less and you’re fighting poor lighting every single day.
Types of Over Vanity Lighting Fixtures
Sconces and Wall-Mounted Lights
Wall-mounted sconces are popular because they’re relatively easy to install and come in countless styles. A sconce is a single or double fixture (sometimes triple for wider vanities) mounted on either side of the mirror or directly above it. The beauty of sconces is flexibility, you can position them at eye level or slightly above, depending on your mirror height and personal preference.
For vanities, aim for sconces positioned 36 to 40 inches above the floor, roughly at eye level. This height minimizes shadows and provides direct light where you need it. LED sconces have become the standard choice because they run cool, use minimal energy, and last 25,000+ hours. Look for bulbs rated 3000K to 4100K color temperature, this range mimics natural daylight without the blue cast of cooler LEDs.
Installing sconces requires running electrical wire through the wall, patching drywall, and connecting to your home’s circuit breaker. If you’re comfortable with basic electrical work and your local code allows it, this is doable for a confident DIYer. Otherwise, hire a licensed electrician, bathroom electrical work often requires permits and inspection.
Vanity Bars and Linear Lights
Vanity bars are horizontal fixtures running 24 to 48 inches wide, mounted directly above the mirror. They’re ideal for wider vanities (48+ inches) because they distribute light more evenly than side sconces. A 24-inch bar suits standard 30-inch vanities: go wider for double vanities.
Linear LED vanity bars are increasingly popular because they offer consistent brightness, slim profiles, and dimming capabilities on many models. They’re typically surface-mounted (attached directly to the wall) rather than recessed, making installation simpler than recessed lighting. A 30-watt LED bar usually provides equivalent brightness to 100 watts of incandescent, plenty for task lighting.
Installation still requires running electrical to the mounting location, but the wiring runs are often shorter than for side sconces. Most vanity bars come with a mounting bracket and detailed instructions. Budget 2 to 4 hours for installation if you’re experienced: factor in professional help if you’re uncertain about cutting into walls or running new circuits.
How to Measure and Plan Your Over Vanity Lighting Layout
Measuring correctly saves you from buying the wrong fixture or discovering it doesn’t fit after installation. Start by measuring your mirror width. Your vanity lighting should typically span 75% to 100% of the mirror width, not narrower, or light will miss the edges of your face.
For example:
- 24-inch mirror → 20 to 24-inch fixture
- 30-inch mirror → 24 to 30-inch fixture
- 48-inch double mirror → 36 to 48-inch fixture or two separate fixtures (one above each sink)
Measure the distance from your countertop to the bottom of your mirror. Most mirrors sit 12 to 18 inches above the counter. Your fixture should mount 24 to 30 inches above the counter, placing it 6 to 18 inches above the mirror’s top edge. This spacing prevents direct glare while keeping light focused downward.
Height matters too. If your ceiling is 8 feet standard, you have room to work with. If it’s lower (7 feet or less), avoid tall sconce designs that’ll feel cramped. Horizontal bars work better in tight spaces. Check whether your wall is load-bearing (structural) before cutting into it, you’ll avoid cutting through studs unnecessarily, and you’ll know if you need to hire help for any structural work. When shopping with Home Depot Bathroom Lighting options or other retailers, bring measurements and photos of your vanity setup. Sales staff can help confirm fixture compatibility with your space.
Installation Tips for DIY Homeowners
Before you start, turn off power to the bathroom circuit at your breaker box and test the outlet with a non-contact voltage tester to confirm power is off. Skip this step and you risk serious injury.
Materials and tools you’ll need:
- Non-contact voltage tester (about $10, essential safety)
- Stud finder ($20–40, saves guesswork)
- Drywall saw or oscillating multi-tool for cutting openings
- Fish tape or electrical wire if running new circuits
- Wall anchors or toggle bolts if mounting between studs
- Caulk and caulking gun for finishing
- PPE: safety glasses, work gloves, dust mask if cutting drywall
Step-by-step installation:
-
Locate and mark the mounting spot. Use your measurements to mark the center point 24–30 inches above the countertop. Mark the fixture’s top and bottom edges with a pencil.
-
Check for studs and obstructions. Use a stud finder to locate wall studs in the mounting area. Mounting into studs is stronger, but possible if studs aren’t in the ideal location.
-
Run electrical wire (if no existing outlet). This is the hardest part. Run 14 AWG (14 gauge) electrical wire from your breaker box to the fixture location through the walls or along the ceiling. If you’re unsure about wire size, circuit capacity, or breaker installation, hire a licensed electrician. Most jurisdictions require permits for new circuits, don’t skip this.
-
Install the mounting bracket. Hold the bracket against the wall at your marked location. Drill pilot holes (slightly smaller than your screws) to prevent drywall cracking. Use 2-inch wood screws into studs or heavy-duty toggle bolts between studs (they hold up to 50 pounds per anchor, plenty for a light fixture).
-
Connect the wiring. Strip about ½ inch of insulation from each wire end. Connect the black (hot) wire to black, white (neutral) to white, and bare copper (ground) to green or bare. Use wire nuts (plastic connectors) rated for your wire gauge, twist wires together, then screw the nut on until tight. Wrap the connection with electrical tape for extra security.
-
Secure the fixture. Screw the fixture to the bracket, insert your LED bulbs, and restore power. Test the light before fully caulking or finishing.
-
Seal gaps. Use paintable caulk around the fixture mounting to hide gaps and prevent water seepage in humid bathrooms. This is critical, bathrooms get steamy, and caulk prevents moisture damage behind walls.
For detailed guidance on professional installation approaches, Remodelista’s bathroom lighting installation guide offers expert insights. If electrical work feels beyond your comfort level, calling a licensed electrician (typically $150–300 for a simple vanity circuit) is far cheaper than rewiring after a mistake.
Design Ideas to Elevate Your Bathroom Aesthetic
Your vanity lighting doesn’t have to be purely functional. Modern fixtures balance task lighting with style.
Minimalist bars work well in contemporary bathrooms. A sleek 30-inch LED bar in matte black or brushed nickel keeps the look clean. These fixtures pair well with floating vanities and frameless mirrors.
Dual sconces flanking a large mirror add symmetry and a designer touch. Brass or gold finishes are trending for 2026, especially paired with warm marble or wood tones. Sconces also work in traditional, farmhouse, and transitional styles.
Vintage Edison bulb fixtures suit farmhouse or industrial designs. If you go this route, ensure your fixture uses dimmable LED Edison bulbs rated 3000K, real incandescent bulbs waste energy and generate heat.
Bright white vanity bars work in clean, Scandinavian-inspired bathrooms. They’re subtle but effective. Pair with understated mirrors and neutral tones.
When selecting fixtures, consider your mirror frame, sink style, and existing finishes. Chrome and brushed nickel work with most setups. Brass and copper are warmer and trendier. Matte black is bold but can feel heavy in small bathrooms.
You’ll find inspiration through resources like Homify’s bathroom design gallery, where you can browse thousands of real bathroom photos and see how different lighting fixtures work in actual homes. Bob Vila’s home improvement advice also covers renovation trends and fixture selection strategies. Beyond aesthetics, remember that the best vanity lighting is the kind you’ll actually use, if your setup requires you to stand in shadows to see your face, even a beautiful fixture has failed its purpose.


