A ceiling light fixture does more than illuminate a room, it sets the tone for how the space functions and feels. Whether you’re brightening a kitchen at 6 a.m. or creating ambient glow in a bedroom, the right fixture makes all the difference. This guide walks you through the types of ceiling light fixtures available, how to size and place them correctly, installation basics, bulb selection, and maintenance tips. By the end, you’ll have the confidence to choose or replace a fixture that works for your home, your budget, and your style.
Table of Contents
ToggleKey Takeaways
- Flush mount and semi-flush ceiling light fixtures are ideal for rooms with standard 8-foot ceilings, offering practical, affordable overhead lighting that doesn’t consume valuable headroom.
- To size your ceiling light fixture correctly, add your room’s length and width in feet, then convert that sum to inches for the ideal fixture diameter.
- Pendant lights and chandeliers work best in rooms with 9+ foot ceilings and provide both task lighting and decorative appeal, especially in kitchens over islands or dining areas.
- LED bulbs in ceiling light fixtures use 9–15 watts instead of 40–60 watts with older incandescent designs and pay for themselves within 1–2 years through energy savings.
- Proper placement requires centering overhead lighting between major work zones and ensuring light switches are within 48 inches of doors and bathroom fixtures are at least 8 feet from tubs.
- Always turn off power at the breaker and use a voltage tester before installing a new ceiling light fixture to ensure safety and proper electrical work.
Understanding Ceiling Light Fixture Types and Styles
Ceiling light fixtures fall into a handful of main categories, and each has specific use cases. Knowing the difference helps you pick the right one for your room and ceiling height.
Flush Mounts and Semi-Flush Designs for Low Ceilings
Flush mounts sit nearly flat against the ceiling, with just 1 to 2 inches of clearance. They’re the workhorses of overhead lighting, practical, affordable, and designed for rooms with standard 8-foot ceilings or lower. Kitchens, bathrooms, hallways, and bedrooms all benefit from flush mounts because they don’t steal headroom and provide direct, functional light.
Semi-flush fixtures hang down 4 to 8 inches, offering a bit more visual interest while staying compact. They work well in entryways, laundry rooms, and small kitchens. Many homeowners use semi-flush designs as a bridge between pure utility and style, especially when choosing ceiling lights for kitchen or bathroom spaces. LED bulbs in both styles have made them energy-efficient: you’ll typically use 9–15 watts instead of 40–60 watts with older incandescent designs.
When shopping for flush or semi-flush models, check the fixture’s trim ring diameter and mounting bracket depth. A 12-inch trim ring suits most average rooms: oversized rooms (20+ feet wide) may benefit from 16 to 18-inch fixtures.
Chandeliers and Pendant Lights for Statement Appeal
Chandeliers and pendant lights bring personality and visual weight to a room. Chandeliers typically feature multiple arms and bulbs, hanging 12+ inches from the ceiling, and work best in dining rooms, entryways, or master bedrooms with 9+ foot ceilings. Pendant lights are single or clustered fixtures that hang from cords or rigid rods, often used over kitchen islands, dining tables, or bathroom vanities.
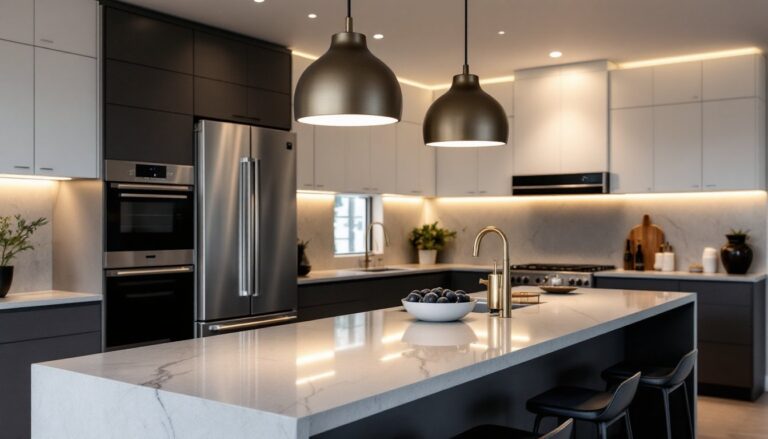
Ceilings lights for kitchen often benefit from pendant designs, they deliver task lighting while acting as decor. For a kitchen island, plan for one pendant every 24 to 30 inches of counter length. If your kitchen ceiling lamps need to work double-duty (task and ambient), pair pendants with recessed lighting or a flush mount elsewhere in the room. This strategy ensures you’re not left fumbling in shadows when you need to prep food or clean up.
Sizing and Placement Considerations for Every Room
The size of your fixture matters more than most DIYers realize. Too small and it looks out of place: too large and it dominates the room or creates glare.
A simple rule: add your room’s length and width in feet, then convert that sum to inches for your ideal fixture diameter. A 12×14 room = 26 inches ideal diameter (roughly). Trim down a few inches if your ceiling is standard height (8 feet) and you don’t want a bulky look.
Placement depends on room layout and function. In kitchens, center overhead lighting between major work zones (sink, stove, prep counter) or use multiple smaller fixtures. A single 36-inch pendant centered over a 4-foot island works well: for larger islands, use two or three fixtures spaced evenly. In bedrooms, center a fixture in the middle of the room unless the room is very long, then consider two fixtures or a combination of overhead and wall sconces.
Building codes don’t mandate specific overhead lighting placement, but they do require accessible controls. Light switches must be within 48 inches of a door, and bathroom fixtures must be at least 8 feet horizontally from a tub or shower (check your local best lighting for kitchen ceiling resources for detailed room-by-room guidance).
Ceiling height affects fixture choice too. Under 8 feet, stick with flush mounts or very short semi-flush designs. At 8 to 9 feet, semi-flush and short chandeliers (18–24 inches drop) work. Above 9 feet, longer drops (24–36 inches) look proportional. Vaulted or sloped ceilings require special mounting brackets, recessed lighting for vaulted ceilings offers another excellent alternative if you want clean, integrated lighting.
Installation Basics: Tools, Safety, and Step-by-Step Process
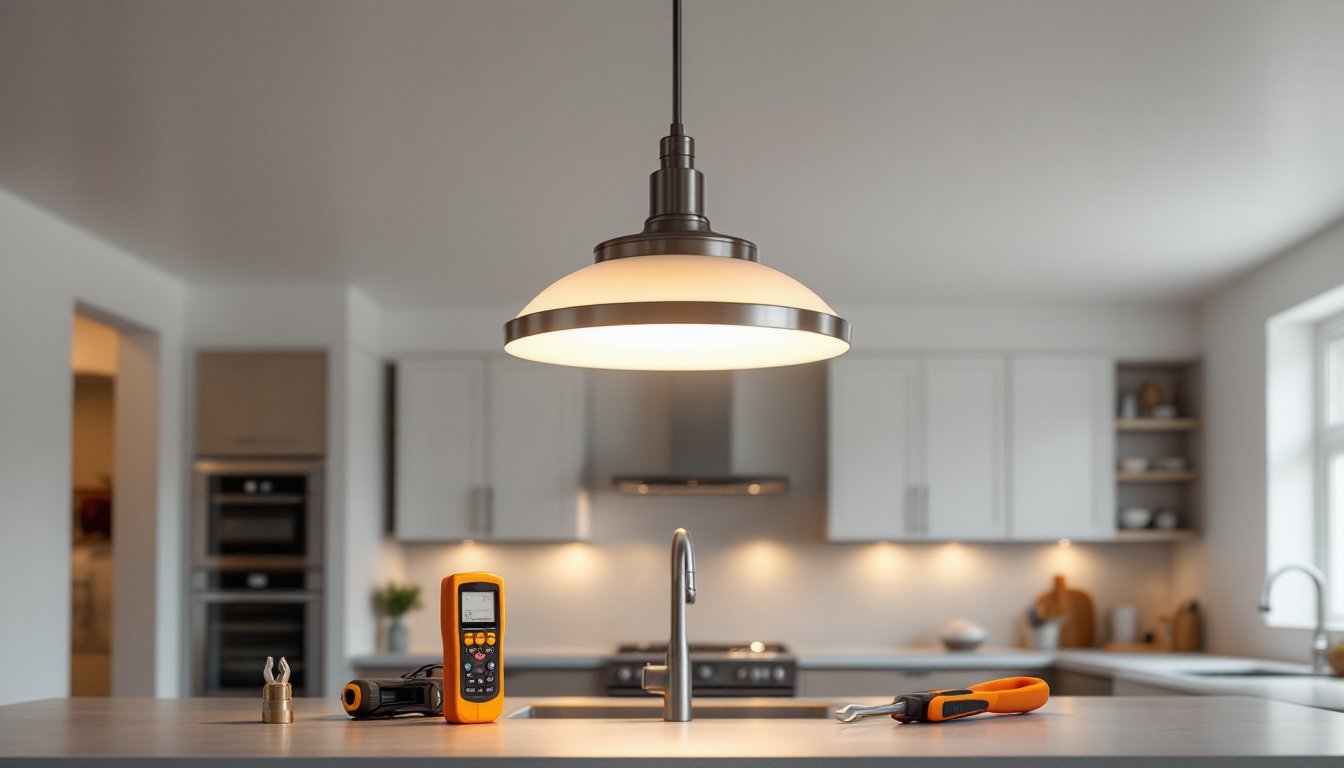
Installing a new ceiling light fixture is a weekend job for most DIYers, but it involves electrical work. If you’re uncertain about wiring or don’t have experience, hire a licensed electrician, this isn’t the place to learn on the job.
Tools and Materials:
- Ladder (sturdy, with a helper nearby)
- Voltage tester (non-negotiable for safety)
- Adjustable wrench and screwdrivers (Phillips and flathead)
- Wire connectors (often included with fixture)
- Mounting bracket, canopy, and finial (hardware from the fixture kit)
- Electrical tape
Safety First: Turn off power at the breaker, not just the wall switch. Use a voltage tester on all wires and the electrical box to confirm power is off. Wear safety glasses and gloves. If the fixture weighs more than 50 pounds, secure it with a ceiling-rated bracket rated for that weight (not just the electrical box).
Basic Installation Steps:
- Turn off power at the breaker and test the circuit with a voltage tester.
- Remove the old fixture’s canopy and disconnect the wires. Cap loose wires with wire connectors temporarily.
- Unscrew the old mounting bracket from the electrical box.
- Install the new bracket, ensuring it sits flush and level.
- Connect the black (hot) wire from the new fixture to the black wire in the box: connect white (neutral) to white: and copper ground to ground. Twist pairs together, then secure with wire connectors.
- Tuck wires into the electrical box and slide the canopy up to cover them.
- Screw the finial or mounting ring to hold the canopy in place.
- Install bulbs and diffuser or glass.
- Turn power back on and test.
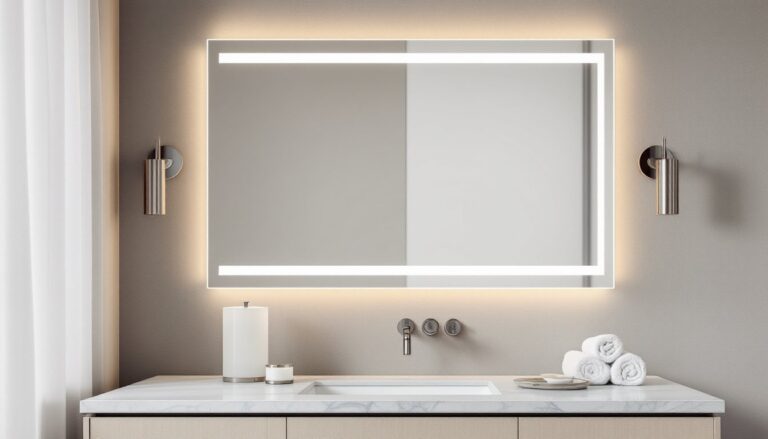
If your electrical box sags or feels loose, it may need reinforcement, that’s a job for a professional. Modern fixtures often come with LED light mirror vanity or integrated LED elements: follow the manufacturer’s instructions for dimmer compatibility.
Bulb Selection and Energy Efficiency Tips
Bulb choice has a huge impact on how a room feels and how much you spend on electricity. Modern LED bulbs have made energy-efficient overhead lighting affordable and realistic.
Color Temperature (in Kelvins):
- 2700K (warm white): Cozy, amber-toned light. Best for bedrooms, living rooms, and dining areas.
- 4000K (neutral/cool white): Balanced, natural light. Works for kitchens, bathrooms, and work areas.
- 5000K (daylight): Bright, bluish light. Rarely used indoors: better for task lighting or workshops.
For ceiling lights for kitchen spaces, aim for 4000K or warmer 3000K if you prefer a softer feel. Bathroom vanities often use 4000K to mimic daylight and see true makeup colors. Bedrooms look best at 2700K.
Brightness (Lumens):
Illuminance is measured in lumens, not watts anymore. A 60-watt incandescent bulb (roughly 800 lumens) is now typically replaced with a 9–12 watt LED producing the same brightness. For overhead room lighting, aim for 20 lumens per square foot. A 120-square-foot bedroom needs about 2,400 lumens total, that might be one 2,400-lumen fixture or two 1,200-lumen fixtures.
Dimmer Compatibility:
Not all LEDs work with older dimmers. Buy “dimmable” LED bulbs (they cost slightly more) and test them with your specific dimmer before committing to a full set. 4-inch recessed LED lighting fixtures often come with integrated dimmers for flicker-free dimming.
Lifespan and Savings:
LED bulbs last 25,000–50,000 hours (10–20 years of typical use). Over that lifespan, an LED costs about $100–150 in electricity: an equivalent incandescent costs $800+. The upfront bulb cost is higher, but you’ll break even within 1–2 years on most fixtures.
Maintenance and Troubleshooting Common Issues
Ceiling fixtures are low-maintenance compared to other home systems, but a few checks keep them running smoothly.
Routine Care:
- Clean the diffuser or glass quarterly with a soft cloth and warm water. Dust buildup dims brightness by 10–15%.
- Check that mounting bolts and the canopy remain tight. Vibration from HVAC systems or ceiling fans can loosen hardware.
- Replace bulbs as they dim or fail. Modern LEDs don’t “burn out” suddenly: they gradually dim, signaling replacement time.
Common Issues and Fixes:
Flickering Light: Usually a bulb or dimmer compatibility issue. Swap the bulb first. If it persists, the dimmer may not support that LED: try a “dimmable” or “compatible” bulb brand, or install a newer, LED-compatible dimmer.
Fixture Won’t Turn On: Turn off power and check that all wire connections are snug. Loose connections are the #1 culprit. If wires are secure and the bulb works in another fixture, the issue is likely the switch circuit, call an electrician.
Canopy Sagging or Loose: Tighten the mounting bolts and the finial. If bolts are already tight and the fixture still sags, the electrical box may be overloaded, don’t ignore this. Install a ceiling-rated brace or call a pro.
Buzzing Noise: Usually from a ballast (in older fluorescent fixtures) or a poorly seated LED. Tighten the bulb and check that the diffuser is secure. If buzzing persists, replace the bulb: faulty ballasts are expensive to repair.
For more detailed troubleshooting and installation guidance, Family Handyman’s ceiling light fixture replacement guide and Bob Vila’s LED ceiling light reviews are solid references. Lighting 101 from This Old House covers broader concepts that help with ongoing fixture selection and placement decisions.
Regular maintenance extends your fixture’s life and keeps your home bright and safe. A few minutes of attention every season beats troubleshooting emergency outages later.