A 30-inch bath vanity sits right at the sweet spot for most bathrooms. It’s compact enough to fit tight powder rooms without looking cramped, yet spacious enough for daily grooming and storage. Whether you’re updating a guest bathroom, replacing a dated fixture, or tackling your first bathroom renovation, understanding what makes a 30-inch vanity work in your space, from material selection to installation, takes the guesswork out of the project. This guide walks you through the essentials so you can choose, install, and style a vanity that functions beautifully for years to come.
Table of Contents
ToggleKey Takeaways
- A 30-inch bath vanity offers the perfect balance of compact design and functional storage, making it ideal for guest bathrooms, townhouses, and spaces where square footage is limited.
- Choose 30-inch vanities with plywood or hardwood frames, metal drawer slides, and moisture-resistant countertops like quartz to ensure durability and minimize maintenance over time.
- Proper installation of your 30-inch vanity requires leveling the cabinet opening, securing it to wall studs with 2.5-inch wood screws, and caulking gaps to prevent water damage behind the vanity.
- Pair your vanity with flanking sconces or double vanity lighting (24-30 inches apart) and warm white bulbs at 75 watts to eliminate shadows and create professional-quality bathroom lighting.
- Incorporate moisture-resistant materials throughout—from sealed cabinet interiors to semi-gloss bathroom paint and durable backsplash tile—to protect your vanity investment and prevent costly water damage.
What Makes a 30-Inch Bath Vanity the Perfect Bathroom Solution
The 30-inch vanity is the workhouse of bathroom design. It’s the most common standard width for a reason: it provides adequate counter space, fits a single sink comfortably, and leaves room for a standard faucet without crowding the basin. For homeowners dealing with smaller bathrooms, tight hallways, or modest square footage, this width is a practical win.
Unlike smaller vanities (24 inches), a 30-inch model gives you enough elbow room and counter real estate for toothbrushes, soap dispensers, and daily essentials. Unlike larger double vanities (48+ inches), it doesn’t demand a sprawling master bath. This makes it ideal for guest baths, primary baths in townhouses or condos, and homes where space is premium.
A well-chosen 30-inch vanity also anchors the bathroom visually. It sets the tone for storage, lighting, and overall finish. When paired with appropriate vanity lighting, whether that’s a sleek vanity bar or a pair of sconces, the vanity becomes the focal point that ties the whole room together.
Key Features and Materials to Look for When Selecting Your Vanity
When shopping for a 30-inch vanity, you’re choosing between several critical factors: the base material, the countertop finish, drawer and cabinet construction, and hardware. The base material sets the durability and maintenance profile of your entire unit.
Look for vanities with sturdy internal construction, plywood or hardwood frames, not particleboard. The cabinet back should be reinforced, especially if the vanity will sit against wet walls. Drawers should have metal slides (full-extension is worth the extra cost for accessibility) and dovetail joinery, not simple butt joints that fail after a few years.
Countertop thickness matters too. Solid surface materials like quartz or granite should be at least 1.25 inches thick to resist chipping and provide visual weight. Laminate countertops (budget-friendly) should be backed with water-resistant core to prevent swelling around the sink rim.
Wood, Composite, and Engineered Options Explained
Solid wood vanities (typically oak, maple, or vanity-grade cherry) offer warmth and longevity but demand regular sealing and can warp in humid bathrooms without proper ventilation. They’re beautiful but high-maintenance.
Composite vanities (engineered wood with plywood frames and veneered faces) balance cost and durability. They resist moisture better than solid wood when sealed properly and are easier to repair if the veneer gets dinged. Many mid-range vanities use this construction.
MDF and particleboard bases are budget options but absorb moisture easily. If you go this route, ensure the cabinet interior is sealed and install a proper exhaust fan (ideally vented to the outside, not into the attic).
Vanity lamps and makeup vanity with lights often come integrated into pricier models, but you can always add aftermarket vanity lighting solutions to any cabinet. This modularity means you don’t pay for built-in lights if you prefer wall-mounted or mirror-mounted options.
For countertops, quartz is the practical winner: non-porous, stain-resistant, low-maintenance, and durable. Laminate works for renters or temporary solutions. Marble is gorgeous but porous and etches easily, save it for low-traffic powder rooms.
Installation Essentials for DIY Success
Installing a 30-inch vanity is a manageable DIY project if you have basic plumbing knowledge and the right tools. Most installations take 2–4 hours, but prep work often takes longer than the installation itself.
Measurements, Plumbing, and Wall Preparation
Start by measuring twice (and then again). Check the width of your cabinet opening, verify that the existing supply lines and drain align with the new vanity’s cutouts, and confirm there’s enough clearance for the vanity to slide into place without binding on framing or existing pipes.
Wall preparation is critical. Remove the old vanity and inspect the wall behind it. Look for water damage, mold, or soft spots in the drywall. If you find damage, cut out the affected section with a drywall saw and patch with moisture-resistant drywall (moisture-resistant, or “greenboard,” is standard in bathrooms). Sand, prime, and paint before setting the new vanity in place.
Check the top of the wall where your vanity will sit. Use a level, a 24-inch or 48-inch is ideal, to confirm the cabinet opening is actually level. Many older homes have settled walls that slope slightly. If your opening isn’t level (off by more than 1/4 inch across the width), you’ll need shims to level the vanity. Unleveled vanities cause gaps at the wall, allow water to pool, and create visible tilting once you add the countertop.
Before moving the vanity into place, turn off the water supply and disconnect the supply lines using an adjustable wrench. Cap the lines with plastic caps or tape to prevent debris from entering. Disconnect the P-trap under the sink using a slip wrench (has two jaws that grip the nut, not a wrench that clamps).
Tools you’ll need: level, drill-driver, adjustable wrench, slip wrench, caulk gun, silicone caulk, shims, and a helper (vanities are awkward, and getting a second pair of hands prevents drywall damage and back strain).
Slide the new vanity into place. Check level front-to-back and side-to-side using your level. Once level, secure the vanity to the wall studs using 2.5-inch wood screws driven through the rail at the back of the cabinet. Hit studs: drywall anchors alone will eventually pull loose with the weight of water, daily use, and movement.
Reconnect the P-trap and supply lines. If the existing pipes don’t align perfectly, use flexible supply lines (stainless steel braided is more durable than rubber) to bridge the gap. Hand-tighten all connections first, then give them a quarter-turn with a wrench. Over-tightening strips threads and causes leaks.
Caulk the gap between the vanity top and the wall with paintable silicone caulk. This prevents water from seeping behind the vanity and damaging the wall. Use a wet finger or caulk tool to smooth the line, then wipe away excess with a damp cloth before it sets (5 minutes is typical). Paint once dry.
Turn the water back on and check for leaks. Run water into the sink and watch underneath for drips. If you spot a slow leak at a connection, tighten the nut a quarter-turn and recheck. If the leak persists, you may need to disassemble and reseal with plumber’s tape or pipe dope.
Styling and Design Ideas to Match Your Bathroom Aesthetic
Once your vanity is installed and plumbing is solid, styling transforms it from a functional fixture into a design anchor.
Mirror choice sets the tone immediately. A frameless mirror creates a clean, modern look: a wood-framed or metal-edged mirror adds warmth or industrial flair. Consider size too, a mirror that extends 6 inches wider than the vanity creates visual balance without overwhelming the wall.
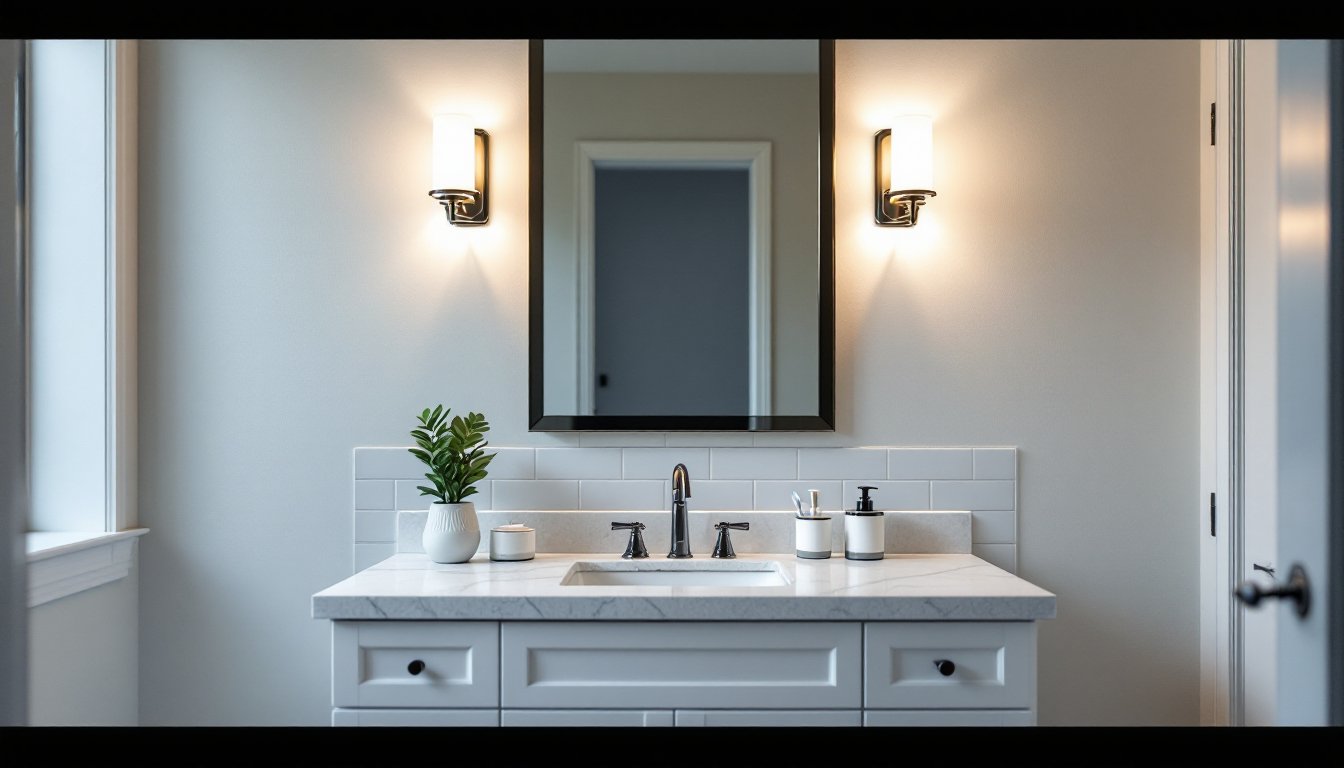
Lighting deserves its own attention. A single vanity lamp centered above the mirror works, but better yet, flank the mirror with double vanity lighting sconces (even in a single-sink setup, side lighting eliminates shadows and mimics professional makeup lighting). Aim for 24-30 inches between sconces and at least 75 watts of warm white bulbs (2700K color temperature).
Countertop accessories should be intentional. A soap dispenser, toothbrush holder, and small tray for jewelry keep clutter at bay. Group items on one side to leave counter space open and uncluttered.
For backsplash, consider subway tile, penny tile, or simple painted wall finish. Tile is durable and easy to clean: paint is budget-friendly and flexible. If you paint, use semi-gloss or satin bathroom paint (eggshell minimum) to handle moisture. A two-color scheme, neutral vanity with colored wall or vice versa, creates visual interest without feeling fussy.
Design inspiration is everywhere. Platforms like Homify and Remodelista showcase real bathrooms at every budget. HomeAdvisor offers project planning tools and cost estimates to help you allocate budget across vanity, countertop, and lighting.
Conclusion
A 30-inch bath vanity is a smart, space-efficient choice that delivers functionality and style. By selecting materials that resist moisture, installing with care to avoid future leaks, and styling with intentional lighting and accessories, you create a bathroom feature that works hard and looks good doing it. Take your time with measurements and prep, it’s the difference between a vanity that lasts 15 years and one that causes headaches in two.


