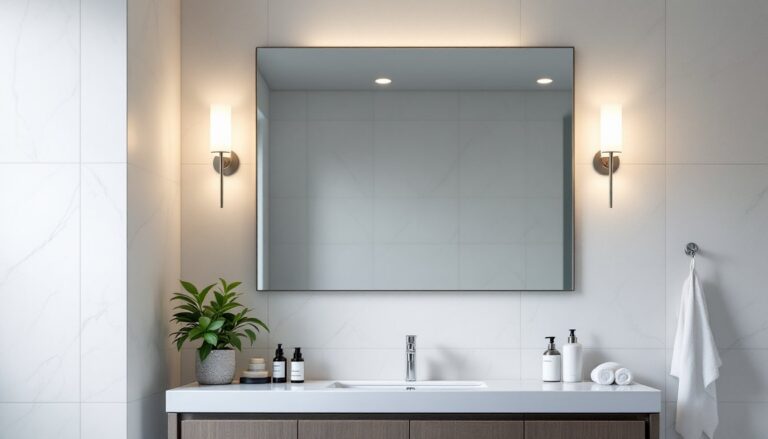
Bathroom mirrors with lights have become essential fixtures in modern homes, transforming how homeowners approach both daily routines and bathroom design. A well-chosen illuminated mirror eliminates shadows on your face during shaving, makeup application, and skincare, tasks that demand precision lighting. Beyond task functionality, these mirrors reduce the need for bulky separate vanity fixtures, simplifying wiring and creating a cleaner aesthetic. Whether you’re upgrading a tired existing setup or planning a full bathroom renovation, understanding the options available in 2026 helps you make a smart investment that blends practicality with style.
Table of Contents
ToggleKey Takeaways
- Bathroom mirrors with lights eliminate shadows during shaving and makeup application while reducing the need for separate vanity fixtures, creating a cleaner aesthetic and simpler wiring setup.
- LED-equipped bathroom mirrors consume 80–85% less energy than incandescent bulbs and last 20,000–50,000 hours, making them a smart long-term investment with anti-fog technology and adjustable color temperatures.
- Choose a mirror width that occupies 70–100% of your vanity width and verify an IP44 or higher rating plus UL/ETL safety certification to ensure code compliance in wet bathroom environments.
- Front-lit mirrors suit makeup and shaving tasks with direct facial lighting, while backlit mirrors create a soft halo effect that amplifies perceived space and ambiance in smaller bathrooms.
- Always turn off power at the breaker and use a voltage tester before installation; most hardwired bathroom mirrors with lights require a dedicated 120V circuit and proper clearance from water sources per local electrical codes.
- Match metal finishes across your mirror frame, faucets, and hardware to create visual cohesion, and pair warm 2700K–3500K lighting with your bathroom’s design style for a polished, intentional look.
Why Bathroom Mirrors With Lights Are Worth the Investment
Modern illuminated bathroom mirrors deliver genuine value beyond aesthetics. LED-equipped models typically consume 80–85% less energy than older incandescent bulbs and boast lifespans of 20,000–50,000 hours, meaning you won’t be replacing them every couple of years.
The anti-fog feature is genuinely practical. A built-in heating pad keeps the mirror clear immediately after showers when you actually need to see yourself. Many mid-range to premium models now include dimmable lighting, adjustable color temperature (ranging from 2700K warm to 6500K daylight), and even smart features like Bluetooth speakers, motion sensors, or voice activation through home assistants.
From a design standpoint, integrated lighting reduces clutter. You’re not mounting separate sconces or wrestling with additional wiring when the light source lives inside the mirror frame itself. For first-time homeowners tackling renovations, this simplification translates to fewer headaches during installation and a more polished final result.
Types of Illuminated Bathroom Mirrors Explained
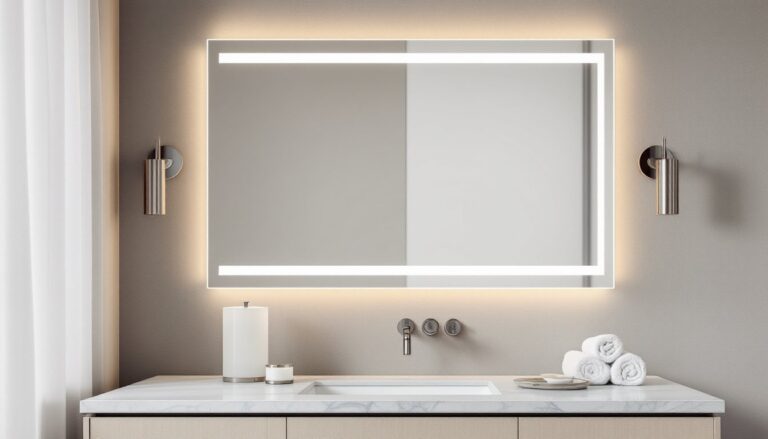
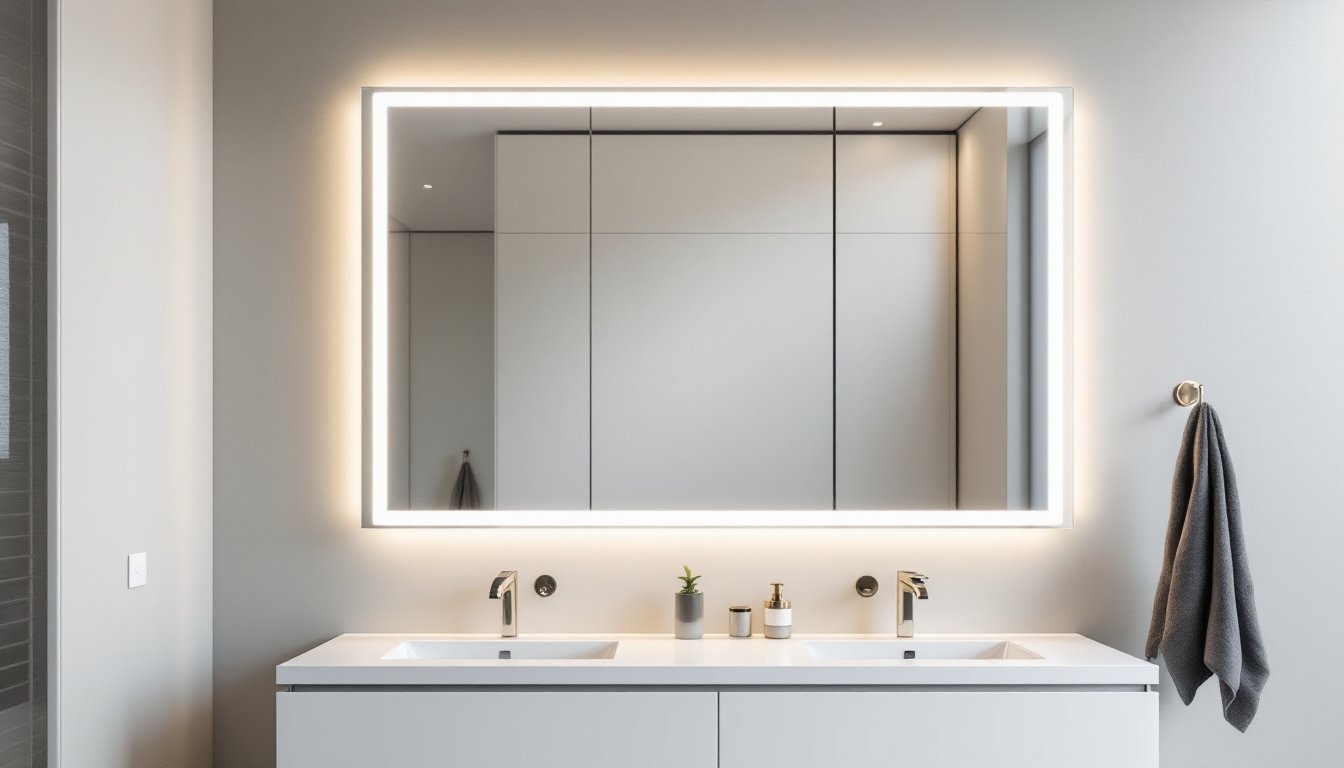
Understanding mirror lighting categories helps narrow your choices. Front-lit LED mirrors have lights positioned around the perimeter or behind a frosted band on the front surface, casting light directly onto your face, ideal for makeup application and shaving. Backlit mirrors position LEDs behind the glass, projecting a soft halo onto the wall behind the mirror, which creates ambiance and makes the space feel larger without harsh task lighting.
Anti-fog mirrors integrate a heating pad that activates automatically or via a timer, keeping condensation from fogging the surface. Smart mirrors add touch controls, motion detection, voice commands, and smartphone app connectivity, useful if you want to set mood lighting or adjust brightness hands-free.
For magnifying applications, lighted makeup mirrors with extendable arms mount to the wall and often include built-in task lighting, though they occupy less wall space than full-length vanity mirrors.
LED Mirrors vs. Traditional Backlit Options
LED mirrors dominate the market for good reason. They generate minimal heat, integrate dimming and color temperature controls easily, and last far longer than older fluorescent or halogen backlit options. Traditional backlit fixtures using fluorescent or halogen bulbs consume more power, run hotter, and burn out faster, most manufacturers have phased these out in favor of LED technology.
The sweet spot for most DIYers is an LED backlit mirror, which combines energy efficiency with that halo lighting effect homeowners love. Pair that with an IP rating (ideally IP44 or higher for wet locations) and UL or ETL safety certification, and you’ve got a reliable product that meets building codes.
How to Choose the Right Size and Style for Your Space
Size matters more than many assume. Your mirror width should occupy 70–100% of your vanity width, oversized mirrors extending beyond the cabinet edges look awkward and waste counter space, while undersized mirrors feel cramped and don’t maximize reflected light. If you’re shopping for a bathroom lighting guide or coordinating fixtures with existing décor, note that taller mirrors amplify reflected light and work better in bathrooms with standard 8-foot or higher ceilings.
Shape and style should match your bathroom’s overall aesthetic. Round or oval mirrors soften a design, working well in traditional, transitional, or spa-like bathrooms. Rectangular frames suit modern, minimalist, or industrial schemes. Frameless mirrors offer contemporary clean lines that pair nicely with flat-panel cabinetry and minimal hardware.
Color temperature is personal but follows general guidelines: 3000K–3500K delivers warm, flattering light: 4000–5000K provides neutral, task-focused illumination better for detailed work. If you apply makeup or shave, test a sample under your intended color temperature before purchasing. About ceiling lights for kitchen and bath spaces, similar logic applies, match your lighting temperature across the room for visual consistency.
Always verify the IP (ingress protection) rating and safety listings. An IP44 rating means the fixture tolerates splashing from all directions, essential for wet bathroom environments. Certifications from UL (Underwriters Laboratories) or ETL (Intertek) confirm the product meets electrical safety codes.
Installation Tips for DIY Homeowners
Before touching anything electrical, turn off power at the breaker panel and verify the circuit is dead using a non-contact voltage tester. Skipping this step is the fastest way to a hospital visit.
Mounting considerations: Determine whether you’re mounting to studs or using heavy-duty wall anchors rated for your mirror’s weight, typical illuminated mirrors weigh 15–40 pounds. Studs provide the strongest anchor: if your mirror sits between studs, toggle bolts or heavy-duty plastic anchors rated for wet locations work, but always verify load ratings on the packaging.
Electrical connections: Most hardwired models require a dedicated 120V circuit connected to a wall switch. Follow the manufacturer’s wiring diagram precisely: don’t improvise connections. If your bathroom lacks an existing outlet or switch in the right location, running new circuit cable may require a licensed electrician and a permit, depending on local codes. This isn’t a shortcut situation.
Clearance: Maintain at least 12 inches of clearance between the mirror’s bottom edge and any faucet or countertop fixtures. Consult your local electrical code (most follow the National Electrical Code, or NEC) for outlet and switch placement requirements near water sources. Requirements vary by jurisdiction, so a quick call to your local building department saves headaches.
Tools you’ll need: a level, stud finder, drill with bits, masonry or wood screws (depending on your wall material), a non-contact voltage tester, and basic hand tools. If drywall anchors feel sketchy or you’re unsure about the wiring, calling a licensed electrician is money well spent.
Design Ideas to Elevate Your Bathroom Aesthetic
A large backlit mirror is a visual game-changer in small bathrooms. The halo glow and reflective surface expand the perceived space and brighten dim corners without adding recessed or pendant fixtures. Pair it with best bathroom lighting for makeup considerations, warm, diffused light flatters skin and ensures accurate color matching.
For double vanities, install twin lighted mirrors that flank a central focal point (artwork, shelving, or a statement light fixture). This symmetrical approach feels intentional and gives both sink users dedicated task lighting without shadows. Match the metal finishes of your mirror frames, faucets, and hardware, mixing brushed gold, matte black, and polished chrome creates visual chaos, while consistent finishes tie the room together.
Frameless LED mirrors pair beautifully with minimalist fixtures and open shelving. They feel less “bathroom” and more “modern bedroom,” which appeals to homeowners who prefer understated elegance. Consider farmhouse bathroom lighting if your design leans rustic, a backlit mirror with warm 2700K lighting and a wooden or black-framed surround complements vintage and transitional styles.
For design inspiration beyond your bathroom, resources like Remodelista and MyDomaine showcase real renovations and product pairings. House Beautiful regularly features bathroom makeovers that demonstrate how mirror choice influences the entire room’s visual weight and cohesion.
Conclusion
Choosing the right bathroom mirror with lights balances function, code compliance, and your aesthetic preferences. LED technology delivers energy savings and longevity: anti-fog features keep mirrors practical year-round. Whether you opt for front-lit task lighting, a backlit halo effect, or a smart mirror with app controls, ensure the size matches your vanity and the installation follows local electrical codes. A successful installation respects safety first, skips shortcuts on wiring, and coordinates finishes throughout your bathroom. With the right illuminated mirror in place, daily grooming becomes clearer, and your bathroom feels more intentional and finished.