Kitchen lighting isn’t just about seeing what you’re doing, it’s about creating a functional, welcoming space where you actually want to spend time. A well-lit kitchen makes meal prep safer, faster, and more enjoyable, while poor lighting turns even simple tasks into frustrating squints. Ceiling lamps form the foundation of kitchen illumination, providing ambient light that sets the overall brightness level. Whether you’re planning a complete kitchen overhaul or simply upgrading your existing fixtures, choosing the right ceiling lamps for kitchen spaces requires understanding fixture types, brightness requirements, and proper placement. This guide walks you through what matters most when selecting and installing kitchen ceiling lighting that balances style with functionality.
Table of Contents
ToggleKey Takeaways
- Ceiling lamps for kitchen should provide 40–60% of your total lighting needs, with the NKBA recommending a minimum of 50 lumens per square foot for general kitchen areas and 75+ lumens per square foot in work zones.
- Flush mount fixtures suit 8-foot or lower ceilings, while pendant lights and chandeliers work best in kitchens with 9+ feet of height and create functional focal points over islands.
- Choose 4000K to 5000K color temperature bulbs for kitchen ceiling lamps to ensure crisp, natural-looking illumination that doesn’t distort food colors.
- Proper installation requires turning off power at the breaker, inspecting the ceiling box for secure mounting, and connecting wires correctly—hire a licensed electrician if you lack experience.
- Multiple staggered ceiling fixtures spaced 4–6 feet apart distribute light more evenly than single fixtures and create a more natural, visually balanced kitchen.
Why Kitchen Ceiling Lighting Matters
Most kitchen tasks demand good visibility. Chopping vegetables, reading recipes, and cooking require clear, shadow-free light to work efficiently and safely. Ceiling lamps provide the primary source of ambient lighting that fills the entire space, while task lighting (under cabinets or over islands) handles specific work areas. A dimly lit kitchen is genuinely hazardous, you’re more likely to cut yourself, miss ingredients, or make cooking mistakes. Beyond safety, quality ceiling lighting affects how inviting your kitchen feels. Warm, well-distributed light creates a cozy atmosphere for family gatherings, while harsh or inadequate lighting makes the space feel unwelcoming. Research shows that proper kitchen lighting also influences how we perceive colors in food and cooking, affecting both presentation and appetite. Building codes don’t mandate specific ceiling lamp brightness for kitchens, but the National Kitchen & Bath Association (NKBA) recommends a minimum of 50 lumens per square foot for general kitchen areas, with higher levels (75+ lumens per square foot) in work zones. Most kitchens benefit from layered lighting, general ambient light from ceiling fixtures, supplemented by task lighting and accent lighting, creating flexibility and visual interest.
Types of Ceiling Lamps for Kitchens
Ceiling fixtures come in several styles, each suited to different kitchen layouts, ceilings heights, and design preferences. Understanding your options helps you match the right fixture to your space and budget.
Flush Mount and Semi-Flush Fixtures
Flush mount fixtures sit tight against the ceiling, making them ideal for standard 8-foot or lower ceilings where hanging pendants would interfere with movement. These fixtures mount directly to the ceiling box, creating a clean, unobtrusive look that works in contemporary, traditional, or transitional kitchens. Semi-flush fixtures hang 4 to 8 inches below the ceiling, offering slightly more visual interest than true flush mounts while still maintaining clearance in modest ceiling heights. Flush mounts typically cost between $30 and $150 for quality residential fixtures, though designer or crystal-laden versions run higher. They’re straightforward to install, the fixture connects to the existing ceiling box with a simple bracket system, making them a solid DIY project for anyone comfortable working with electrical wiring and turning off breakers. LED-equipped flush mounts have become standard, offering excellent energy efficiency and long bulb life (25,000 to 50,000 hours is common). The main trade-off: flush mounts distribute light in a concentrated pattern, which can create slightly uneven illumination compared to pendant lights suspended lower in the room.
Pendant Lights and Chandeliers
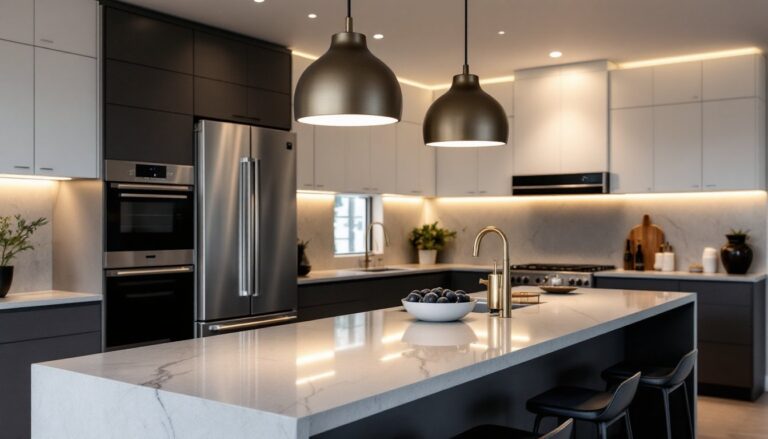
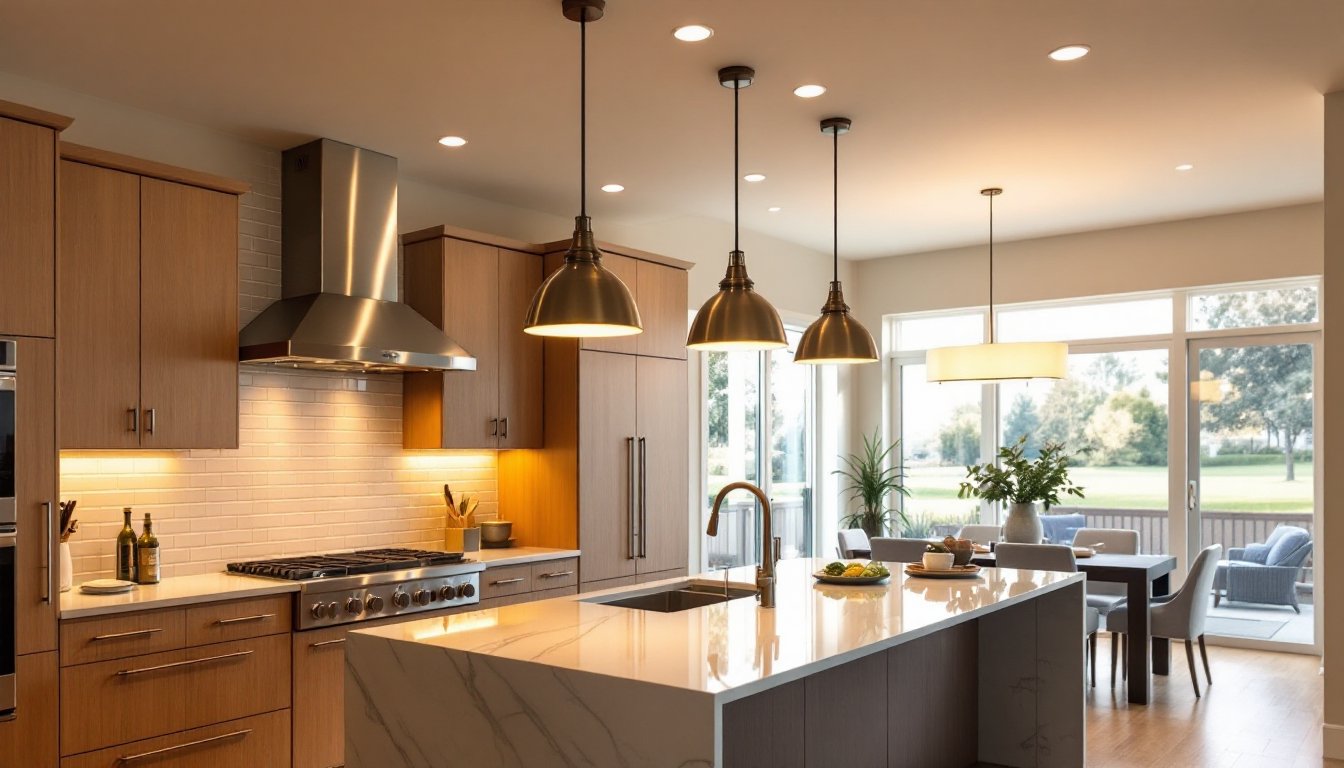
Pendant lights hang from a chain, cord, or rod, dangling into the kitchen space and creating visual focal points while providing direct downward illumination. They’re particularly popular over kitchen islands and peninsula counters, where they combine function with design appeal. Kitchen pendant light fixtures range from industrial metal shades to frosted glass or fabric drums, accommodating most aesthetic preferences. When hung 30 to 36 inches above a counter or island (not lower, you don’t want to bump your head), pendants deliver concentrated task lighting while contributing to the overall ambient scheme. Most kitchens use multiple pendants (typically two or three) spaced 24 to 30 inches apart for balanced coverage. Pricing varies widely, budget pendants start around $20 per fixture, while designer versions easily exceed $200. Installation is similar to flush mounts but requires running a chain or cord and ensuring proper support in the ceiling box. Chandeliers, multi-armed fixtures with multiple bulbs, are less common in contemporary kitchens but work beautifully in farmhouse or traditional designs, especially in larger kitchens with adequate ceiling height (9 feet or more). They deliver ambient light from multiple points, creating softer shadows than a single pendant. The downside: chandeliers require more careful spacing to avoid blocking sightlines, and they trap dust and spider webs easily in kitchens where cooking residue lingers.
How to Choose the Right Ceiling Lamp
Start by measuring your kitchen and calculating total square footage. A standard 12-by-14-foot kitchen (168 square feet) needs roughly 8,400 lumens of total lighting at 50 lumens per square foot, the baseline NKBA recommendation. Your ceiling lamps for kitchen should provide 40 to 60 percent of that total: task and accent lighting fill the rest. For a 150-square-foot kitchen, expect ceiling fixtures to deliver around 4,000 to 5,000 lumens combined. Check the lumens rating on product packaging, don’t rely on wattage alone, since LED bulbs are far more efficient than older incandescent or halogen options. Ceiling height and kitchen layout determine fixture type. Eight-foot ceilings call for flush mounts or semi-flush fixtures to avoid head bonks. Kitchens with vaulted or cathedral ceilings (9 feet or higher) offer freedom to hang pendant lights or shallow chandeliers. An open-concept kitchen flowing into a dining or living area benefits from pendants over islands to define zones and create visual separation without walls. Color temperature matters too. Most kitchens work best with 4000K to 5000K bulbs (cool white to daylight), which provides crisp, natural-looking illumination that doesn’t distort food colors. Warm bulbs (2700K) are cozier for dining and living areas but feel dim in active work zones. Many modern ceiling lamps now ship with dimmable LED bulbs, giving you flexibility to adjust brightness for different times of day or moods, a feature well worth the modest premium. Budget is real, but don’t cheap out on fixtures themselves. A $50 quality flush mount will outperform a $15 knockoff for 10+ years. Factor in installation: if you lack electrical experience, hire a licensed electrician (typically $150 to $300 for a straightforward fixture swap). Trying to save money on labor often costs more in callbacks and do-overs.
Installation and Placement Tips
Before you buy or install anything, turn off power to the circuit at the breaker panel and verify it’s dead with a non-contact voltage tester. Never assume a breaker is off, electrical injuries are no joke, and testing takes 10 seconds. If you’re uncomfortable working with live wiring or your home has aluminum wiring (common in 1960s to 1970s homes), hire a licensed electrician.
For new fixture installation, the process generally follows these steps:
- Remove the old fixture by disconnecting the wires (neutral to neutral, hot to hot, ground to ground) and unscrewing the mounting bracket from the ceiling box.
- Inspect the ceiling box. It must be securely attached to a joist or rafter and rated for the fixture weight. Older homes sometimes have flimsy boxes, don’t mount heavy chandeliers on undersized boxes.
- Install the new mounting bracket according to the manufacturer’s instructions, ensuring the box is centered and level.
- Connect the wires using wire nuts (the small plastic connectors), folding excess wire carefully into the ceiling box. Grounding wire (typically bare copper) goes to the green screw on the bracket.
- Secure the fixture to the bracket and install bulbs or shades per instructions.
- Restore power and test before walking away.
Placement depends on kitchen layout. Centered fixtures work for small, single-galley kitchens. Larger kitchens benefit from two or three fixtures spaced roughly 4 to 6 feet apart for even coverage. Over islands, pendants should hang centered above the work surface: if the island is oddly shaped or very long, use two or three smaller pendants rather than one oversized fixture. Avoid placing fixtures directly above sink or stove when possible, the heat and steam from cooking can reduce bulb life. Leave at least 24 inches clearance between the bottom of the fixture and counter height to prevent glare in people’s eyes and avoid hitting heads. When using multiple ceiling lamps for kitchen spaces, stagger them rather than lining them up like runway lights. Spacing them unevenly (for example, 5 feet, then 6 feet, then 5 feet) feels more natural and distributes light without obvious patterns.
Conclusion
Selecting the right ceiling lamps for kitchen spaces isn’t complicated, but it does demand a bit of planning. Start with your square footage and brightness needs, then choose a fixture style that suits your ceiling height and overall kitchen design. Remember that ceiling fixtures work best as part of a layered lighting strategy, add kitchen island lighting or under cabinet lighting to eliminate shadows and improve functionality. When in doubt, consult a qualified electrician, follow the manufacturer’s instructions carefully, and never skip the safety steps. A well-lit kitchen is one of the most rewarding upgrades you can make, improving both daily functionality and long-term home value.