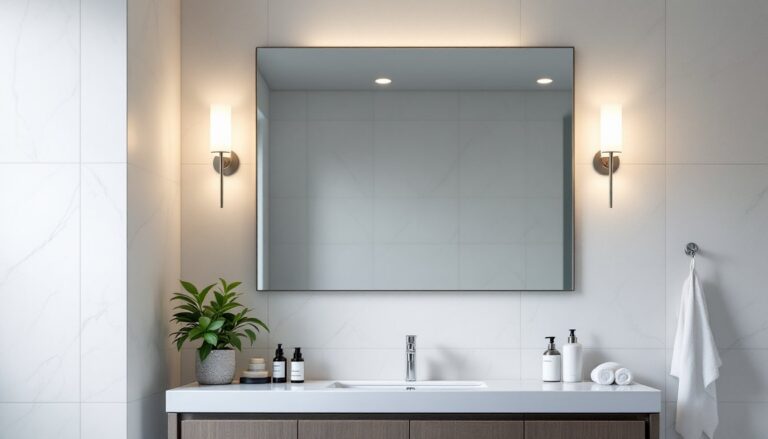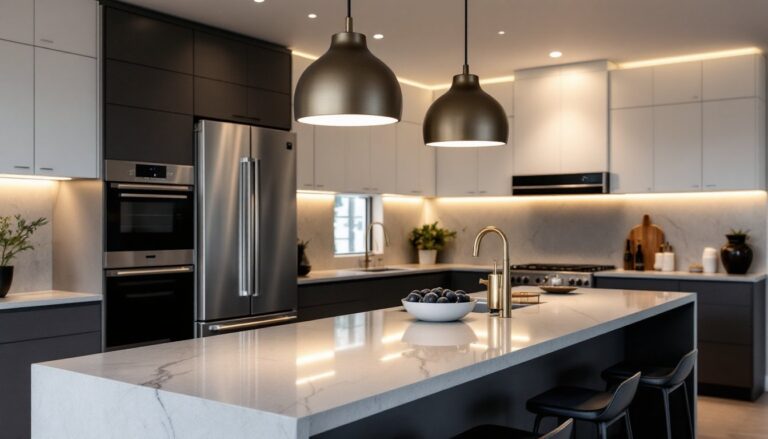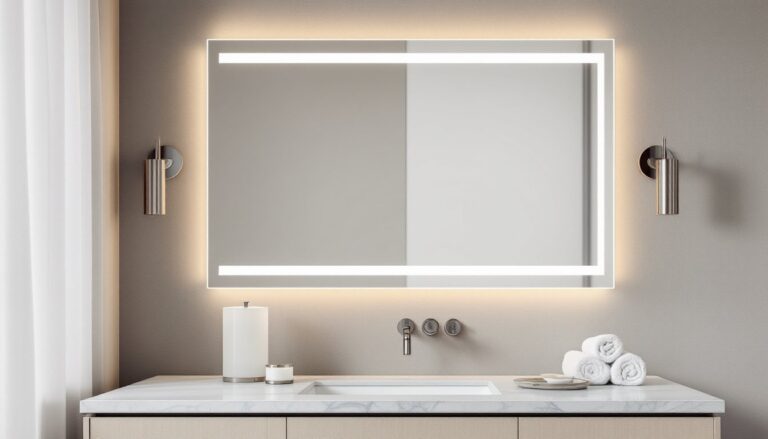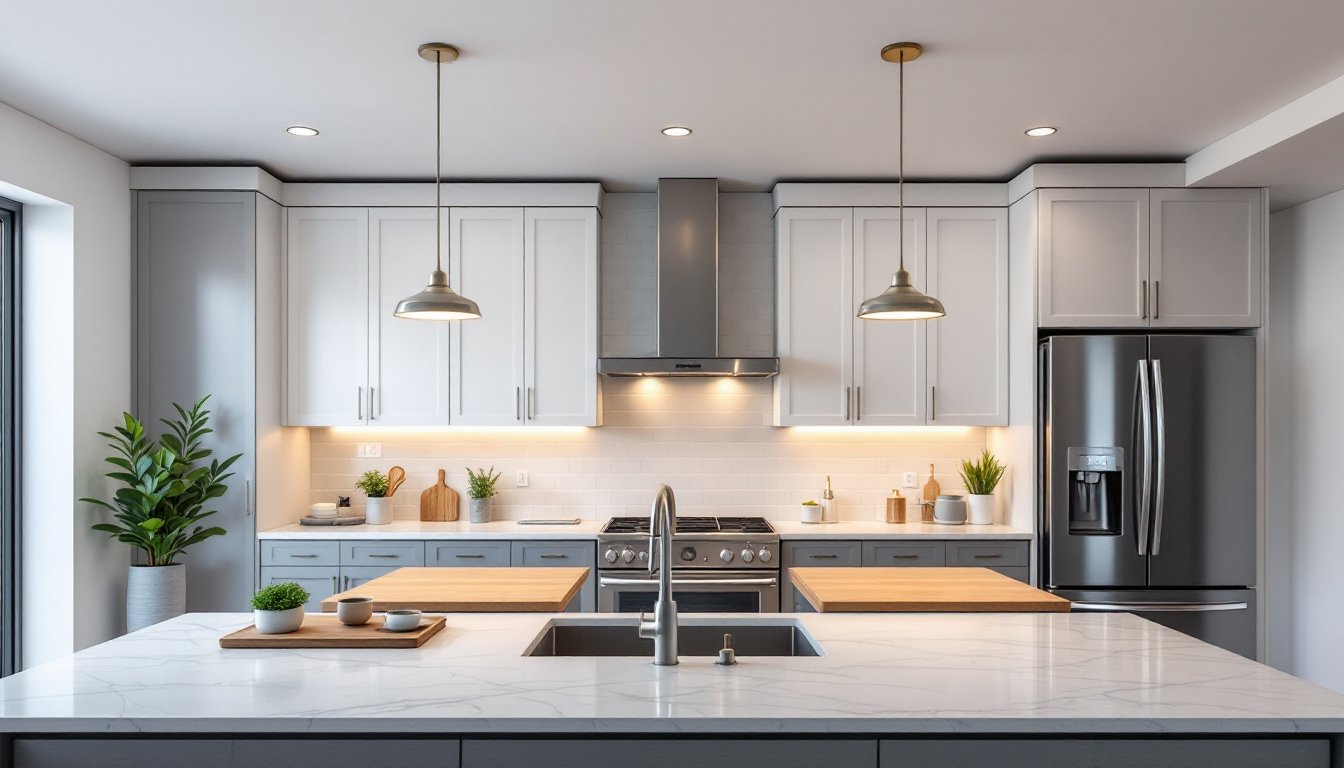
A well-lit kitchen is non-negotiable. Whether you’re prepping dinner at 6 p.m. or hunting for a midnight snack, the right ceiling lights for kitchen spaces make all the difference between eye strain and comfort. Beyond function, kitchen ceiling lights set the tone for the entire room, they can make a small space feel larger, highlight your island’s design, or tie together your décor. With so many options available, from sleek recessed fixtures to statement-making pendants, choosing the right setup doesn’t require a contractor’s budget or expertise. This guide walks you through the types of kitchen lighting, how to select fixtures for your space, and practical installation tips for DIY success.
Table of Contents
ToggleKey Takeaways
- Ceiling lights for kitchens come in multiple types—flush mount, recessed, track, and pendants—each suited to different ceiling heights and lighting needs, so choose based on your space and style preferences.
- Calculate your kitchen’s brightness needs by adding length and width in feet; multiply by 10 to estimate lumens required, and layer ambient, task, and accent lighting to eliminate shadows and dark corners.
- LED bulbs and LED-integrated ceiling lights consume 85% less energy than incandescent alternatives while delivering the same brightness, paying for themselves within 1–2 years through utility savings.
- Maintain color temperature consistency by using warm white (2,700–3,000K) for ambient lighting and cool white (3,500–4,100K) for task areas like food prep zones.
- Before installing ceiling lights, always turn off power at the breaker and test wires with a voltage tester; follow manufacturer instructions precisely for mounting brackets and wire connections to ensure safety and prevent fixtures from sagging.
- Dimmable fixtures and smart lighting controls let you adjust brightness and color temperature throughout the day, improving both energy efficiency and the ambiance of your kitchen.
Types of Kitchen Ceiling Lights to Consider
Flush Mount and Semi-Flush Fixtures
Flush mount fixtures sit directly against the ceiling, making them ideal for kitchens with standard 8-foot ceilings or lower. They’re compact, affordable, and available in styles ranging from industrial to farmhouse to contemporary. Semi-flush mounts hang 4 to 12 inches below the ceiling, offering slightly more visual interest without eating up headroom. Both types work well as primary ambient lighting and come in many finishes, brushed nickel, matte black, or brass, to match your kitchen‘s style.
Flush and semi-flush fixtures typically use medium (E26) or candelabra (E12) base bulbs, so you’ll have flexibility in switching from incandescent to LED without rewiring. A single flush mount rated for 60–100 watts of incandescent light (or 8–15 watts LED equivalent) suits smaller kitchens or works as supplemental lighting alongside task lighting. For larger kitchens, plan to install two or three fixtures spaced evenly across the ceiling to avoid dark corners.
Recessed and Track Lighting
Recessed lights sit inside the ceiling cavity, creating a clean, minimalist look that works with virtually any décor. They’re excellent for task lighting over countertops, islands, and sinks because you can aim them precisely. Standard recessed fixtures come in 4-inch, 5-inch, and 6-inch diameters: 4-inch models work for tighter joist spacing (typically 16 inches on center), while 5- and 6-inch fixtures deliver more light output and suit standard or wide spacing. Linear recessed lighting has gained popularity for its sleek, modern appearance and ability to emphasize architectural lines.
Track lighting uses a channel mounted to the ceiling with movable heads that rotate or slide along the track. It’s versatile for directing light onto work zones and adjustable if your kitchen layout changes. Track systems typically handle 120–300 watts depending on the track gauge and number of heads. Both recessed and track fixtures require rough-in work during ceiling framing or retrofitting into existing ceilings, which can be labor-intensive. If your kitchen ceiling has solid joists above (no attic space), recessed retrofit kits exist but are messier to install than planning during new construction.
How to Choose the Right Kitchen Ceiling Lights
Measuring Your Space and Brightness Needs
Start by measuring your kitchen’s length and width in feet, then add those numbers together. That sum is a rough guide for the total wattage you’ll need in lumens (a lumen is a unit of light brightness). For example, a 12 × 14-foot kitchen needs roughly 2,400–3,000 lumens of ambient lighting combined across all fixtures.
Divide your kitchen into zones: ambient (general overall light), task (over the sink, stove, and countertops), and accent (highlighting architectural details or islands). Most kitchens benefit from layered lighting, don’t rely on a single overhead fixture. Pendant lighting kits over islands, for instance, add focused task light and visual interest simultaneously. Aim for 2,700–3,000 Kelvin (warm white) for ambient lighting and 3,500–4,100 Kelvin (cool white) for task areas like food prep zones. This mimics natural daylight for task work while keeping the overall space inviting.
Consider your ceiling height. Standard 8-foot ceilings pair well with flush mounts or low-profile semi-flush fixtures. Vaulted or 9+ foot ceilings can accommodate pendants, chandeliers, or statement fixtures. Avoid large chandeliers in 8-foot kitchens, they create a cluttered feel and pose a bump hazard. Position fixtures to minimize shadows and glare on work surfaces. If your kitchen has significant natural light from windows, place ceiling lights away from direct competition: instead, use them to fill in dim corners or provide backup illumination for evening use.
Energy Efficiency and Smart Options
LED bulbs and LED-integrated fixtures are now the standard for kitchen lighting, and the difference in energy consumption is substantial. An LED bulb using 9 watts produces the same light as a 60-watt incandescent, cutting electricity use by 85% over the fixture’s lifetime. Most kitchen fixtures sold today are LED-compatible or LED-integrated, so you’ll spend slightly more upfront but recoup costs within 1–2 years through lower utility bills.
Dimmers let you adjust brightness to suit the time of day and task at hand. A dimmed fixture uses less energy than running at full brightness, and dimming extends LED lifespan even further. Make sure any fixture you buy is dimmable, not all LEDs work smoothly with all dimmer types: check the compatibility before purchasing. Smart lighting controls (Wi-Fi or Zigbee-enabled bulbs and fixtures) offer flexible scheduling, remote on/off control, and color temperature adjustment via smartphone app. They’re particularly useful in kitchens where you might want brighter, cooler light for cooking prep and warmer light for family meals.
When shopping, look for fixtures certified by ENERGY STAR, which guarantees lower energy draw and longer lifespan. Integrated LED fixtures (where the LED is built in and non-replaceable) often cost more initially but come with 10+ year warranties and are engineered for optimal performance. Retrofit recessed kits with 4-inch recessed LED lighting deliver solid brightness (typically 600–800 lumens per fixture) and fit standard joist spacing without major ceiling disruption.
Installation Tips for DIY Success
Safety first. Turn off power at the circuit breaker before removing old fixtures, then test the wires with a voltage tester to confirm power is off. Wear safety glasses and gloves when working overhead, old fixtures sometimes have brittle wiring or corroded hardware that can snap.
When removing an old fixture, disconnect the wires inside the junction box (usually three connections: black to black, white to white, bare copper or green to the grounding screw). Take a photo of the wire arrangement before disconnecting if you’re unsure. Cap any live wires with wire nuts if the old fixture is being replaced later.
Most ceiling fixtures include a mounting bracket and assembly hardware. Follow the manufacturer’s instructions exactly, improper mounting can cause fixtures to sag or fall. 4-inch recessed LED lighting requires cutting a 4-inch hole in the drywall: use a drywall saw or hole saw for clean edges. Push the fixture housing through, then secure the mounting brackets with the supplied springs or clips. The housing should sit flush against the drywall with no visible gaps.
For semi-flush or flush mounts, attach the mounting bracket to the ceiling junction box, then hang the fixture body and connect wires using wire nuts (twist the copper strands together firmly, slide the nut on, and tighten until snug). Ensure the wire nut completely covers the bare wire, no copper should be visible. After connections are made, gently fold the wires back into the junction box, secure the fixture trim ring, and restore power. Test each fixture on a dimmer-compatible switch if installed. If any lights flicker, hum, or fail to turn on, turn power off and recheck all wire connections: loose connections are the most common cause of DIY lighting failures.
For track lighting, mount the track according to layout plans (use a level and stud finder to ensure it’s straight), then snap the heads into the track and adjust aim. Plug into a nearby outlet or connect to a dedicated circuit if it’s a permanent installation, no outlet-to-cord setups in kitchens per electrical code.