Hanging lights for kitchen islands, countertops, and dining areas have evolved from a simple utility into a design statement that homeowners now expect. Whether you’re dealing with a galley kitchen or an open-concept space with an island, the right hanging fixtures can completely transform how your kitchen looks and functions. This guide walks you through everything a DIYer needs to know: what types of hanging lights work best, how to size and position them correctly, and how to install them without calling an electrician. By the end, you’ll understand exactly which fixtures suit your space and have the confidence to choose or install them yourself.
Table of Contents
ToggleKey Takeaways
- Hanging lights for kitchen islands and countertops come in two main styles: individual pendants or cluster fixtures, with pendants offering more design flexibility and clusters providing faster installation with a single electrical connection.
- Size your hanging kitchen lights by calculating the shade diameter as 1/3 the width of the counter or seating area, and hang them 12–18 inches below cabinetry or 24–36 inches above islands to ensure proper function and visual balance.
- DIYers can install hanging lights in under an hour if existing electrical rough-in is available, but always confirm power is off with a voltage tester and never skip hiring a licensed electrician if new wiring is needed.
- Modern hanging kitchen lights must deliver both task lighting (roughly 800 lumens for single pendants, 1200+ for islands) and ambient light, and should be paired with recessed ceiling lights or under-cabinet strips for layered illumination.
- Choose matte black or brass finishes with glass, ceramic, or concrete shades to match 2026 design trends, and coordinate your hanging light fixtures with dining area lighting to maintain cohesive style across open floor plans.
Types Of Kitchen Hanging Lights To Consider
Pendant Lights And Mini Pendants
Pendent lights are the workhorses of kitchen lighting. A single pendant, a fixture that hangs from the ceiling on a cord, chain, or rigid rod, typically spans 8 to 12 inches in diameter and works well over bar seating or small prep zones. Mini pendants are scaled-down versions, usually 5 to 8 inches wide, and shine when clustered in groups of three or more.
Pendants come in hundreds of styles: industrial metal cages, frosted glass globes, ceramic shades, and even fabric drum designs. The key is that light from a pendant spreads downward and slightly outward, making them ideal for task lighting above a sink or eating bar. Pendant lamps for kitchen work best when hung 12 to 18 inches below cabinetry or at least 36 inches above a bar counter. They’re also the easiest to install if existing electrical rough-in is already in place, most homeowners can swap a fixture in under an hour.
Island Chandeliers And Cluster Fixtures
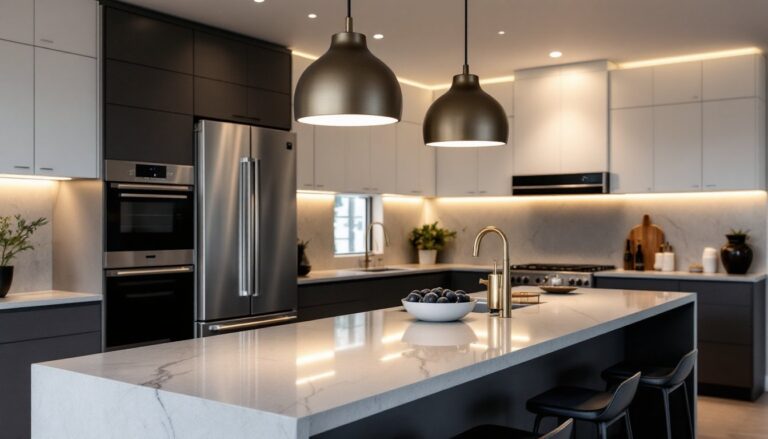
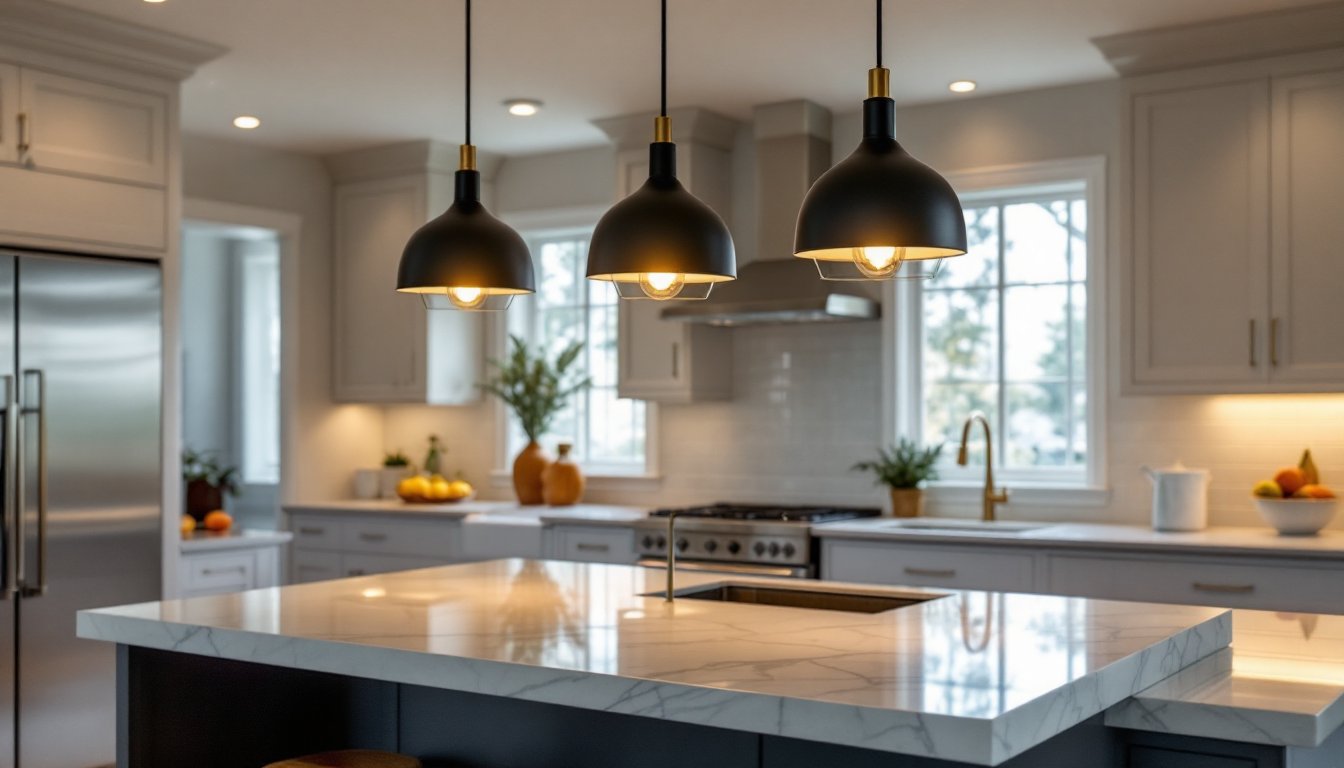
A kitchen island lighting setup often calls for multiple pendants or a small chandelier. Two to three pendants spaced evenly across a 36- to 48-inch island provide balanced illumination and visual appeal. Alternatively, cluster fixtures, three or more separate shades hanging from a single canopy, offer a unified look without the bulk of a traditional chandelier.
Cluster fixtures work especially well over islands because they distribute light more evenly than a single large pendant would. They also hide the electrical canopy better, creating a cleaner aesthetic. When choosing between individual pendants and a cluster, remember that pendants allow more design flexibility and easier installation if you ever want to change one shade, while clusters are faster to hang and require only one electrical connection point.
How To Choose The Right Hanging Lights For Your Kitchen
Sizing And Height Considerations
Undersize a fixture and it’ll look like an afterthought. Oversized and it’ll dominate the space or block sightlines. Here’s the practical math: for a single pendant over a bar or sink, the shade diameter should be 1/3 the width of the counter or seating area. A 36-inch-wide bar calls for a pendant roughly 12 inches in diameter.
Height matters just as much. Hang pendants 12 to 18 inches below cabinetry if your kitchen has upper cabinets, this prevents shadow and keeps the fixture from blocking sight lines into the space. Over an island without overhead cabinets, aim for 24 to 36 inches above the countertop. If you have an 8-foot ceiling, 36 inches is your ceiling: any lower and the fixture will feel cramped. Standard rough-in electrical boxes sit 3 to 4 inches into the ceiling, so measure your actual ceiling height from the drywall downward, not the beam or soffit.
Think about light output in lumens, not wattage. A 60-watt equivalent LED pendant (roughly 800 lumens) suits a single bar seat. Islands with multiple pendants (three 40-watt equivalent shades) will deliver 1200+ lumens total, enough for food prep and dining. Modern kitchen island lighting must pull double duty: task and ambient light. If your kitchen lacks overhead ceiling lights, hanging fixtures become critical. If you already have recessed cans or flush mounts, pendants become accent pieces that support the overall scheme.
Installation Tips For DIY Enthusiasts
Before you buy fixtures, confirm where the electrical rough-in exists. Many kitchens have a ceiling box above the island or bar. If not, you’ll need a licensed electrician to run new wire, don’t skip this step. If a box is already there, a DIYer with basic comfort around electricity can swap a fixture in an afternoon.
What you’ll need:
- Voltage tester or multimeter
- Wire strippers (22–14 gauge)
- Wire nuts (usually supplied with the fixture)
- Adjustable wrench or screwdriver set
- Step ladder (not a chair)
- Safety glasses and work gloves
The process:
- Turn off power at the breaker. Use a voltage tester to confirm the circuit is dead, don’t assume the breaker label is accurate.
- Remove the old fixture’s canopy and disconnect the wires. Most fixtures use three wires: black (hot), white (neutral), and bare copper or green (ground).
- Check that the new fixture’s hang rod, chain, or cord fits the electrical box. If the rough-in is recessed deep, you may need a mounting strap extension.
- Connect wires in pairs: black to black, white to white, ground to ground. Twist together and secure with wire nuts. The fixtures instructions will show the exact layout.
- Tuck wires into the box, attach the canopy, and install the shade or glass.
- Turn power back on and test.
If the existing box is damaged, loose, or the wire is cracked, don’t push through, call an electrician. Industrial pendant lighting fixtures often weigh 5–8 pounds: a loose box won’t hold them safely. For new construction or if you’re adding a second hanging light where none exists, you’ll need rough-in done first by a licensed professional.
One often-overlooked detail: adjust the fixture height before you hang it permanently. Most pendant fixtures allow you to cut or add chain links, or loop and tie cord. Do this while standing on your ladder, eyeballing the final position, rather than discovering after installation that it’s 6 inches too low.
Design Trends And Styling Ideas
In 2026, kitchen hanging lights lean into mixed materials and sculptural simplicity. Matte black or brass finishes paired with glass, ceramic, or concrete shades are everywhere. Avoid overly ornate designs unless your kitchen already has period detailing, a farmhouse kitchen can handle a rustic shade, but a modern minimalist space needs clean lines.
Layering is key. Pendants shouldn’t be your only light source. Pair them with kitchen ceiling lighting (recessed cans, a flush mount, or under-cabinet strips) to create zones: task light from the pendants, ambient from overhead, accent from under-cabinet LEDs. This approach makes the space adaptable, bright for cooking, dimmed for dining.
For kitchens with open shelving or breakfast bars visible from other rooms, pendant lighting kits (which include matching fixtures and hardware) simplify matching and installation. Many also come with smart bulbs or dimmer-ready sockets, letting you adjust color temperature and brightness. Warm white (2700K) suits dining and relaxed settings: daylight (4000K–5000K) works better for prep zones.
If your kitchen opens to a dining area, coordinate the hanging lights with the style and height of dining room lighting in that space. They don’t need to match exactly, but continuity in metal finish or shape language keeps the whole floor plan cohesive. Research on platforms like The Kitchn and Remodelista shows real kitchens where hanging lights anchor the design without overwhelming it.
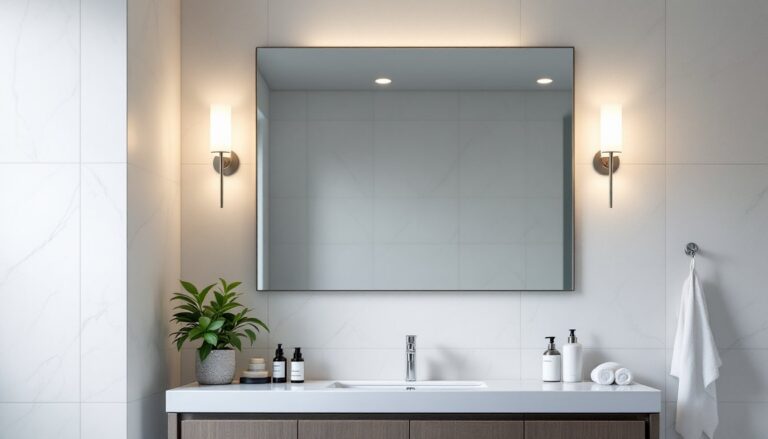
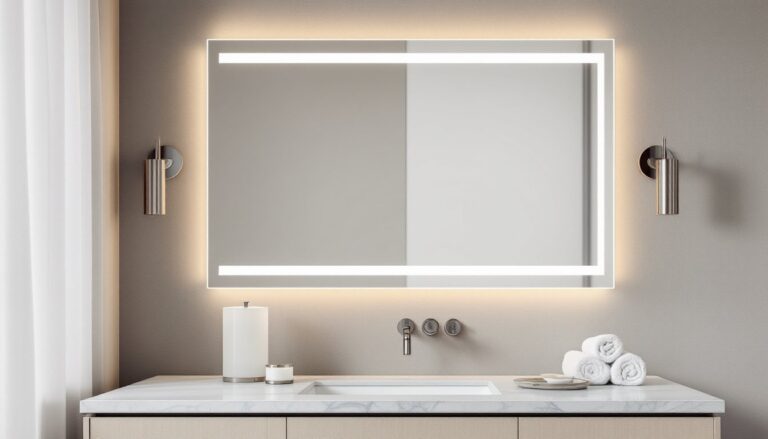
Don’t forget bathroom mirror with lights if your project touches a powder room near the kitchen, symmetry and finish consistency across adjacent spaces pay dividends in the finished look.