Hanging lights transform a room from ordinary to intentional. Whether you’re illuminating a kitchen island, adding ambiance to a dining area, or creating focal points in a bedroom, the right hanging fixture does double duty: it delivers functional light and sets your home’s visual tone. With endless styles, from minimalist pendants to bold industrial designs, choosing and installing hanging lights doesn’t require a contractor. This guide walks you through selecting the right fixtures, planning your installation, and executing the project with confidence.
Table of Contents
ToggleKey Takeaways
- Hanging lights serve dual purposes—delivering functional illumination and setting your home’s visual tone—with styles ranging from minimalist pendants to bold industrial designs that suit any room.
- Proper placement and height are critical: hang kitchen pendants 30–36 inches above countertops, dining fixtures 24–30 inches above tables, and always confirm adequate ceiling clearance to avoid obstructions.
- Layering hanging lights with ambient ceiling, wall, and under-cabinet lighting, combined with dimmers and warm color temperatures (2700K–3000K), creates adjustable ambiance and reduces harsh shadows.
- Most DIY installations take 30–60 minutes and require only basic tools, but always turn off power at the breaker, verify ceiling box weight ratings, and hire a licensed electrician if wiring is damaged or the fixture exceeds 50 pounds.
- Design impact increases when you mix pendant shapes and finishes at staggered heights, use diffusing shades for softer light, and match fixtures to your room’s style—whether industrial, traditional, or contemporary.
- LED-compatible and dimmable hanging lights offer flexibility, energy efficiency, and the ability to adjust color and brightness throughout the day, transforming fixtures into mood-setting elements.
Popular Hanging Light Styles for Modern Homes
Pendant Lights and Chandeliers
Pendant lights hang from a single cord, chain, or rod and deliver focused light over a specific area. They’re available in drum, globe, cone, cylinder, and geometric shapes, with materials ranging from glass and metal to fabric, linen, paper, and woven natural materials. Modern designs often include LED-compatible sockets and smart-lighting options for adjustable color and brightness.
Chandeliers are larger, typically multi-armed fixtures that serve as ambient lighting and statement pieces in foyers, dining rooms, and master bedrooms. They’re decorative by nature but require sturdy ceiling support, often a fan brace or reinforced electrical box rated for the fixture weight.
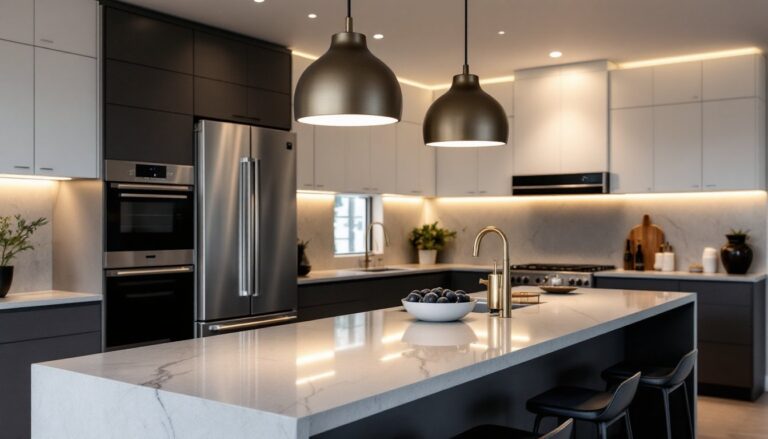
Pendant clusters, multiple small pendants hung at varying heights, add visual interest without the formality of a full chandelier. These work particularly well over kitchen islands and long countertops. Industrial pendant lighting has become a cornerstone of modern home design, blending raw materials with functional elegance and works especially well in contemporary kitchens and open-concept spaces.
Track and Linear Hanging Fixtures
Track lighting uses a powered rail system that lets you aim individual fixtures in different directions, perfect for highlighting artwork, kitchen work zones, or architectural features. Linear hanging fixtures spread light evenly across long spaces like islands or dining tables without the adjustability of track systems.
Multi-light linear designs provide cleaner aesthetics than clustered pendants and offer consistent light distribution. They’re commonly installed with 2 to 4 fixtures spanning 3 to 6 feet, depending on countertop length. Both track and linear systems work with standard 120-volt household circuits and don’t typically require structural reinforcement beyond confirming your ceiling box is rated for the total fixture weight.
Planning Your Hanging Light Installation
Choosing the Right Location and Height
Height and placement define both safety and aesthetics. In kitchens, pendant fixtures hang 30 to 36 inches above the island or countertop, low enough to direct task light but high enough to avoid blocking sightlines across the kitchen. In dining areas, hang fixtures 24 to 30 inches above the table so diners can see across the table without obstruction.
Bedrooms benefit from softer, more ambient placement. Consider positioning fixtures near bedside tables or in corners rather than directly overhead. Star pendant lighting has emerged as one of 2026’s most versatile home décor solutions for accent lighting, blending form and function in spaces that need gentle illumination.
Measure from the floor to your ceiling to confirm adequate clearance. If your ceiling is under 8 feet, shorten the chain or cord to the minimum safe height. Confirm the fixture won’t interfere with doors, overhead cabinets, or traffic patterns.
Layer your lighting for flexibility. Hanging lights work best with ambient light from recessed fixtures, wall sconces, or lamps. Use dimmers and warm color temperatures (2700K–3000K) to create adjustable ambiance. For kitchen task lighting, combine pendants with under-cabinet LED strips or recessed lights in the ceiling. Ceiling lights for kitchen installations benefit from this layering approach to avoid harsh shadows during food prep.
Step-by-Step Installation Guide
Safety first: Turn off power at the breaker before touching any wiring. If the existing ceiling box is damaged, the wiring looks corroded, or you’re unsure about the fixture’s weight rating, hire a licensed electrician.
What you’ll need:
- Voltage tester (non-contact type)
- Wire strippers
- Wire nuts (usually included with fixture)
- Needle-nose pliers
- Ladder or step stool
- Hanging bracket and canopy (fixture-specific)
- Chain and ceiling hook (if not included)
- Appropriate bulbs (check fixture specifications)
Installation steps:
-
Cut power and confirm it’s off. Flip the breaker off, then use a voltage tester on the ceiling box to verify no current is present.
-
Remove the existing fixture (if replacing). Unscrew the canopy, disconnect the wires, and remove the mounting bracket.
-
Inspect the ceiling box. Confirm it’s rated for your fixture weight (check the box label). Standard boxes support up to 50 pounds: heavier fixtures need a fan-rated brace or specialized hanging hardware.
-
Install the mounting bracket. Screw it to the ceiling box using the provided hardware. It should be level and flush against the ceiling.
-
Connect the wiring. Feed the fixture’s wires through the canopy and into the ceiling box. Match wires carefully: black to black (hot), white to white (neutral), and bare copper to the green screw (ground). Twist matching wires together, then secure with wire nuts. Gently fold wires into the ceiling box.
-
Attach the canopy. Slide it up and screw or snap it to the mounting bracket, ensuring it’s flush and covers the ceiling box edges.
-
Install the chain or rod. Attach it to the hanging hardware at the top of the canopy. Adjust length so the fixture hangs at your target height.
-
Install the bulbs and shade or globe, then restore power. Test the fixture before fully securing any decorative elements.
If the existing wiring is damaged, the ceiling box won’t support the weight, or you’re uncomfortable working with electrical systems, <a href="https://instructables.com”>instructables and professional electricians offer step-by-step support. Most installations take 30 to 60 minutes for a homeowner with basic tool experience.
Design and Styling Ideas
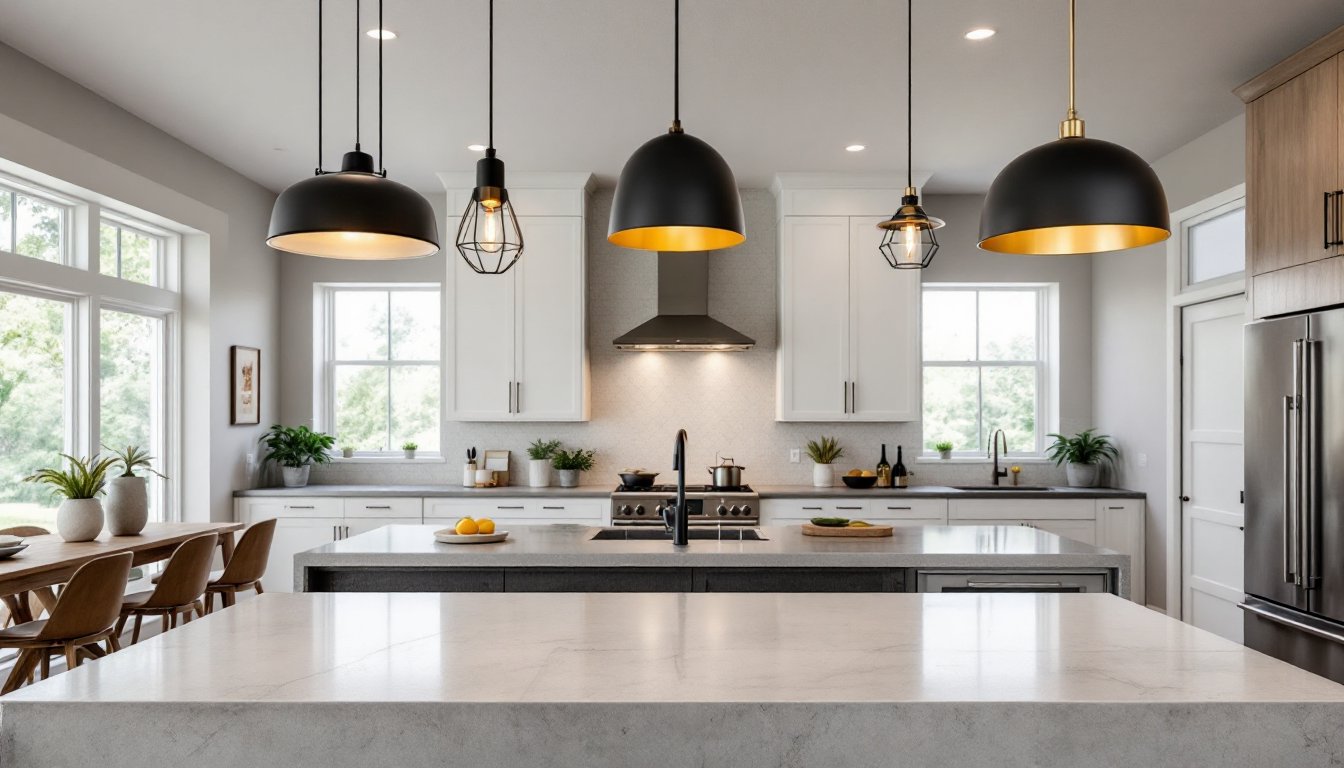
Mix shapes and finishes for visual depth. A drum pendant, a geometric fixture, and a classic cone design hung at staggered heights create interest without clashing. Keep the same finish (matte black, brushed brass, etc.) to tie them together.
Use diffusing shades for softer light and reduced glare. Frosted glass, linen, and woven natural materials scatter light evenly across a room. Clear glass works better for task-focused areas where brightness matters more than ambiance.
Match your fixture to your room’s design language. Industrial styles pair with metal, exposed bulbs, and angular forms: traditional spaces benefit from brass, fabric, and ornate details: contemporary rooms shine with minimalist silhouettes and muted tones. Statement fixtures, bold colors, unusual shapes, or oversized designs, work best as focal points in kitchens, entryways, and dining areas.
Commercial pendant lighting fixtures have become a staple in modern homes and kitchens, offering durability and clean lines that translate well to residential spaces. If you’re drawn to industrial strength, these designs deliver without requiring a commercial setting.
Add dimension with height variation. Hanging three pendants at slightly different lengths above an island creates rhythm and draws the eye. Aim for 2 to 4 inches of difference between fixtures.
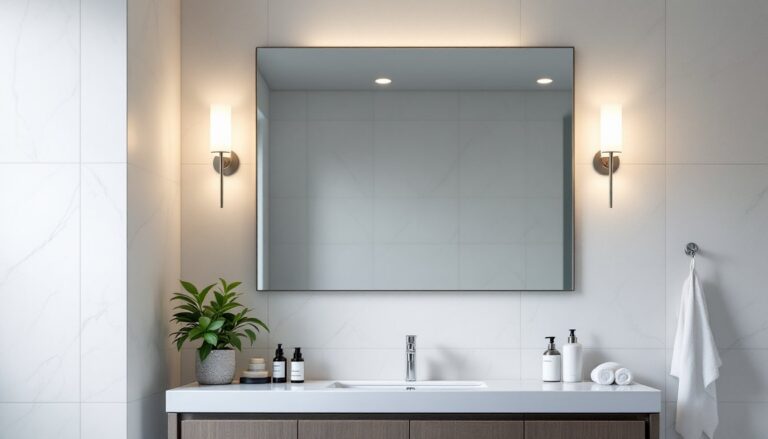
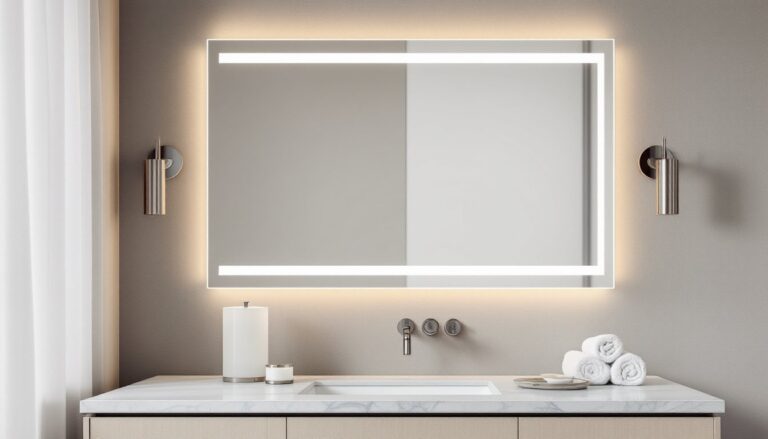
Consider makeup vanity with lights and vanity mirror with led lights if your bathroom or bedroom has a vanity area. Hanging fixtures flanking a mirror or mounted directly above provide glare-free task lighting for grooming. LED options offer long bulb life and lower heat output, important in bathrooms where moisture is a concern.
Dimmer compatibility matters. Not all LED bulbs work with older dimmers: pair your fixture with dimmable LED bulbs and a modern dimmer switch for reliable performance. This flexibility transforms hanging lights from static overhead sources into mood-setting elements you adjust based on the time of day.