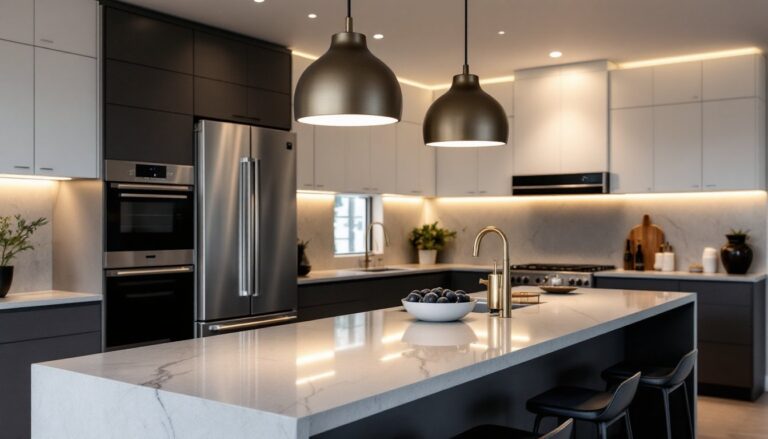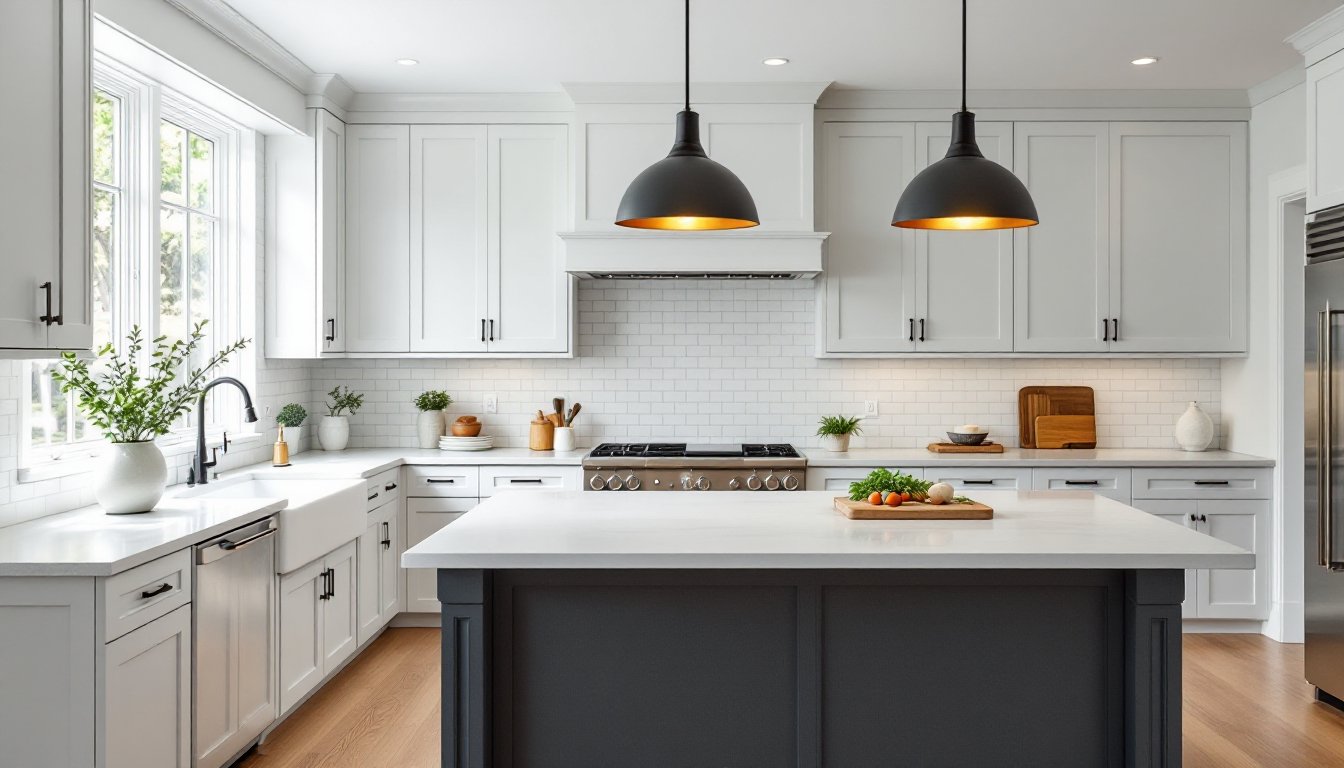
Pendant lights have quietly become the workhorse of kitchen design, equal parts task lighting, decor, and architectural punctuation. Whether someone is finishing a full remodel or just swapping out a dated flush mount, the right kitchen pendant light fixtures can sharpen sightlines, brighten prep zones, and pull the whole room together. This guide walks through how to pick the right style, size them correctly, place them where they actually do work, and avoid the wiring and spacing mistakes that trip up most DIYers in 2026.
Table of Contents
ToggleKey Takeaways
- Kitchen pendant light fixtures serve as multi-functional elements that combine task lighting, ambient glow, and visual focal points while solving the modern need for layered kitchen lighting.
- Proper sizing follows the 1/3 rule—each pendant diameter should be roughly 1/3 the width of the surface below it, with the bottom of the shade positioned 30–36 inches above countertops for optimal function and appearance.
- Islands under 6 feet typically need two pendants while those 7 feet or longer look balanced with three, spaced 24–30 inches apart and at least 6 inches from the island’s end.
- DIY pendant installation is reasonable when swapping fixtures, but running new circuits requires a licensed electrician in most jurisdictions—always verify electrical box weight ratings and kill power at the breaker, not the wall switch.
- Installing a dimmer switch during setup is a $20 upgrade that significantly improves usability, and pairing pendants with under-cabinet lighting eliminates shadows on perimeter countertops for a polished, functional kitchen.
- Modern kitchen pendant light fixtures with integrated LEDs rated for 25,000+ hours eliminate frequent bulb replacements, and pendant lighting kits bundling the canopy, cord, and socket streamline the installation process.
Why Pendant Lights Are a Game-Changer in Modern Kitchens
Recessed cans light a room evenly, but they wash everything in the same flat glow. Pendants do something different, they pull light down where it matters (the counter, the cooktop, the island) and add a focal point at eye level.
They also solve a real problem: layered lighting. Modern kitchens need ambient, task, and accent light, and a well-placed pendant covers two of those at once. For open-concept floor plans, pendants visually anchor the kitchen zone without needing a wall to separate it from the living area.
And because fixtures now ship with integrated LEDs rated for 25,000+ hours, the days of swapping bulbs every winter are mostly behind us. Picking the right pendant lighting kits can also shortcut the install by bundling the canopy, cord, and socket in one box.
Popular Pendant Light Styles for Every Kitchen Aesthetic
Style follows function, but it also has to match the rest of the room. Cabinet color, hardware finish, and countertop material all influence which pendant reads as intentional versus tacked-on.
A few broad categories cover most kitchens:
- Dome and bell pendants, directional task light, great over islands
- Globe pendants, softer, diffused glow for breakfast nooks
- Linear multi-light bars, one fixture spanning a long island
- Lantern and cage styles, transitional, work in both modern and traditional spaces
For browsing real-world examples by silhouette, the curated pendant collection at Remodelista is a good visual reference before committing to a finish.
Farmhouse, Industrial, and Modern Minimalist Picks
Farmhouse leans on matte black or aged brass with seeded glass shades, think schoolhouse silhouettes paired with shaker cabinets. Industrial goes harder: exposed Edison-style bulbs, raw steel, and pipe-style stems. A deeper jump into industrial pendant lighting helps if a homeowner is leaning that direction.
Modern minimalist picks lean on simple geometry, opal glass orbs, slim cords, and finishes like brushed nickel or matte white. They disappear when off and glow softly when on.
How To Choose the Right Size, Height, and Spacing
Scale is where most pendant installs go sideways. A fixture that looked huge in the box can read tiny once it’s 8 feet up.
A few working rules:
- Diameter: Each pendant should be roughly 1/3 the width of the surface below it. Over a 36-inch-wide island, that’s a 10–12 inch pendant.
- Hanging height: The bottom of the shade should sit 30–36 inches above the countertop. Taller ceilings can push to 38 inches.
- Spacing: Center pendants 24–30 inches apart on multi-light installs, and keep at least 6 inches from the island’s end.
- Quantity: Islands under 6 feet usually take two pendants. Islands 7 feet or longer often look balanced with three.
For ceilings over 9 feet, longer rods or adjustable cords are worth the extra cost. Editorial breakdowns at The Kitchn often show how these proportions play out in real, lived-in kitchens.
Placement Ideas: Over Islands, Sinks, and Breakfast Nooks
Over the island is the most common spot, and for good reason, it’s the kitchen’s prep and gathering surface. Center pendants on the island’s length, not necessarily on the room. A deeper guide to modern kitchen island lighting covers fixture counts and wiring layouts for islands of every size.
Over the sink, a single pendant replaces the dated builder-grade fluorescent and adds task light for dishes. Aim for a fixture 30–40 inches above the sink basin, and make sure it’s rated for damp locations if it’s close to splashing water.
Breakfast nooks benefit from a softer, more diffused pendant, drum shades or fabric pendants work well here. The principles overlap with dining room lighting, since both prioritize comfortable light at face level rather than harsh task glare. Pair pendants with under cabinet lighting to eliminate shadows on perimeter countertops.
Installation Tips and Common DIY Mistakes To Avoid
Swapping a pendant for an existing fixture is a reasonable DIY project. Running a new circuit or adding a junction box where none exists is electrical work that may require a permit and, in many jurisdictions, a licensed electrician. NEC requirements vary by location, so a quick call to the local building department saves trouble later.
Required PPE: safety glasses and insulated gloves. Kill power at the breaker, not just the wall switch, and verify with a non-contact voltage tester before touching wires.
A basic install workflow:
- Turn off power at the breaker and confirm dead.
- Remove the old fixture and inspect the electrical box, it must be rated for the pendant’s weight (most pendants need a box rated for 50 lbs or fixture-rated for ceiling fans if heavier).
- Thread the cord through the canopy and adjust to the desired height.
- Connect wires: black-to-black (hot), white-to-white (neutral), and ground to the green screw or bare copper.
- Tuck wires into the box, secure the canopy, install the bulb, and restore power.
Common mistakes worth flagging: hanging pendants too high (the most frequent error), using a box that isn’t fixture-rated for heavy glass shades, forgetting to account for cord length when ordering, and skipping a dimmer. A standard toggle switch leaves homeowners stuck with one brightness, a compatible LED dimmer is a $20 upgrade that pays off every evening. For longer islands or commercial-grade setups, commercial pendant fixtures often have heavier mounting requirements worth reviewing before purchase.
For styling once the fixture is up, MyDomaine has solid room-by-room guides on balancing pendant finishes with cabinet hardware and faucet metals.
Conclusion
Good kitchen pendant light fixtures aren’t about chasing trends, they’re about getting the size, height, and placement right so the room works harder and looks better. Measure twice, confirm the electrical box rating, and install a dimmer the first time around. Done well, a pair of hanging light fixtures for kitchen islands or sinks can quietly become the feature everyone notices but no one can quite explain why.