Kitchen pendant lighting has become the go-to solution for homeowners who want to add both function and style to their kitchens. Unlike ceiling fixtures that cast flat, unflattering light, pendants hang at eye level over islands, counters, and breakfast nooks, giving you task lighting exactly where you need it while making a design statement. Whether you’re renovating a dated kitchen or refreshing a tired space, the right pendants can anchor your décor, improve visibility, and boost home value. This guide walks you through choosing, styling, and installing kitchen pendant lighting so you can transform your kitchen into a bright, beautiful workspace.
Table of Contents
ToggleKey Takeaways
- Kitchen pendant lighting eliminates task-lighting shadows by directing light 12–20 inches above counters and islands, improving both visibility and workspace functionality.
- Standard pendant height over a kitchen island should be 30–36 inches below the ceiling, with spacing of 24 inches apart for 48–60 inch islands to prevent dark zones.
- Contemporary, industrial, and vintage-inspired pendant styles anchor your kitchen’s aesthetic while complementing cabinet finishes, countertops, and appliance colors for cohesive design.
- Always turn off power at the breaker and test with a voltage tester before installing pendants; hire a licensed electrician for new circuits rather than attempting rewiring yourself.
- Adjustable hanging hardware and pre-assembled pendant lighting kits make DIY installation achievable for homeowners comfortable with basic electrical connections and proper safety protocols.
Why Kitchen Pendant Lighting Matters
Pendant lighting serves a dual purpose in kitchens: it handles the heavy lifting for task lighting while adding visual interest that flush-mount or track fixtures can’t touch. When you’re chopping vegetables, reading a recipe, or plating dinner, overhead light alone leaves shadows and eye strain. Pendants positioned 12–20 inches above a counter or island direct light downward, eliminating those frustrating dark spots.
Beyond functionality, pendants are a decorative anchor. A set of three modern pendants over an island instantly upgrades the entire room’s aesthetic. They work in small galley kitchens and sprawling open-concept layouts alike. Pendant lighting kits provide a convenient pre-assembled option if you want a cohesive look without custom spec-ing individual fixtures.
Code-wise, kitchen lighting typically falls under residential requirements (check your local IRC/NEC standards), but pendant placement over islands or counters doesn’t usually require permits unless you’re running new circuits. That said, if your kitchen lacks adequate outlet or circuit capacity, you may need an electrician to handle the wiring, don’t skimp on this step.
Popular Pendant Lighting Styles for Modern Kitchens
Contemporary and Minimalist Designs
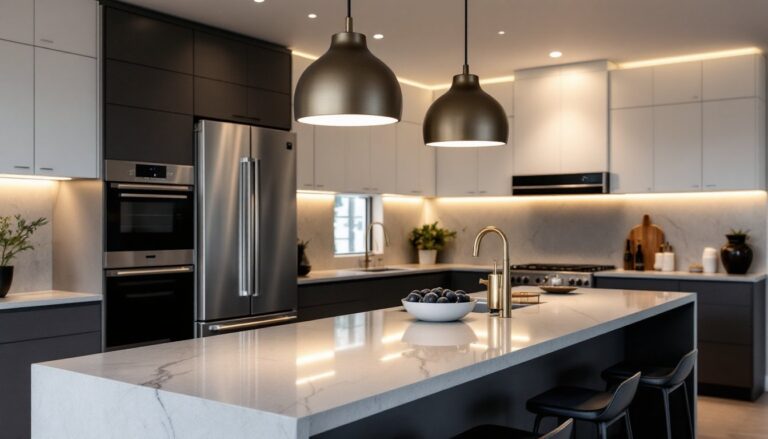
Contemporary pendants strip away ornament and emphasize clean geometry. Think satin nickel stems, matte black domes, frosted glass, or monochromatic shades. These fixtures blend seamlessly into modern kitchens, Scandinavian interiors, and minimalist schemes. A trio of identical pendants spaced evenly over an island creates visual rhythm without clutter. Many come in 4–8 inch diameters, which suits standard kitchen ceilings (8–10 feet). Dimmable LED bulbs pair well with these styles, letting you dial brightness from bright task lighting to ambient evening glow.
Industrial and Vintage-Inspired Options
Industrial pendant lighting has become a cornerstone of modern home design, blending raw materials with functional elegance. Look for fixtures with exposed filament bulbs, bare metal shades (aged brass, copper, or steel), chain or cord hangers, and perhaps a hint of reclaimed wood. These work especially well in kitchens with subway tile, open shelving, or stainless-steel appliances. Vintage-inspired pendants echo mid-century or Edison-era styles, think amber glass, Edison bulbs, or brass hardware. Both styles tolerate (and even celebrate) imperfection, making them forgiving choices for DIYers.
When selecting any style, consider how it complements your cabinet finish, countertop material, and appliance color. A warm brass pendant softens a kitchen heavy on stainless steel: a blackened steel fixture anchors a bright white space.
How to Choose the Right Height and Placement
Height is non-negotiable, get it wrong and you’ll bang your head or lose sight lines. Standard pendant height over a kitchen island is 30–36 inches below the ceiling. If your ceiling is 9 feet, that puts the fixture bottom around 64–66 inches above the floor. Over a peninsula or counter with seating below, drop them to 48–54 inches above the seat cushion or finished counter surface. This keeps the light functional without creating a visual obstruction.
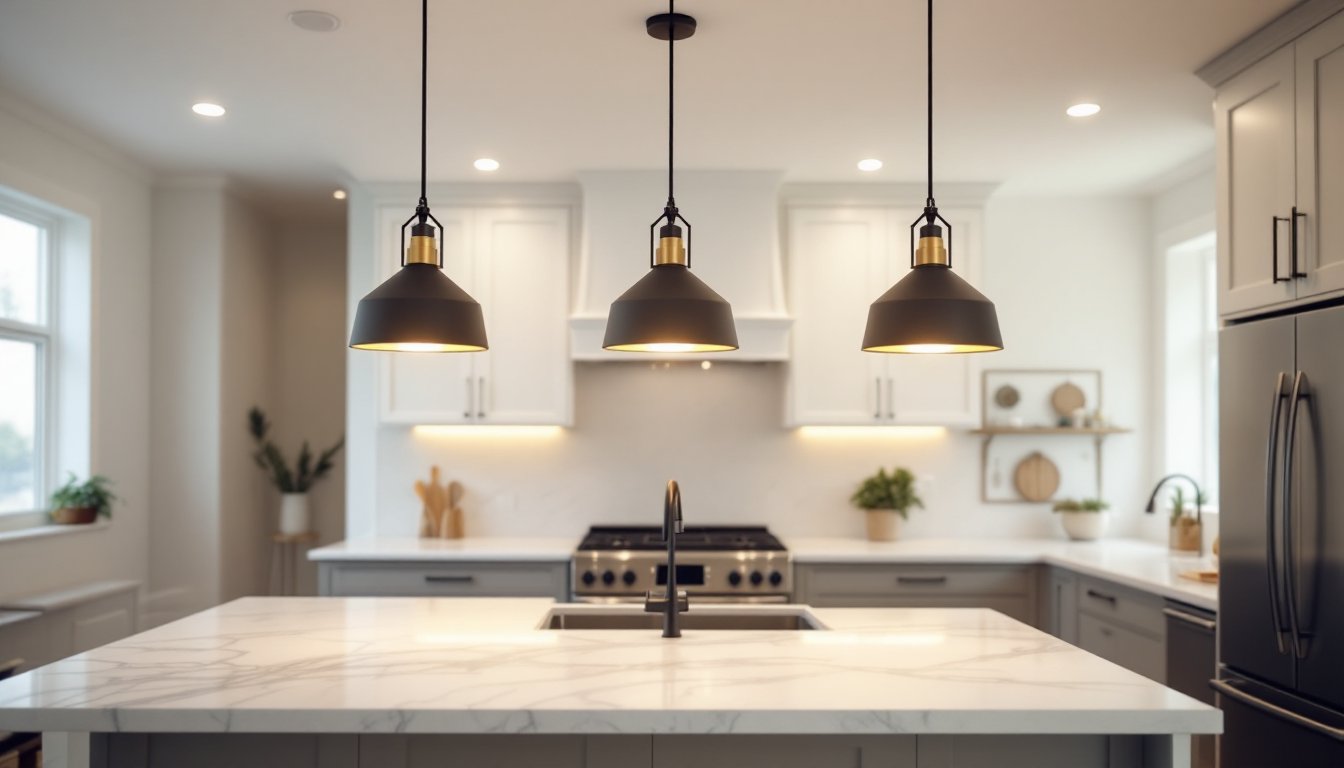
Spacing depends on your island or counter length. For a standard 36-inch width, one centered pendant works. For 48–60 inches, use two pendants spaced 24 inches apart. Beyond 60 inches, three pendants at roughly equal intervals (often 18–24 inches apart) prevents dark zones. Test placement before you drill, use cardboard cutouts or temporarily tape fixtures in place.
Consider modern kitchen island lighting solutions that offer adjustable hanging hardware, giving you flexibility to tweak height once installed. Also check sight lines: seated at your island, the fixtures should sit below your natural line of sight so they don’t block views into the kitchen or dining area.
Installation Tips for DIY Success
Before you grab a drill, shut off the power to your kitchen circuits at the breaker and confirm they’re dead with a non-contact voltage tester. Always verify a circuit is dead before touching wiring, this isn’t optional.
Materials and tools you’ll need:
• Pendant fixture kit (includes canopy, chain or cord, mounting hardware, and shade)
• Wire strippers (10 AWG, suitable for 14/2 or 12/2 cable)
• Wire nuts (usually included but grab extras)
• Drywall anchors or studs (if your ceiling joists don’t align with your fixture location)
• Voltage tester, adjustable wrench, needle-nose pliers, drill with bits
• Stepladder or scaffolding, don’t reach from a wobbly chair
Installation steps:
- Turn off power and test the circuit with a voltage tester.
- If replacing an existing fixture, disconnect the old one, remove the canopy, and disconnect wires.
- Loosen the ceiling box mounting bracket and feed your new pendant’s wire through the canopy.
- Connect the fixture’s ground wire (usually green or bare copper) to the house ground wire with a wire nut. Twist firmly until snug, sloppy connections cause flickering or arcing.
- Connect the black (hot) wire from the fixture to the black wire in the box. Repeat for white (neutral) wires.
- Tuck wires neatly into the ceiling box, secure the mounting bracket, and slide the canopy up against the ceiling.
- Hang the shade or globe, install your bulb, and restore power.
If you’re running a new circuit (pendant location doesn’t align with existing boxes), that’s electrician territory, don’t run new 14/2 or 12/2 cable yourself unless you’re licensed. Even experienced DIYers respect this boundary.
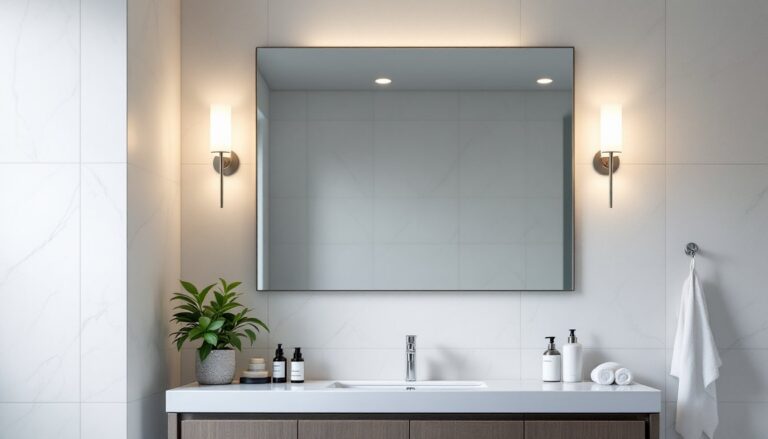
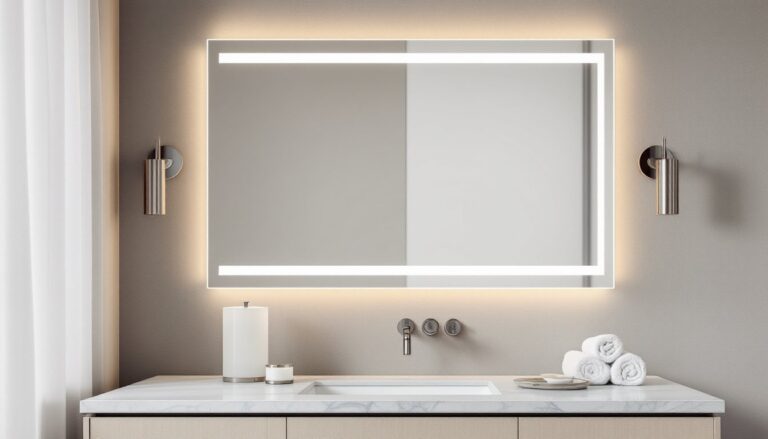
For bathroom lighting and vanity lighting applications, similar principles apply, though vanity fixtures typically mount horizontally on either side of a mirror rather than hanging. Pendant options work beautifully here too, creating softer shadows than overhead lights alone. A curated selection of styles is available from design-focused retailers if you want inspiration beyond big-box stores.
Conclusion
Kitchen pendant lighting is a smart investment, it solves a real problem (task lighting), adds undeniable style, and is achievable for most DIYers if you’re comfortable with basic electrical work. Start by measuring your island or counter, picking a style that matches your kitchen’s personality, and setting the right height. If wiring feels beyond your skill level, hire an electrician for the circuit work and tackle the cosmetic installation yourself. With proper planning and careful execution, you’ll have a kitchen that’s not just brighter, it’s genuinely better to work in.