A makeup vanity with lights transforms more than just your morning routine, it changes how you see yourself. Poor lighting makes even the best makeup look uneven, colors wash out, and you’re left squinting or relying on natural sunlight that vanishes by afternoon. Whether you’re building a dedicated vanity in a bedroom, bathroom, or shared space, the right setup combines proper illumination with functional storage and a mirror that doesn’t lie. This guide walks you through choosing the right style, selecting lighting solutions, and installing everything safely so you end up with a vanity that actually works.
Table of Contents
ToggleKey Takeaways
- Proper lighting (4000K–5000K color temperature, 1500–2000 lumens) is essential in a makeup vanity with lights to prevent shadows, color-matching errors, and eye strain.
- Choose a mirror size between 36–48 inches wide to see your full face and shoulders without constant repositioning, and mount it 28–32 inches high with 18–24 inches of clearance for comfortable seating.
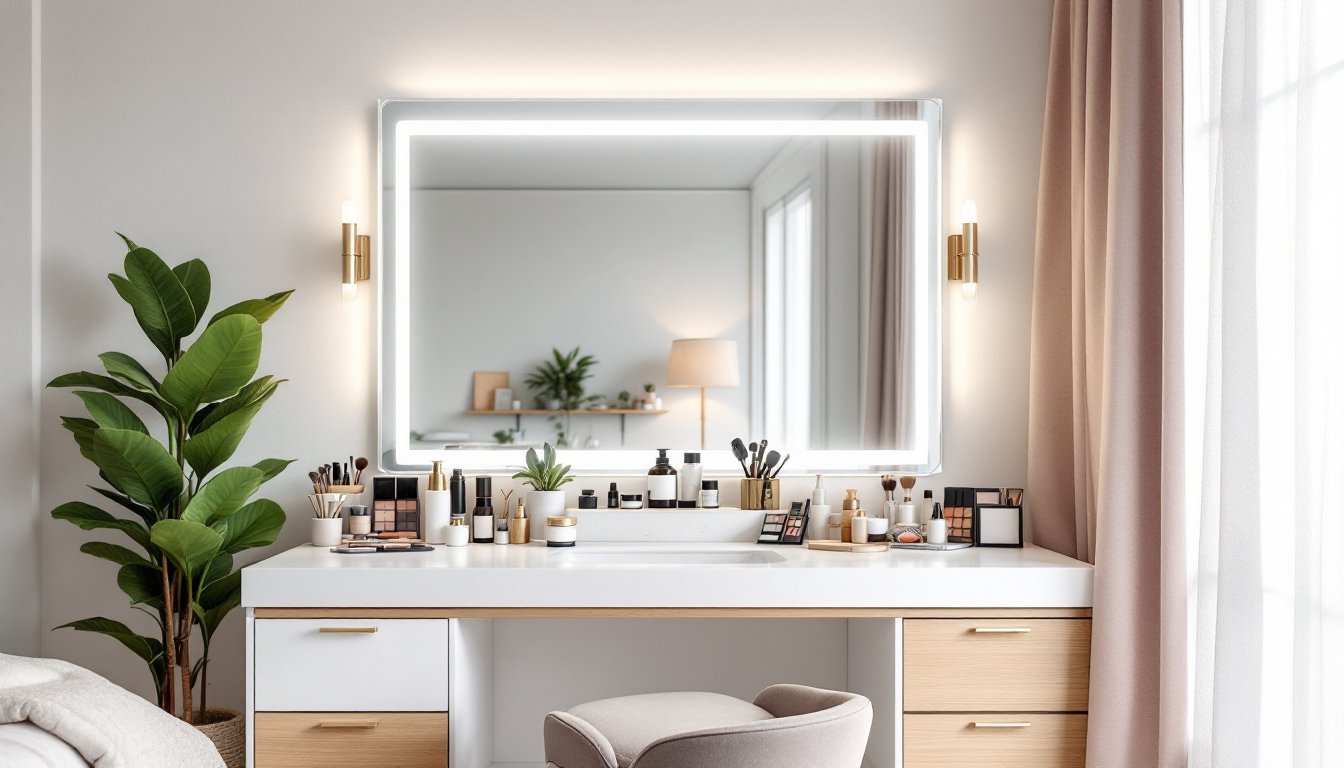
- Combine multiple lighting approaches—such as LED strips overhead with flanking wall sconces—to create balanced, shadow-free illumination that flatters your face.
- Always kill power at the breaker and use a voltage tester before any electrical work; in bathrooms, all outlets within 6 feet of the sink must be GFCI-protected to meet code requirements.
- Use a stud finder and secure heavy mirrors (over 50 pounds) directly to studs with lag bolts, and mount shelving 12–15 inches apart for functional storage without compromising your makeup vanity setup.
- LED bulbs and dimmable LED strips ($20–$60) are more affordable and longer-lasting than incandescent options; plug-in fixtures eliminate complex wiring while maintaining the clean, professional look you want.
Why Lighting Matters in a Makeup Vanity Setup
Lighting is the foundation of any makeup vanity that actually works. Without it, color matching becomes guesswork. Foundation that looks flawless in your bathroom disappears under office fluorescents. Blush blends unevenly. Eyes look tired instead of defined.
The goal is balanced, shadow-free illumination around your face. Professional makeup artists use 4000K to 5000K color temperature (neutral white to cool white) because it mimics daylight and shows true colors. Anything too yellow (warm) or too blue (cool) throws off your color perception.
Good vanity lighting also prevents eye strain. A single overhead fixture creates harsh shadows under your eyes and cheekbones, exactly what you don’t want when applying makeup. Side lighting or a combination of approaches eliminates these shadows and lets you see every detail. Brightness matters too: most makeup artists recommend 1500 to 2000 lumens minimum for a makeup vanity with lights, though this varies by mirror size and room reflectivity.
Choosing the Right Vanity Style and Size for Your Space
Before you plug in a single light, measure your wall and decide what you’re actually building. A wall-mounted vanity with a large mirror takes 36 to 48 inches of wall space and works well in bathrooms or bedrooms. A compact desk-style vanity fits smaller spaces and gives you flexibility to move it later. A corner vanity maximizes wasted space but requires careful lighting placement to avoid casting shadows.
Consider the mirror size carefully. Small mirrors (24 inches wide) work for touch-ups but force you to move your head constantly. A 36 to 48-inch mirror lets you see your full face and shoulders without repositioning. Some DIYers choose to mount a large frameless mirror (48 to 60 inches) and build shelving below for storage, this creates visual lightness and maximizes sightlines.
Think about who uses it. A shared vanity for two people benefits from a double vanity lighting setup to avoid shadows when both users are present. A single-user vanity in a bedroom can be narrower and more intimate. Factor in your seating: you’ll need 18 to 24 inches of clearance from the mirror if you’re using a stool, and the vanity surface should sit 28 to 32 inches high so you don’t hunch over.
Material choice affects durability. A solid-wood vanity looks beautiful but requires regular sealing if placed in a humid bathroom. An MDF or plywood vanity with a painted or laminated finish resists moisture better and costs less. Granite or quartz tops resist water and scratches but add weight and expense. A simple painted wood surface works fine for a bedroom vanity in a dry environment.
Essential Materials and Tools You’ll Need
Lighting Options: LED Strips vs. Bulbs vs. Ring Lights
LED vanity mirror options come in three main flavors, and each has trade-offs.
LED strips mount horizontally above the mirror or vertically on both sides. They’re affordable ($20–$60), easy to install with adhesive backing, and offer flexible brightness adjustment if you buy dimmable models. The downside: harsh light if not diffused, and they can yellow or fail after a few years depending on quality. Look for strips rated 4000K–5000K and at least 400 lumens total.
Vanity bulbs and fixtures (the traditional approach) mount above and/or beside the mirror. A vanity bar light uses standard Edison-base or medium-base bulbs and mounts horizontally. Wall sconces flank the mirror for balanced side lighting. These fixtures cost $30–$150 each but last longer than strips and look more finished. Pair them with 60–75W equivalent LED bulbs (not incandescent) for cooler, more flattering light.
Ring lights (popular for makeup content creators) mount directly to the mirror and deliver intense, even illumination. A led vanity mirror with integrated ring lighting runs $100–$300 but eliminates separate fixtures. They’re bright and shadow-free, though they can feel harsh and take up mirror space. Ring lights work best for zoomed-in detail work, less ideal for full-face application.
For most DIY vanities, combine approaches: LED strips or a vanity bar overhead, flanked by small wall sconces or additional strips on the sides. This creates flattering, balanced light without glare.
Materials you’ll need depend on your setup:
- 1x wood for frame or trim (nominal 1-inch boards are actually ¾-inch thick)
- Plywood or MDF sheets for shelving or backing
- Wood screws (1¼ to 2 inches) or finish nails (2 inches)
- Exterior-grade wood stain or paint if mounting in a bathroom
- Primer (one coat recommended for raw plywood)
- LED strips, vanity bar fixtures, bulbs, or a led vanity mirror with lights already integrated
- 14/2 or 12/2 electrical wire (check local code for your circuit load)
- GFCI outlet if installing in a bathroom (code requirement)
- Mirror adhesive or mounting hardware (depends on mirror weight and wall type)
- Fasteners: toggle bolts or drywall anchors if you’re not hitting studs, lag bolts if you are
- Wood filler, sandpaper (120, 150, 220 grit)
Tools:
- Stud finder (non-negotiable for safe mounting)
- Level (24-inch or longer)
- Drill/driver with bits
- Circular saw or miter saw for cuts
- Tape measure, pencil, square
- Screwdriver set, hammer
- Paintbrush and roller
- Wire strippers and electrical tester (for any hardwired lights)
- Safety gear: eye protection, dust mask, gloves, hearing protection (if using power tools)
For electrical work beyond plugging in a lamp, you may need a licensed electrician depending on your local code and whether you’re running new circuits.
Step-by-Step Installation Guide
1. Locate studs and plan your layout. Use a stud finder to mark studs on your wall. Mark the center point where your mirror will hang and lightly pencil horizontal lines 12 inches above and below the mirror to show where lights will mount. This prevents you from drilling into live electrical or plumbing behind the wall.
2. Mount the mirror. A heavy mirror (over 50 pounds) needs to be fastened directly to studs with lag bolts or heavy-duty hangers. Lighter mirrors can use quality toggle bolts or drywall anchors rated for the weight. Apply mirror adhesive to the back if the manufacturer allows, then press firmly for 10 seconds. Let it cure (usually 24 hours) before installing lights above it.
3. Install vanity bar lights or wall sconces. Cut off power at the breaker before touching any existing wiring. Mount the fixture bracket to studs if possible: otherwise use toggle bolts. Follow the fixture’s wiring diagram, typically black (hot) to brass, white (neutral) to silver, green or bare copper (ground) to green. Screw the bulbs in loosely before final fixture mounting, then tighten once everything’s in place.
4. Apply LED strips or additional lighting. Clean the mounting surface with rubbing alcohol and let dry completely. Peel the adhesive backing and press the strip firmly, starting at one end and working toward the other to avoid bubbles. If using a plug-in LED strip, run the cord behind the mirror or along the wall trim to a nearby outlet. Hardwired strips require running wire through the wall, which is beyond most DIYers’ comfort zone, hire a licensed electrician for this.
5. Mount shelving or storage. If your vanity includes shelves, mount them level using a 24-inch level. Space shelves 12 to 15 inches apart for items like skincare bottles and makeup palettes. Secure each shelf to studs with 2-inch screws through the sides, or use adjustable shelf pins in pre-drilled holes if you want flexibility later.
6. Finish and seal. Paint or stain all exposed wood before final assembly. Two coats of paint with primer underneath gives better coverage and durability. In bathrooms, use moisture-resistant paint (satin or semi-gloss finish). Let everything dry fully before plugging in lights or using the vanity.
Wiring and Electrical Safety Tips
Electrical mistakes cause fires and shocks. If you’re not confident, hire a licensed electrician, it’s not worth the risk.
Safe practices:
- Always kill power at the breaker before touching any wiring.
- Use a voltage tester to confirm the circuit is dead, even after switching it off.
- In bathrooms, all outlets within 6 feet of the sink must be GFCI-protected (by code in most jurisdictions). Hire an electrician to install a GFCI outlet if you don’t have one.
- Plug-in LED strips or vanity lights avoid most wiring headaches. They plug into a standard outlet, eliminating the need to splice wires or run new circuits.
- If hardwiring a vanity bar or sconce, run it to an existing outlet using surface-mounted conduit (visible, code-compliant raceway) rather than hiding wire in walls, this is safer and often acceptable in bathrooms where moisture is a concern.
- Don’t overload circuits. A typical 15-amp bathroom circuit can safely handle a vanity light setup (which draws minimal amperage with LED bulbs), but don’t add a space heater or hair dryer to the same circuit.
- Double-check your wire gauge matches the circuit amperage: 14-gauge for 15-amp, 12-gauge for 20-amp. Undersized wire overheats and causes fires.
Conclusion
Building a makeup vanity with lights is a weekend project that pays dividends every morning. Start with honest lighting (4000K–5000K, 1500+ lumens), choose a style that fits your space and lifestyle, and take time with installation, especially if you’re running electrical. Proper vanity lighting eliminates shadows and color-matching guesses. Don’t skip prep work, use studs whenever possible, and when in doubt about wiring, bring in a pro. A well-lit vanity isn’t a luxury, it’s the difference between a rushed routine and one you actually enjoy.


